-
-
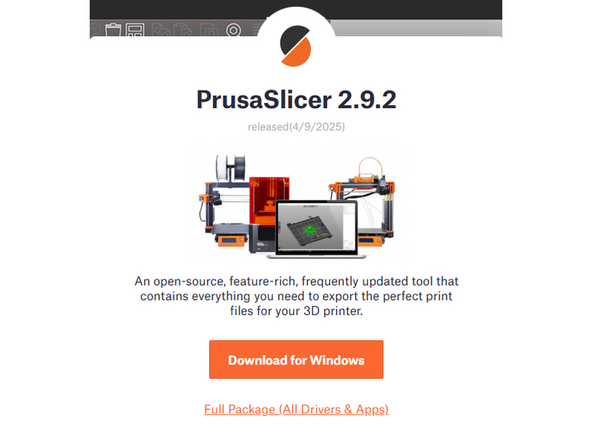
Download and open PrusaSlicer
-
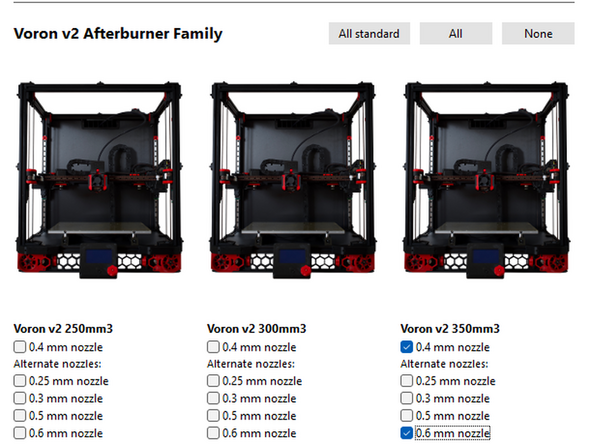
Go to Configuration -> Configuration Wizard -> Other FFF -> Voron
-
Select the 350 mm^3 model from the v2 Afterburner family
-
Be sure to select both the 0.4 and 0.6 mm nozzles
-
Once you have this print profile setup in PrusaSlicer, you can configure it to send sliced .gcode files directly from the slicer interface. The rest of the guide will show this process. If you'd like to just quickly upload a print, however, then proceed to the "5. Quick Print" step at the end of the guide after completing this one.
-
-
-
Insert wisdom here
-
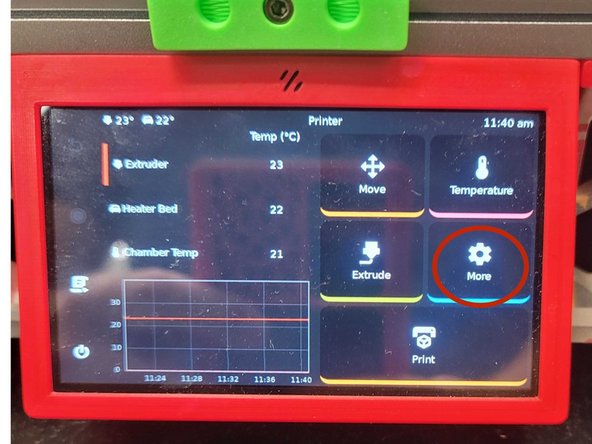
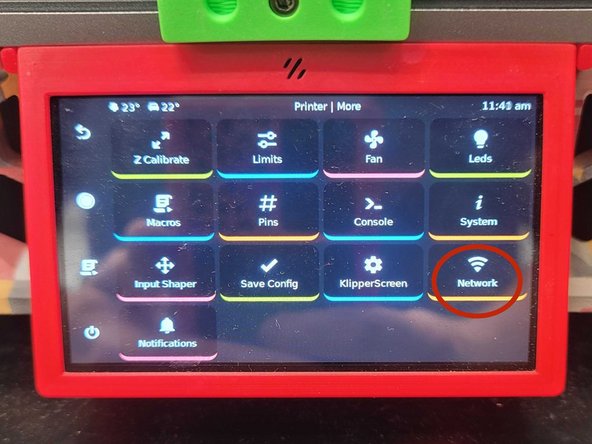
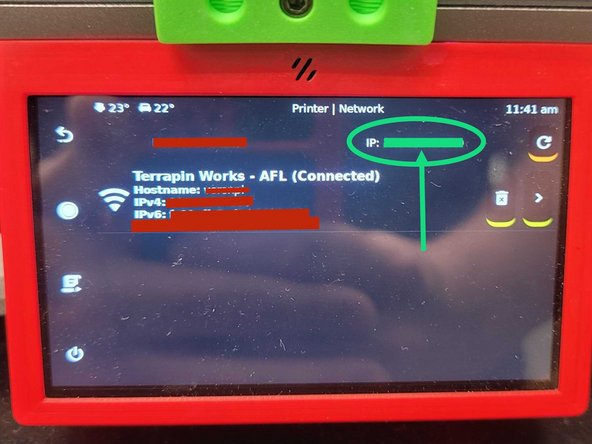
On the home screen, select: More -> Network, and record the IP address in the upper right corner
-
-
-
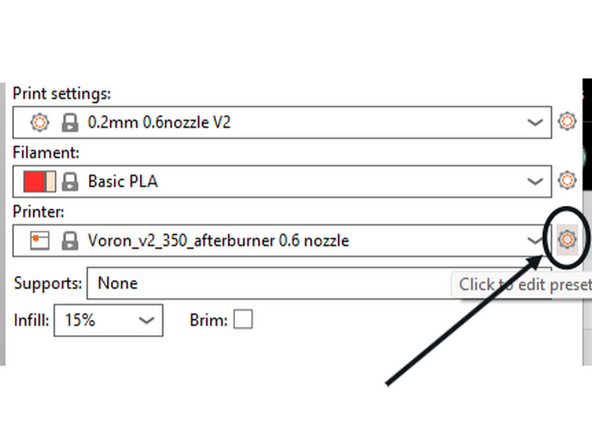
With the 0.6mm nozzle profile selected, click on the gear icon to the right
-
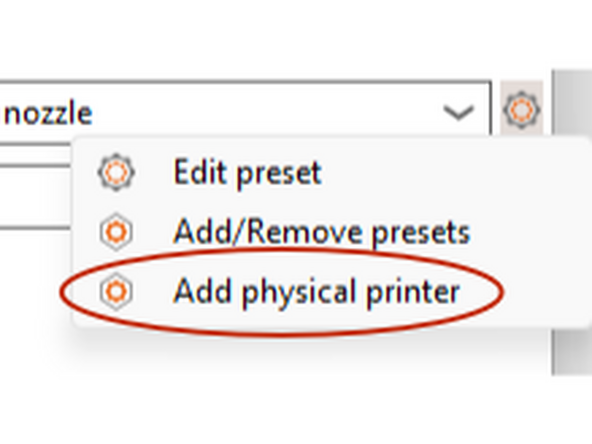
Select Add Physical Printer
-
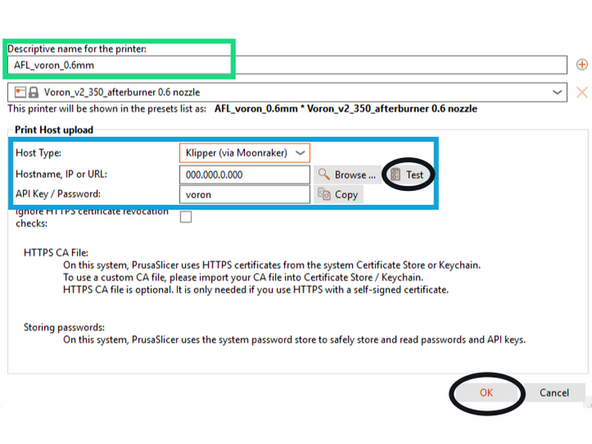
Enter a name for the printer
-
Making sure that Klipper is selected, enter the printer's IP address
-
Enter the password: voron
-
When finished, you can click "Test" to make sure you can connect to the printer. If that succeeds, click "OK"
-
-
-
Once an object is sliced, it can be sent to the printer directly and printed by using the "Send to printer" button in the bottom right, or by using the keyboard shortcut "Ctrl+Shift+G"
-
The printer should then start its bed leveling and heater initialization procedure
-
A filament runout sensor is also installed, so if a print is started with insufficient filament on the spool, the print will pause once material is exhausted and can be continued once an operator replaces the filament
-
-
-
This is an optional step for quickly uploading a gcode file to the printer via your browser if you do not want to go through the process of setting up a physical printer in PrusaSlicer.
-
To do this, you first need to type the IP address of the printer into your browser search bar while on the AFL wifi. This will cause the Fluidd print dashboard to appear.
-
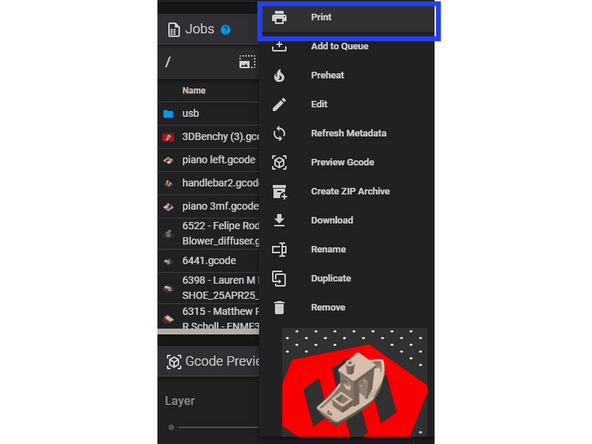
On the homescreen, navigate to the "Jobs" tab and click the button for uploading files to the printer and select your gcode file.
-
Once uploaded, you can select and start the job.
-


Cancel: I did not complete this guide.
One other person completed this guide.