-
-
Handle on the front is used to open and close the front shield
-
Power button is located on the back side of the machine
-
-
-
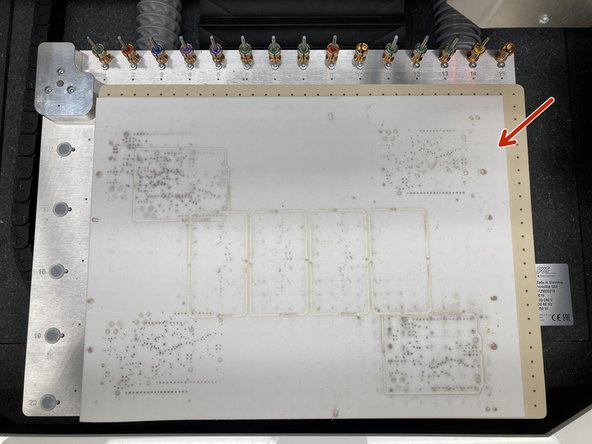
Air permeable material - used to protect the vacuum table
-
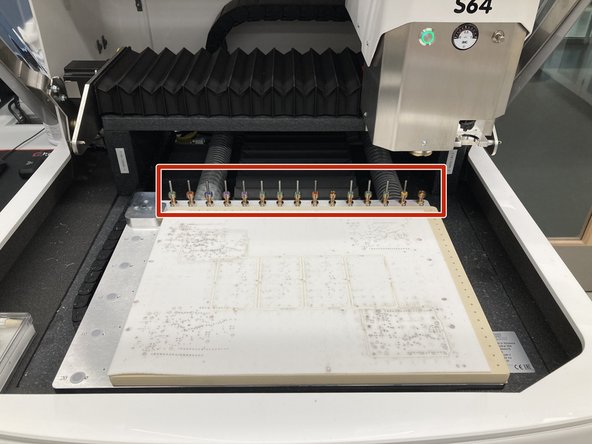
Tool Holder - holds tools and allows for automatic tool changing
-
Machine Head - for lack of a better term, but moves side to side, hold tools, and is responsible for milling
-
Vacuum Table - provides a vacuum that holds the PCB down
-
Tool Calibration Area - the S64 uses this block to set the Z height of the cutting tool
-
Camera - used to focus on cut marks and find fiducials on the board
-
Tool Collet - holds the cutting tool
-
-
-
Held in the tool changer
-
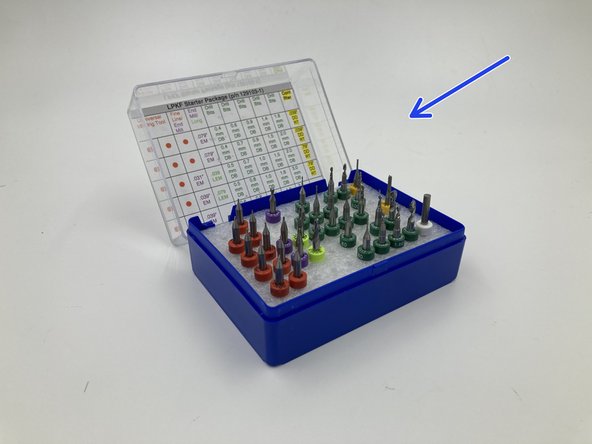
Extra Tools and tools of different sizes are held in cases
-
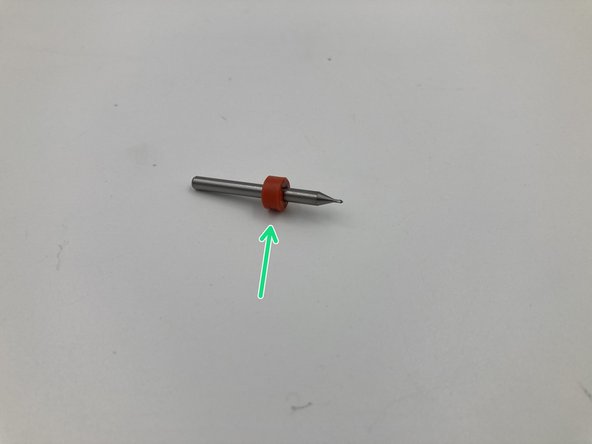
Each tool has a color marker to determine type and size
-
-
-
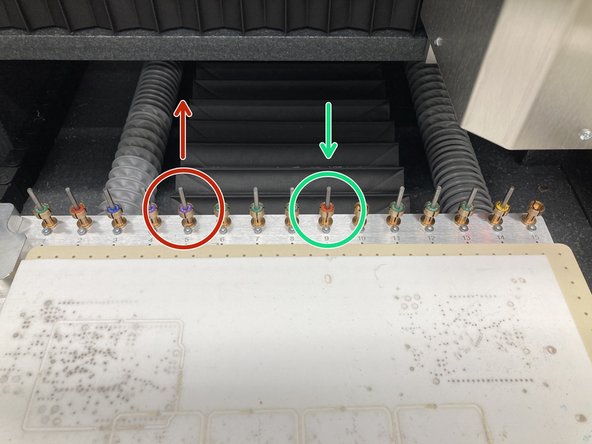
To remove tools, simply pull it out of the holder
-
To replace, simply place the tool in the holder with the tip pointing down
-
Make sure the tool pressed down so that the top of the colored label is flush with the top of the holder
-
Only change tools when using CircuitPro; it keeps track of which tools are currently in the holder and their conditions
-
-
-
Make sure air permeable sheet is on the S64
-
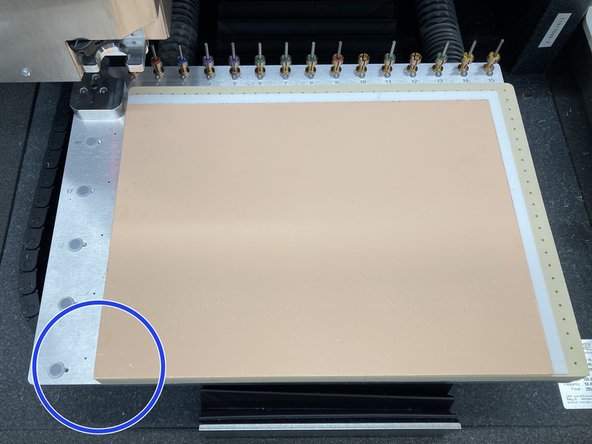
Place board material on the sheet with the bottom left corners lined up
-
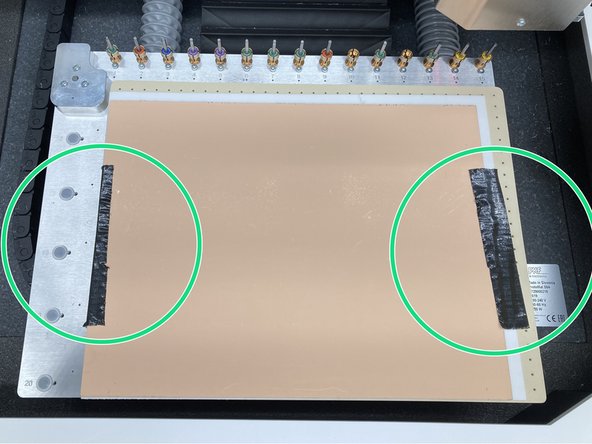
Tape the sides of the material down
-
The board is now ready for milling
-
-
-
You now know enough to begin operating the ProtoMat S64
-
-