
-
-
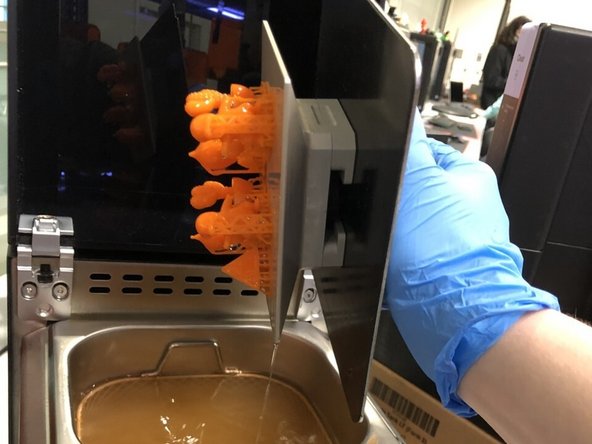
Wear gloves to prevent resin getting on your skin
-
Once the print is complete lift up the orange hood and use a paper towel to wipe the resin residue off of the top of the build plate.
-
After the build plate has been cleaned unscrew the retention screw on top of the build plate.
-
Pull the build plate straight out and rotate to prevent dripping
-
-
-
Attach the build plate to the wash cover as shown.
-
There is a button on the back of the wash cover you must press to push up the build plate holder so that the build plate can be attached.
-
Insert the wash tank into the Curing/Washing System (CW1S) and insert the build plate as shown.
-
There are notches on the wash cover so that it can only be inserted one way.
-
Verify that the washing system is on (the on switch is on the back) and that it is displaying "Washing" as the first option.
-
Close the cover to the CW1S and press the button next to the display to begin washing.
-
-
-
Once the washing is complete, carefully remove the build plate from the washing tank and inspect the parts for any residual resin.
-
If there is residual resin left over, spray the parts with IPA and run another washing cycle. Repeat this step until there is no visible residual resin.
-
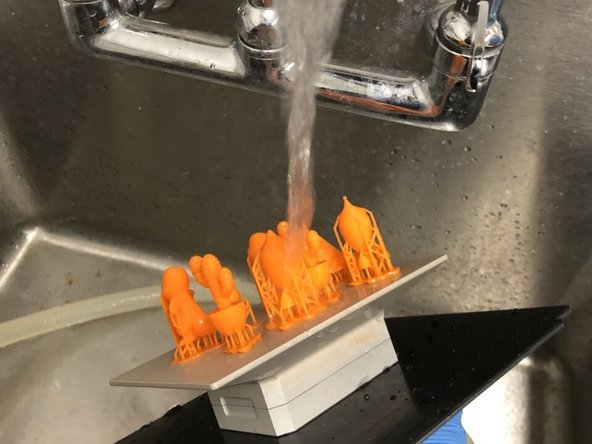
Next, take the build plate to the sink in the storage room and gently wash off the parts with cold tap water.
-
After the parts have been washed off, pat them dry with a paper towel, remove them from the build plate and set them in front of the drying fan by the consumer 3D printers for a few minutes.
-
While they are drying, completely dry and reinstall the build plate into the SL1S, remove the washing tank and place it in its designated container and cover it with the wash cover.
-
DO NOT close the container for the washing tank. Alcohol vapor will build up and release a gas cloud at the next person who opens the box. This is not fun to experience.
-
-
-
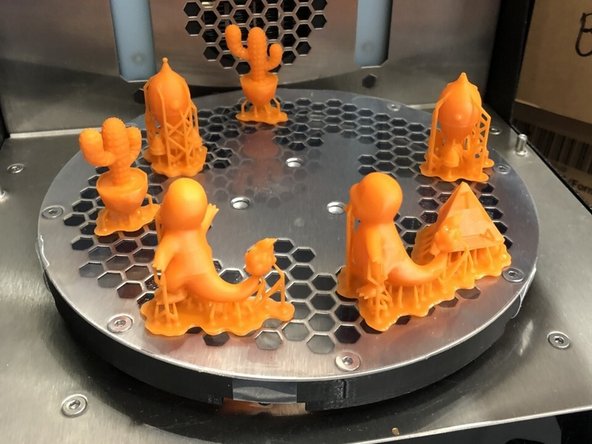
Once the parts are mostly dry you can begin loading the CW1S.
-
Place the parts on the outside perimeter of the curing plate as shown. This is to ensure optimal curing.
-
Verify that the first option is displaying "Drying/Curing."
-
Close the lid to the CW1S and press the button next to the display to begin curing.
-
-
-
The support removal process is virtually identical as for the Form 2 printers.
-
One key difference is that the touchpoint size of the support can be a lot smaller on the SL1S so the support can come off a lot easier than from Form 2 prints, often you should be able to tear it off by hand with no issue.
-


Cancel: I did not complete this guide.
One other person completed this guide.
Team
