-
-
Select the material you would like to print in here
-
Make sure the correct printer is selected. for the SL1S make sure "AFLPrusaSL1S" is selected
-
Choose the print settings for the part. "Normal" is fine for most parts.
-
-
-
The slicing here works the same way as for the Prusa MK3.
-
There are three main orientation settings for parts. Their differences are pretty self explanatory.
-
-
-
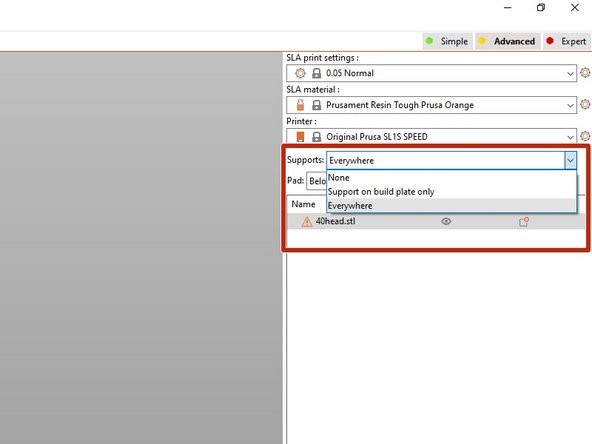
There are three different options for support generation. For most cases you want to use "Everywhere". If there are a lot of internal supports or will cause issues with model quality you can switch to "Support on build plate only".
-
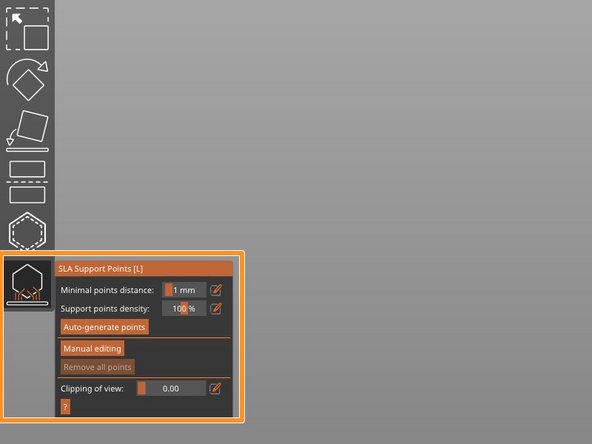
Press the "SLA Support Points" option and then "Auto-generate points" to begin support generation.
-
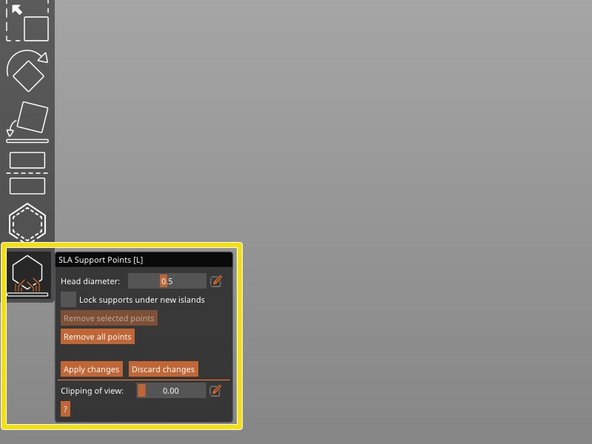
If you press "Manual editing" under "SLA Support Points" you can manually add or remove support points and also change the support point size.
-
Make sure you have the support points you want to change selected. You can do this either by clicking them individually or selecting them all with ctrl+A.
-
Support head diameter under 0.5 is very likely to fail.
-
-
-
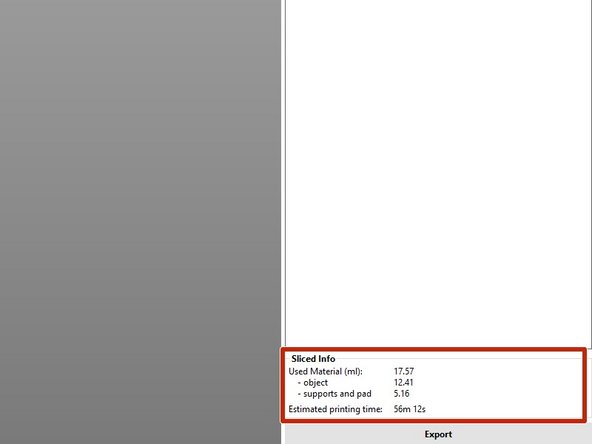
Job information and data is available in this box.
-
-
-
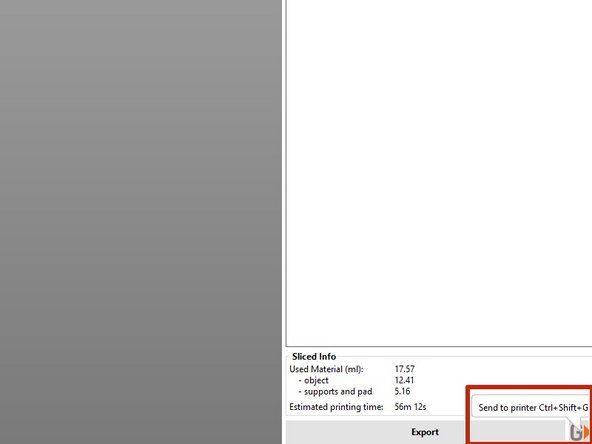
To upload to the printer, select the "G" button in the bottom right hand corner of the screen.
-
If the printer is off or booting up the upload will fail.
-
Almost done!
Finish Line


