
Introduction
This guide will cover all the necessary steps to start a print on the Prusa SL1S.
-
-
Every job sent to the printer will be queued up and will need confirmation from an operator to begin.
-
All jobs sent to the printer will be loaded onto the local storage on the printer for access later.
-
Swipe on the prompt to begin initialization for printing
-
-
-
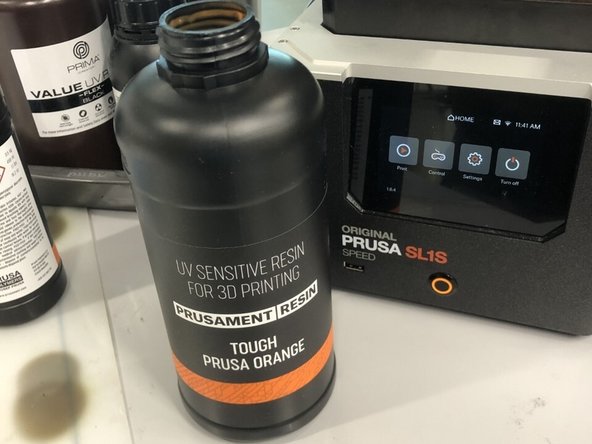
Verify that the resin is loaded in the tank is the same as the material you sliced the part in.
-
Use the black wiper tool to check the bottom of the tank to verify there are no cured parts or artifacts stuck to it
-
If there are artifacts or parts stuck to the build plate use the wiper tool to gently remove them before washing and curing them and then throwing them away.
-
-
-
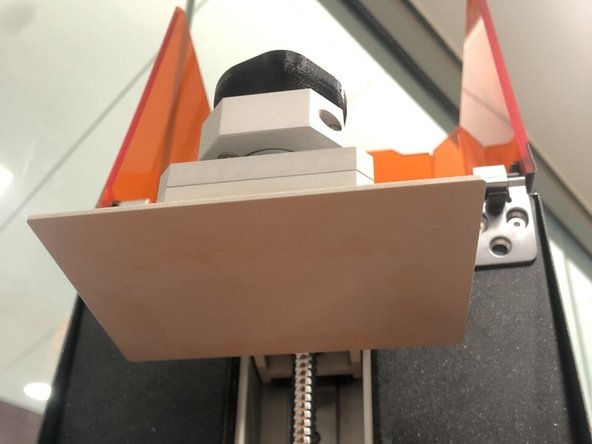
Check to see that the build platform was cleaned after its last job and is free of any resin residue
-
If the build platform is dirty or damaged either clean or replace it with an adequate one
-
-
-
This step is only necessary if a different resin is loaded into the tank than what is being printed in and we have no tanks available with that resin.
-
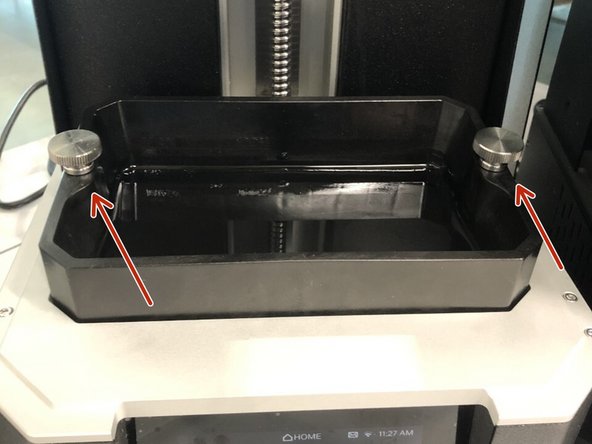
Start by unscrewing the two screws on either side of the tank and remove the tank from the printer.
-
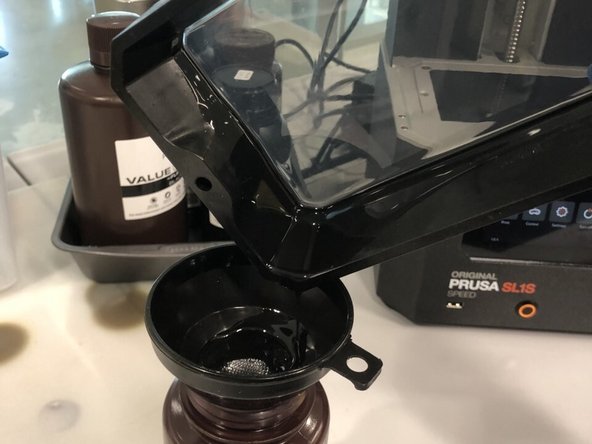
After the tank has been removed place the funnel into the resin's designated used resin bottle and begin pouring out of the tank into the bottle.
-
Once all of the resin has been poured out close and put away the used resin bottle. Then use warm water and dish soap to clean out the tank.
-
Lastly use a paper towel and some more warm water to wash the bottom of the tank and get all of the remaining resin residue off.
-
You can then reinstall the resin tank back into the printing and continue with the following steps.
-
-
-
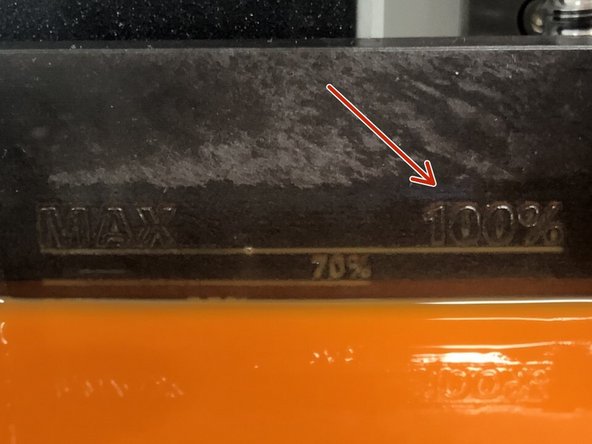
Follow the next on-screen prompt and begin filling the resin. There are lines on the back of the tank showing the different fill levels.
-
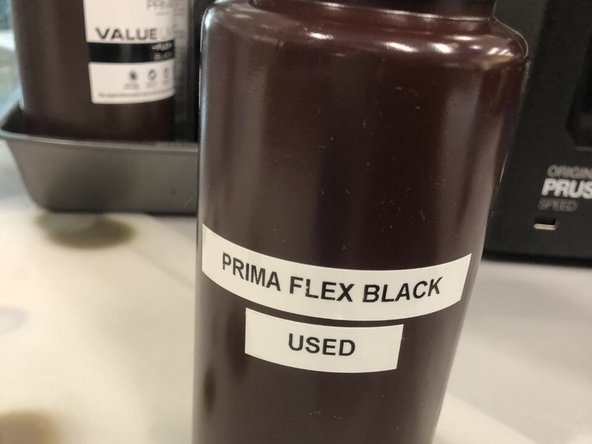
Resin is stored in two different containers. One for used resin and one for new resin. The used resin will be in a bottle labeled as "used".
-
Only begin filling from the new resin if there is no used resin left.
-
Make sure to do this after you have begun print initialization as the tank is tilted forward by default and will make the resin level seem different than what it really is.
-
If the resin level is overfilled the printer will not allow you to proceed with the next steps and will require you to take resin out. You will have to use the syringe designated to that resin to remove the extra resin and put it in the designated used resin bottle.
-
Once the resin is filled to the correct level you can continue with the on-screen prompts on the machine and begin printing.
-

Cancel: I did not complete this guide.
One other person completed this guide.
Team
