Introduction
Sometimes you will have to change or replace filaments on the Prusa i3 MK3S + MMU2S, this is a guide to help walk you through it. It will cover ejecting filament, removing filament and replacing filament.
Images by: TW
Tools
Parts
No parts specified.
-
-
If the filament is not loaded in the extruder, skip to the next step
-
On the prusa interface select the unload filament option
-
Select the material you are unloading
-
Generally is PLA or PTEG
-
Wait for the extruder to heat up
-
The extruder and print bed will get hot during this process
-
Press the knob and wait for the filament to finish unloading
-
-
-
Ejecting filament removes it from the MMU, if there is no filament loaded, skip to the next step
-
Select "eject filament"
-
Select the filament number you wish to remove
-
The MMU will push the filament forward
-
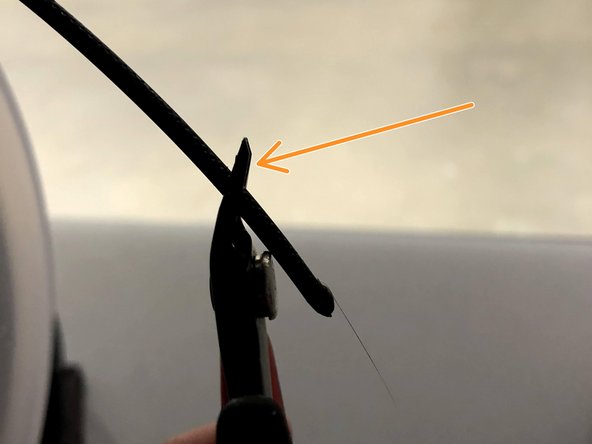
Cut the tip at a 45 degree angle
-
There is typically a bulbous end which can get stuck in the PTFE tube
-
-
-
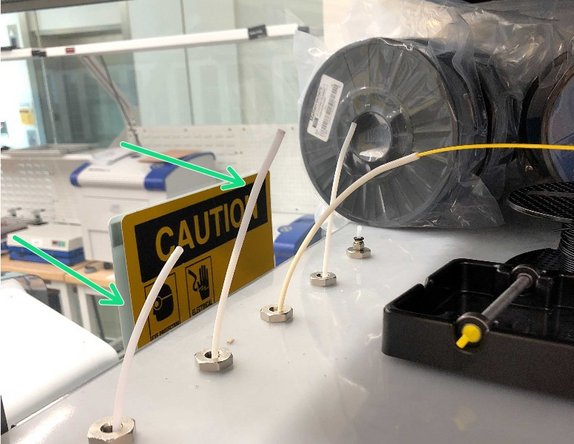
Pull the filament from the PTFE tubes on the 8 ft shelf above the machine
-
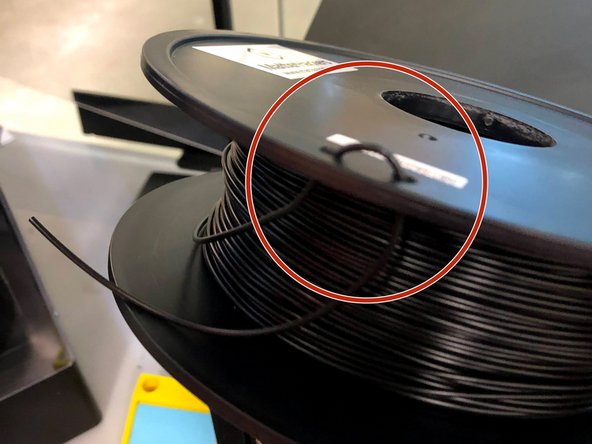
Wind the filament back onto the spool
-
Thread the end through the two holes on the spool
-
Store the filament spool in a cool dry place preferably in a bag with silica packets
-
-
-
Cut the filament at a 45 degree angle
-
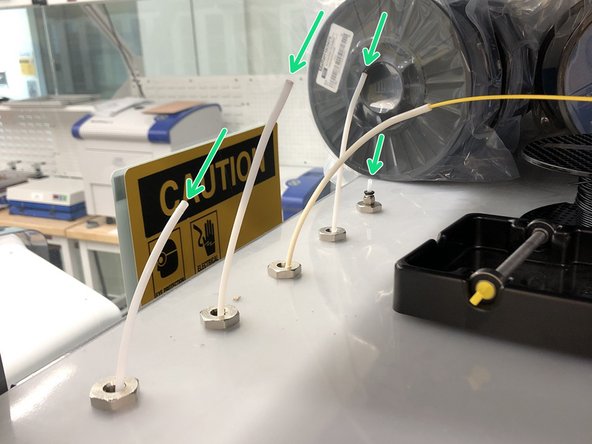
Feed the filament through one of the PTFE tubes above the printer
-
-
-
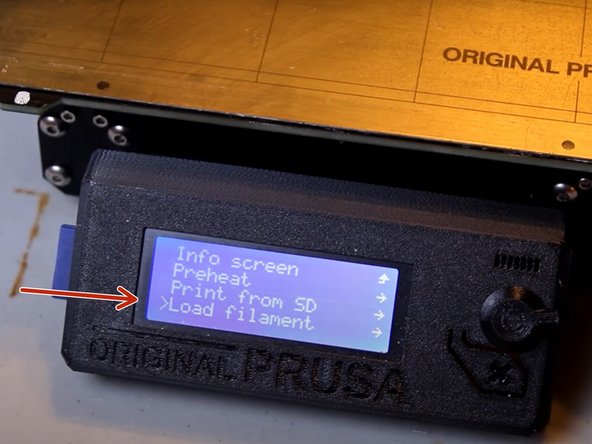
Select "load filament"
-
Select the filament number you are loading
-
The MMU will have a blinking light above the filament number selected
-
Slowly push the filament through the PTFE tube until you can feel the MMU's drive gears grab the filament
-
-
-
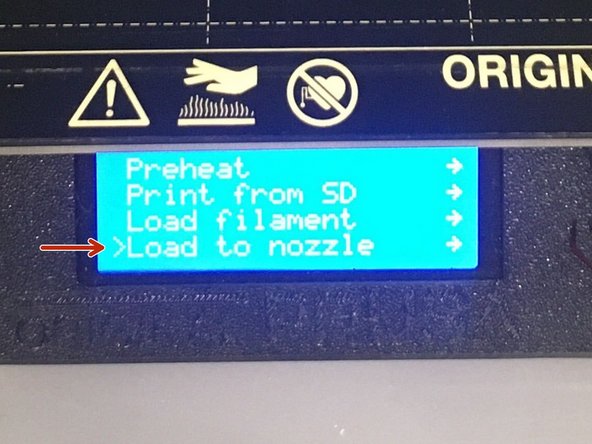
Select "Load to Nozzle"
-
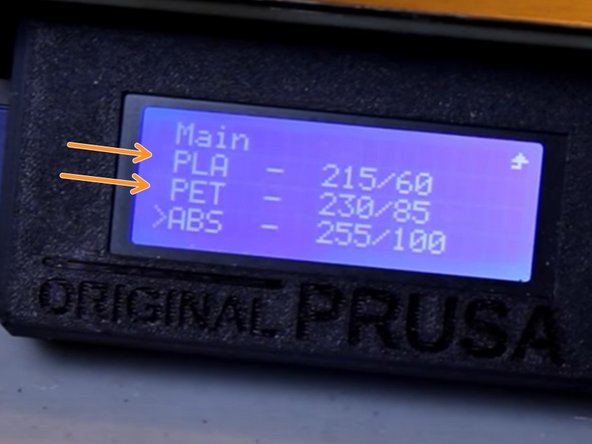
Select the material type
-
Typically PLA or PETG
-
Wait for the machine to finish preheating
-
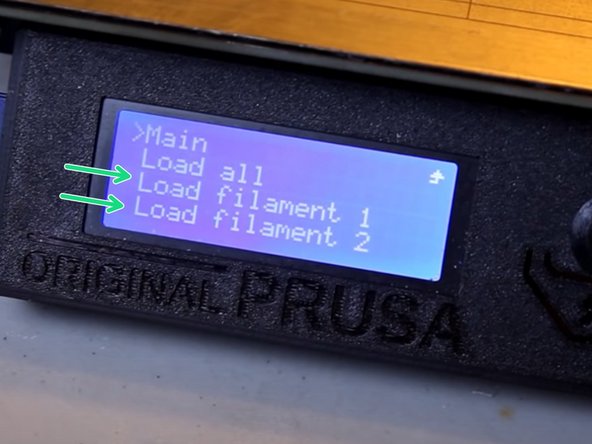
Select the corresponding filament number you wish to load
-
The machine will then load the filament to the nozzle
-


