-
-
Before starting a print, it is good to check for dust, debris, or residue on the build plate. Any of these can cause a print to disadhere from the build plate while printing.
-
The Prusa build plate is magnetically attached to the printer. It can be removed by grabbing the two front corners and lifting.
-
Peel off any filament that is stuck to the build plate. If the build plate is only slightly dirty, it can be cleaned with Isopropyl Alcohol (IPA) and a cloth. Spray the build plate with small amount of IPA and wipe it clean with the cloth.
-
If the build plate is significantly dirty or has glue on it, take it to the sink and clean with warm water, dish soap, and a sponge. Dry the build plate before reseating it on the printer.
-
-
-
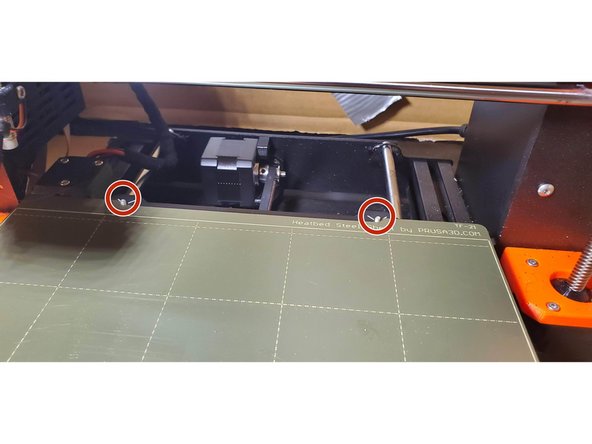
To reseat the build plate, hold it at an angle from the heatbed so the magnets do not lock the plate in place.
-
Align the standoffs with the back of the build plate. Gently lower the build plate onto the heatbed.
-
Pay attention to your fingers and avoid getting them pinched by the magnets
-
-
-
Before starting a print job, verify that the type of material loaded on the machine matches the type of material selected in the slicer.
-
Load the GCode file onto the SD card. The SD card can be removed from the printer by just pulling it out from the side, you do not need to "eject" it like you would on a computer.
-
Move any old files into the "Printed" folder on the SD Card (note that the folder name might vary across SD Cards)
-
Reinstall the SD card. Using the scroll wheel, find and select the desired file to start the print.
-
-
-
95% of print failures start on the first layer. Inspect the print shortly after starting it for any glaring issues.
-
While on shift, regularly check back in prints to observe progress and stop issues.
-
-
-
Once the print has finished printing, it is time to harvest it. Let the build plate cool for ten minutes before removing it from the printer.
-
This step is not only for your safety, but for the integrity of the print. Especially on thin parts, removing the part while still hot will cause the bottom print surface to cool rapidly, which can cause warping and deformations after the print is complete.
-
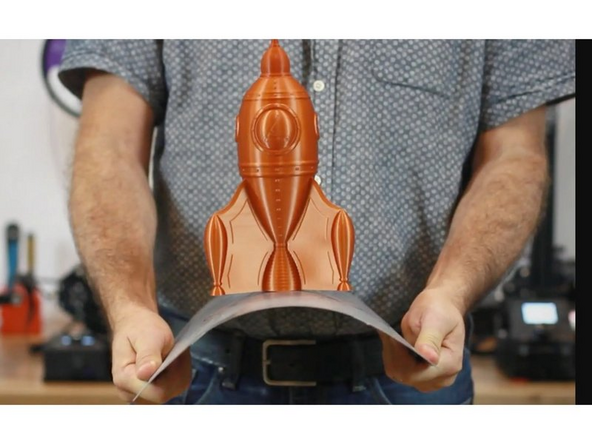
Once the build plate is cool, parts should be easily removable by hand. If a part sticks to the build plate, flex it back and forth to release it.
-
Do not use a metal spatula to scrape parts from the bed unless absolutely required, as it can scratch the build plate.
-
-
-
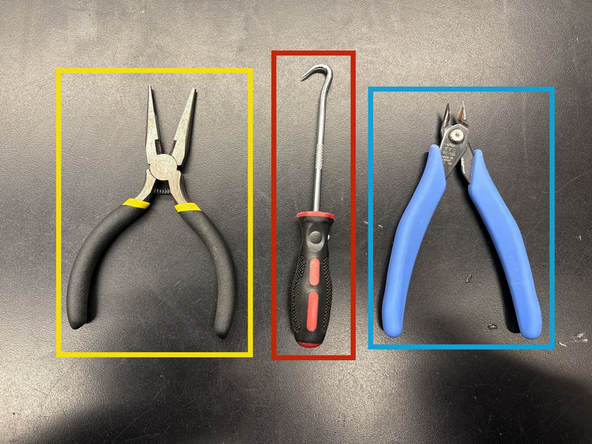
After removing the print from the build plate, we must remove any and all support material. Some support material can be removed by hand, some requires tools.
-
Pliers can be used to get a stronger and safer grip on supports.
-
Picks can be used to scrape support out from small crevices and get into awkward corners.
-
Flush cutters (often called snips in the lab) can be used to cut stubborn supports.
-
Support can go flying during removal, so put on eye protection for difficult harvesting jobs. Additionally pliers can pinch you and picks and snips can cut you so be careful when using them.
-
-
-
Once you are done harvesting the print, it is important to clean up after yourself!
-
Inspect the build plate and clean it following step 1 if needed. Return it to the printer for the next print.
-
Discard of any filament scraps. Most PLA can go in the recycling buckets found by the door to FabFarm, check the color labels. Any other materials can go in the trash.
-
If you don't have any more prints to harvest, make sure to return the tools to their proper places.
-