Introduction
This guide will explain how to change the filament in the Raise3D N2 Plus.
Images by: Nico Lagendyk
Tools
Parts
No parts specified.
-
-
Press unload from the "Utilities" menu on the touchscreen
-
Wait for the extruder to heat up
-
Press "Unload"
-
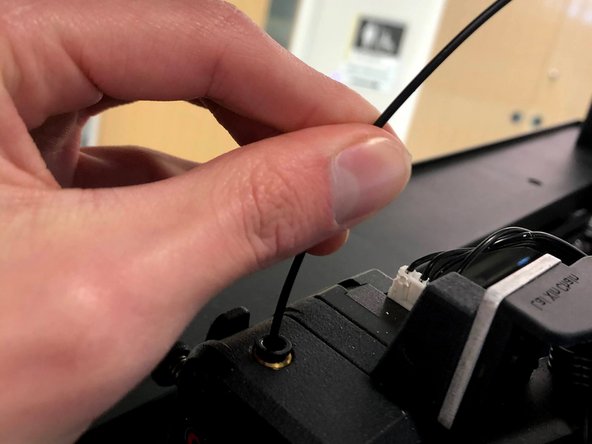
Remove the PTFE tube from the top of the extruder
-
Guide the filament out of the extruder
-
-
-
Open the side door
-
Wind up any excess filament onto the spool
-
Pull the spool off of the spool holder
-
Tuck the filament into the spool using the two little holes on the edge
-
-
-
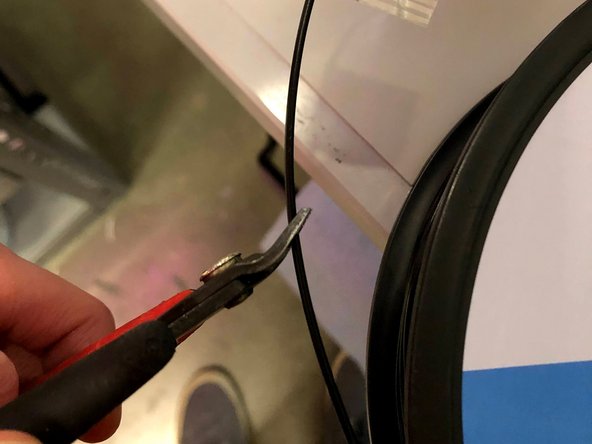
Prepare the new filament by cutting an angle at the tip using side cutters
-
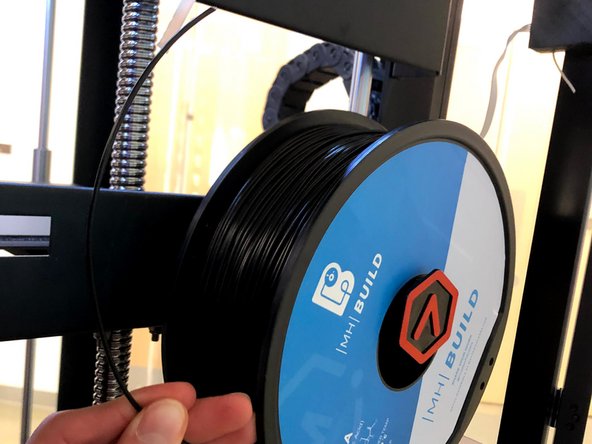
Place the new spool on the machine so that the filament unspools on the side nearest to you
-
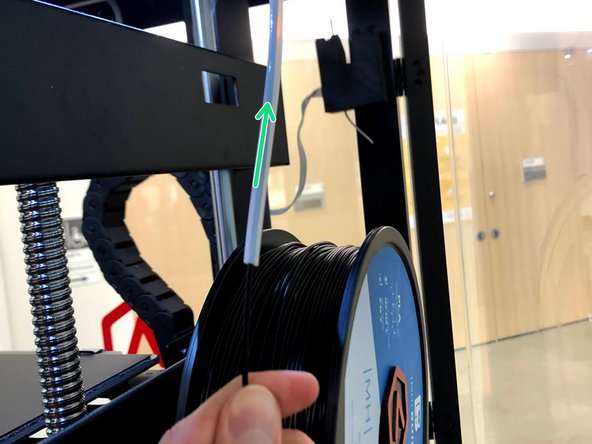
Feed the filament through the PTFE tube
-
-
-
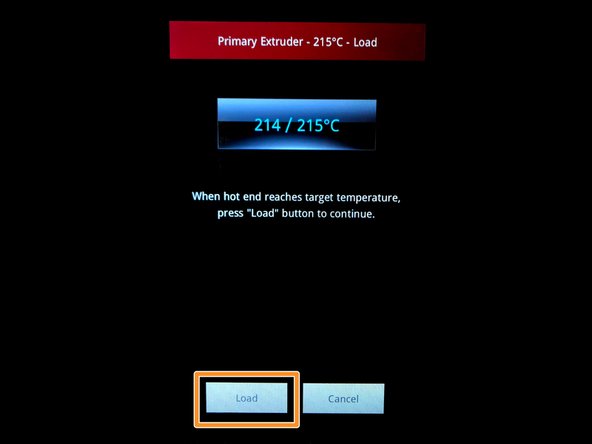
Press "Load" from the utilities menu on the touchscreen
-
The extruder will heat up again
-
Press "Load" on the touchscreen
-
Guide the filament into the gears
-
Once the filament catches you can insert the PTFE tube into the extruder
-
Press "Stop" once the filament is extruding nicely
-