Introduction
This guide will explain how to remove a model from the Raise3D N2 Plus as well as tips for removing support material.
Images by: TW
Parts
No parts specified.
-
-
Click "Print Success" or "Print Failure"
-
If printed successfully, click "Done"
-
If not, click "Reprint Last Job"
-
-
-
Press the blue down arrow on the touchscreen to lower the build platform to at least 150 mm
-
Or Click on the "Z:##" box to bring up a number pad
-
Type 150 into the field and press "OK"
-
-
-
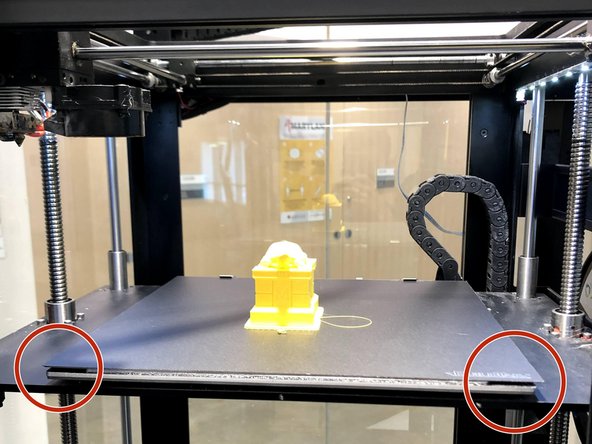
The build plate can be hot directly after a print has finished so wear heat gloves if necessary
-
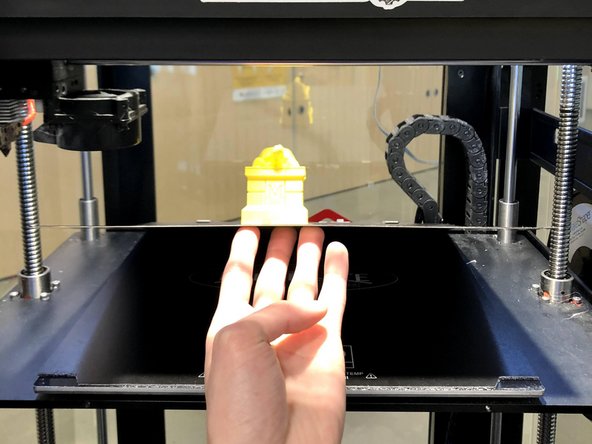
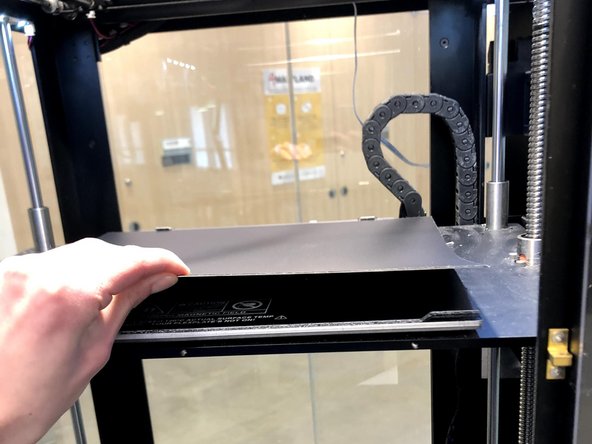
Lift the build plate off the magnetic bed from the front two corners
-
Pull the build plate out of the printer
-
-
-
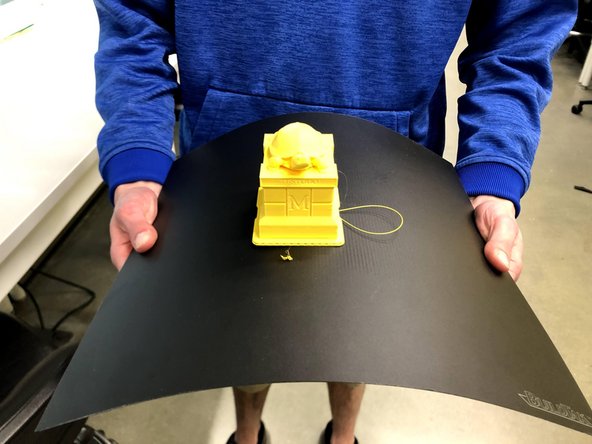
Flex the build plate in multiple directions to release the part
-
If the model does not easily pop off place the build plate on a flat surface
-
Using a spatula at a low angle, work around the edges of the raft and slowly push further each time
-
Be patient with fragile parts as they could break off or crack
-
Do not use a high angle on the spatula as it could dig into and damage the BuildTak surface
-
-
-
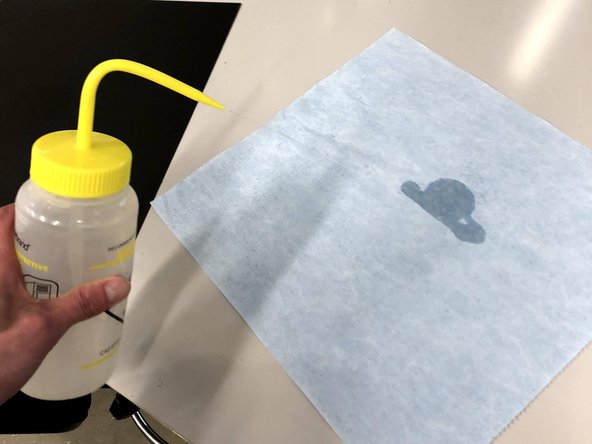
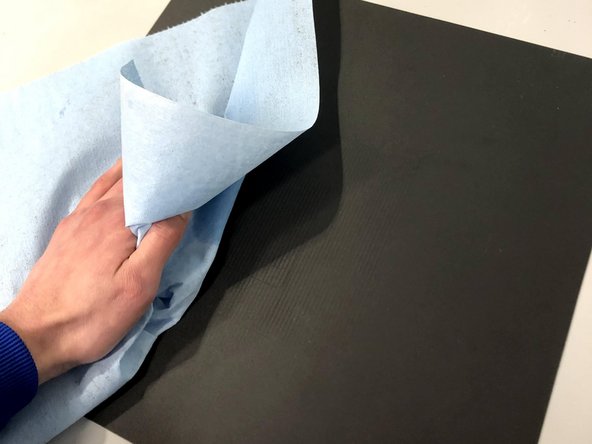
Remove any support remnants from the build surface
-
Using a paper towel wipe the build plate clean with IPA
-
Return the build plate to the machine pressing up against the onyx spacing blocks at the back
-
Slowly lower the spring steel onto the magnets
-
-
-
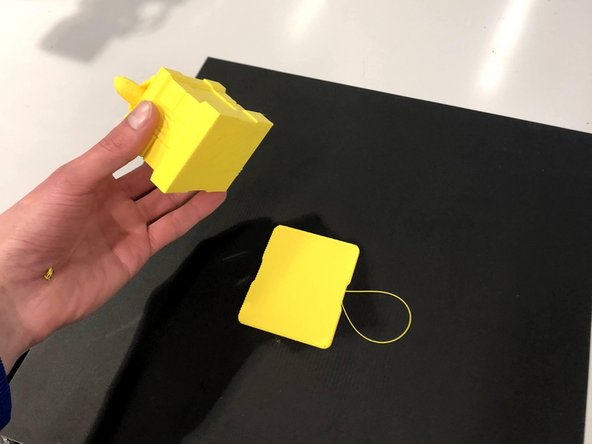
For most prints the raft should come off easily and should not need more force than applied by your hands
-
For more complex parts, the raft may require some poking and prodding from the spatula- use gloves to avoid cuts
-
If the raft is fused to the part, re-slice the part with a larger raft-to-model spacing
-
Supports can be removed using pliers or picks and patience
-
Supports that are fused to the part and difficult to remove may require additional post-processing, or need to be re-sliced with larger spacing
-