Introduction
This guide will explain the necessary steps from taking a .gcode file to having a finished print.
Images by: Nico Lagendyk
-
-
This step only pertains if you used an SD card to transfer the .gcode
-
Transfer the desired .gcode file to the SD card and bring it over to the printer
-
Inset the card into the SD slot on the side of the machine
-
-
-
Verify that the correct material has been loaded, or load the correct material
-
Press the print icon on the bottom ribbon of the touchscreen
-
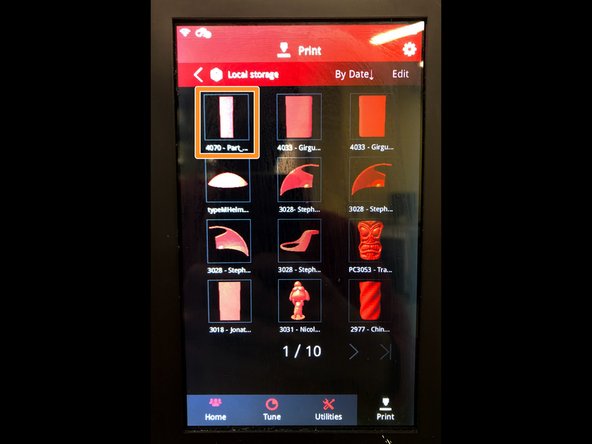
Press "Local Storage" if you uploaded to the Raise over the network
-
Press "SD Card" if you used an SD card to transfer your .gcode
-
-
-
The models are ordered in chronological order with the most recently edited being first
-
Find your model and press on it
-
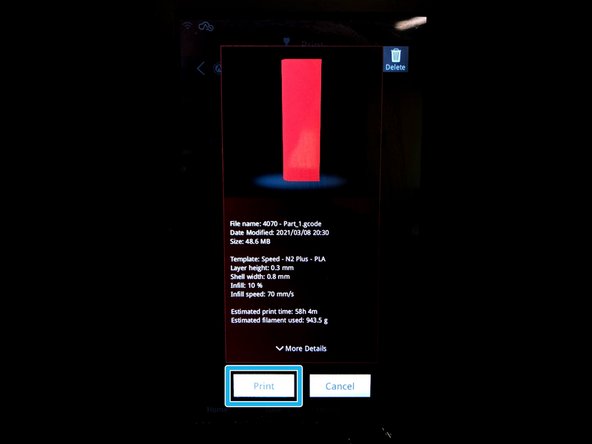
Press "Print"
-
-
-
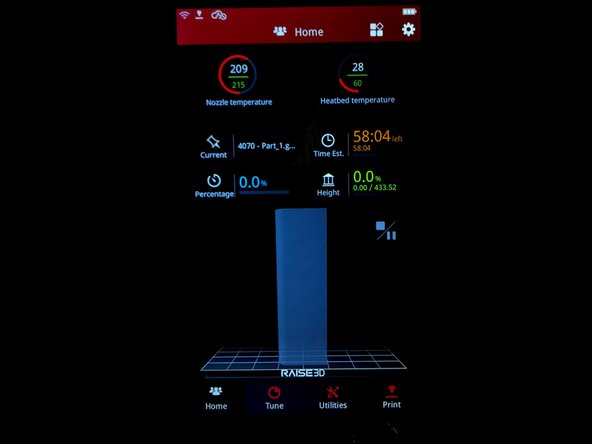
The print process begins by warming up the extruder and the build plate
-
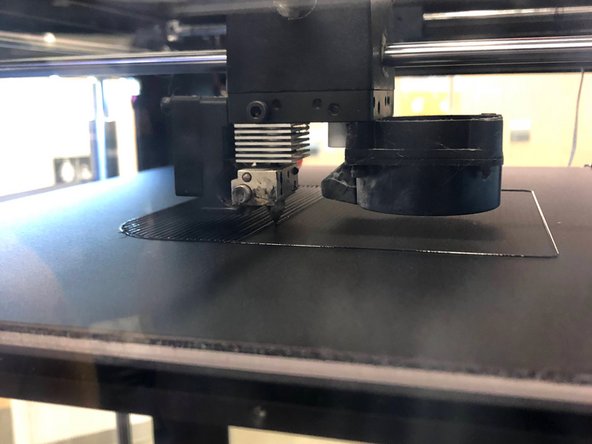
Watch the first few layers and ensure it looks normal
-
Check back intermittently to ensure no printing failures
-