-
-
As with other DMLS operations you will need the proper PPE and tools to start a job.
-
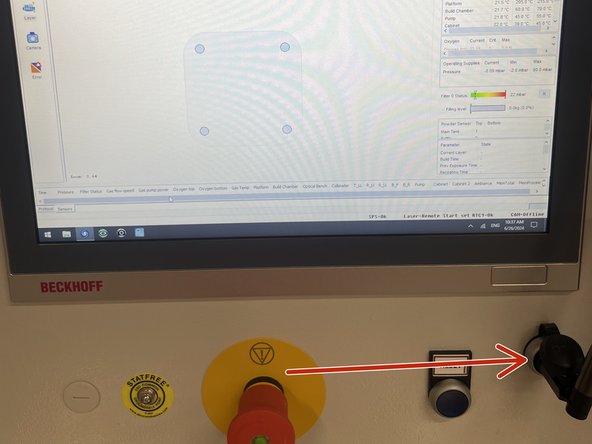
To begin with power up the machine by turning the switch on the right side of the machine.
-
While the machine is booting up lift the panel directly above the screen to reveal the secondary monitoring screen.
-
Wait until all messages clear and press SPLASH.
-
Press the reset button.
-
Login to the machine using the provided information.
-
Navigate to the manual control tab>Gas and heat then turn the water pump on.
-
-
-
If the machine was running before it is likely that the powder collection bottles on the left side of the machine are full. We will need to empty them before we begin.
-
Lock both the powder collection tubes and bottles to prevent any powder leakage.
-
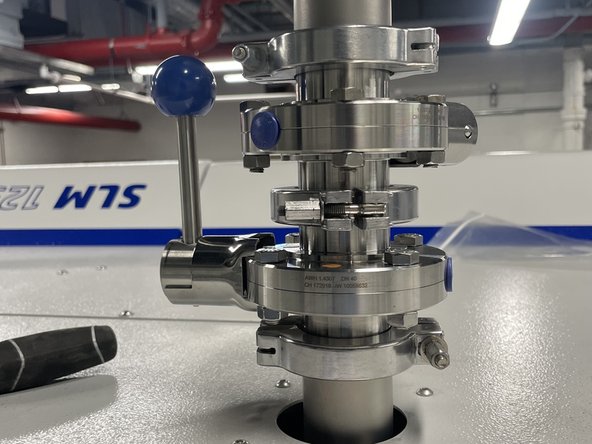
Take the wrench and unscrew the middle O ring lock.
-
Place one hand around the neck of the bottle below the lowest O ring latch. Using a screw driver to pry the latch loose, undo the latch fully with your other hand.
-
-
-
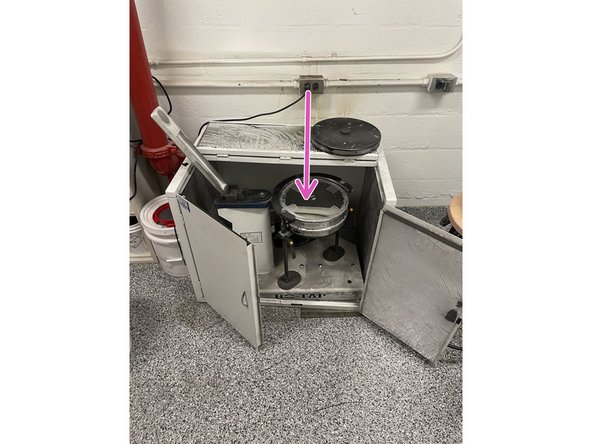
This is the sieving unit in the back room of JC's lab.
-
Taking the powder from the overflow collection bottles upend the containers into the the sieve
-
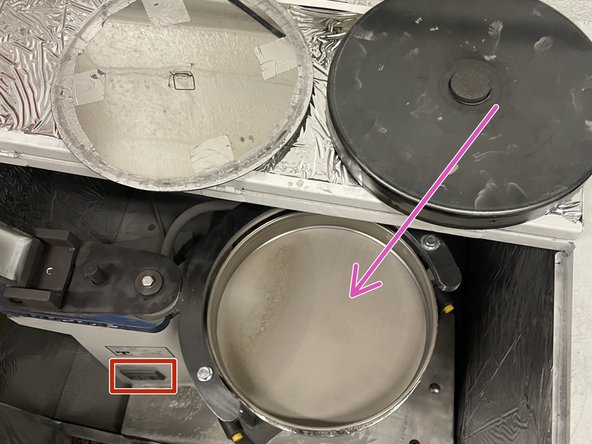
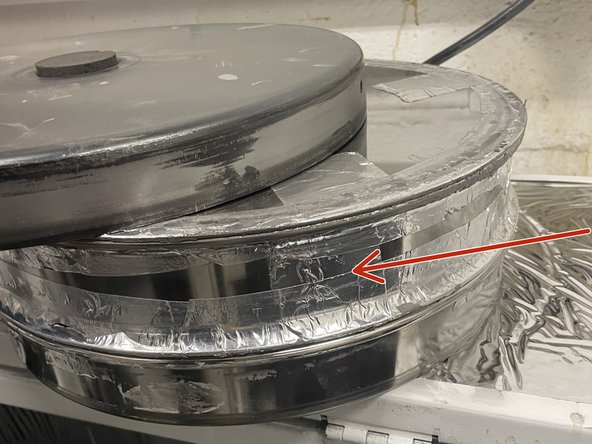
The sieve should be set up already but if it is not the sieving unit is best thought of as a sandwich.
-
The only filter we use is the < 75 micron filter. Place this filter on top of the collection unit.
-
Finally place the top cover over the 75 micron filter.
-
It is easier to assemble/disassemble the sieve component of the sieving unit inside the machine.
-
Turn the sieve on for 5 minutes by adjusting the time on the display.
-
You will have to run the sieve multiple times as the volume of the overflow bottles is larger than what the sieve can handle in one run. Its best practice to do this intermittently throughout the build prep, slicing, etc...
-
-
-
This part of the job will require lifting heavy objects (in excess of 50lbs+) either find a capable staff member to assist or ask for other help. Even half full it can weigh 25lbs+.
-
Firstly you will take the bottle off of the top of the machine by locking both ends of the piping system so that powder cannot flow (both handles should be vertical). Then loosen the O-ring collar. The supply bottle may still be heavy so carefully take it off the top of the machine.
-
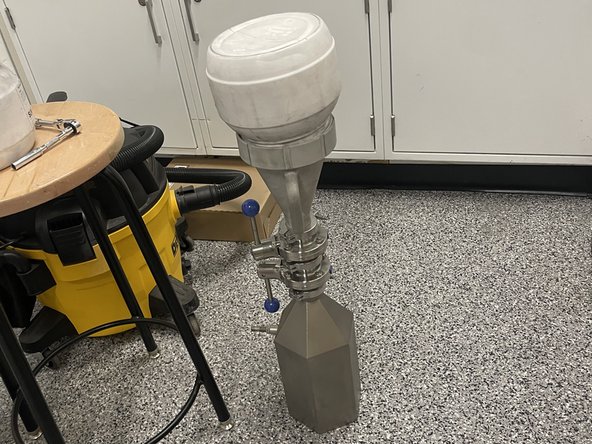
Secondly you will need to fill the powder supply by using the powder transfer funnel and an O-ring screw collar. You will likely have to fill the bottle multiple times with the funnel.
-
It may take a minute to flow into the supply bottle, so play the bongos for a little!
-
After filling the bottle it is time to mount the supply on top of the machine again. Place the O-ring on the mounting point first. Sling the powder supply bottle up over your should and carefully use the step ladder to put it on the O-ring.
-
Lastly replace the screw latch to secure the bottle in place.
-
-
-
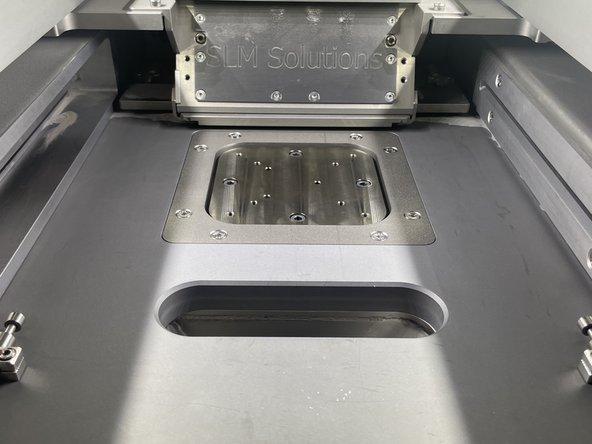
Plate mounting is an extended process that will be completed over the duration of the build prep. This is because we have the plate at a set temperature of 200C while the build is running to ease thermal expansion and thermal stress build up. The second picture shows a clean build chamber.
-
To start clean the plate mounting surface with the inerted vacuum and ensure that there is no powder in the screw holes.
-
Next take a fresh plate and deburr the screw holes till you can see a visible chamfer on the radius of the holes.
-
Then take the file and make a chamfer on the edge of the plate.
-
next smooth both the top nad bottom surface of a plate by moving it in a circular motion on top of 120 grit sandpaper.
-
Clean the plate with isopropyl and a towel to get rid of any metal dust that has accumulated from the sanding process.
-
-
-
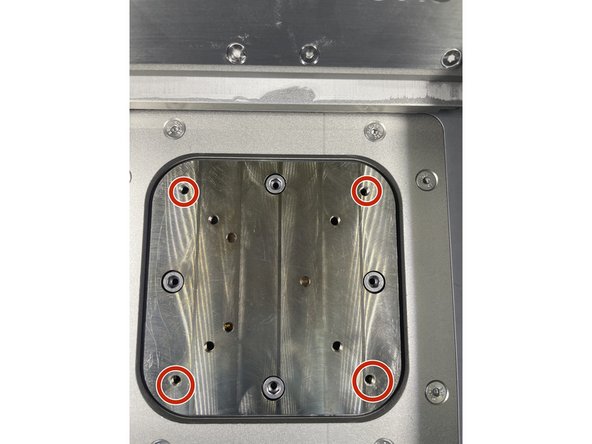
Now the plate is read to be loaded into the machine. Place the plate onto the sintering column and secure it by screwing in the 4 screws and tightening in a diagonal pattern. Tighten the screws so the Allen wrench is beginning to resist you.
-
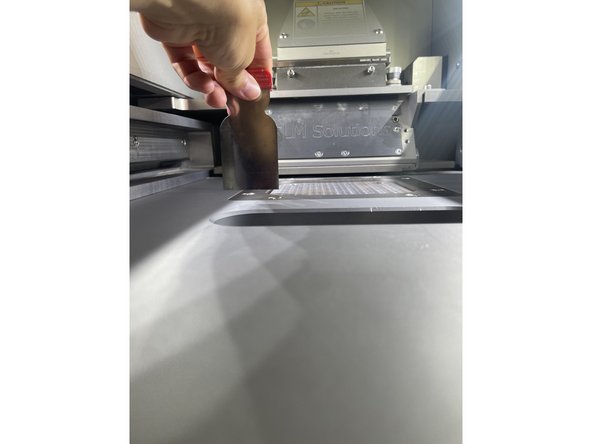
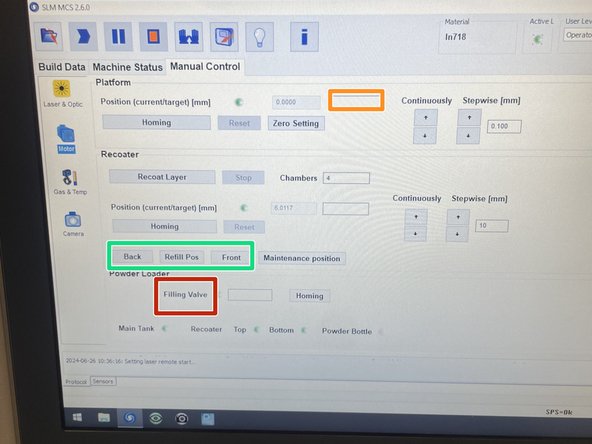
Lower the plate to 21.5 mm by navigating to the screen on the console. Then use the flat edge to see how far away the plate is from being flush with the rest of the build area.
-
The drive system works by turning a screw held in place by bearings and a drive shaft. This means we will perform all the adjustments on the downward movement of the plate.
-
Continue adjusting the plate up and down till the plate is just barely below the lip of the sintering area (~1mm)
-
Once the plate is ready to be heated, wait till the plate reaches 200C before fully tightening the plate to the machine.
-
-
-
The next steps involve changing certain settings to match the build that you are going to attempt.
-
Your TC will take care of all relevant ones for the build you choose for the first run of the machine.
-
The important steps for this part of the build are as follows:
-
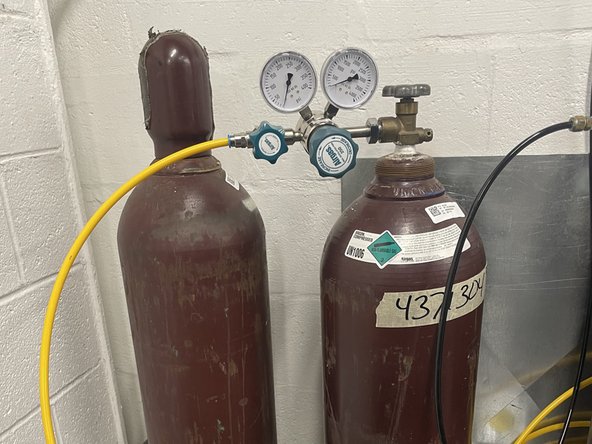
Go to the back of the lab and turn on the Argon gas flow. The inflow should be about 100 psi for our system.
-
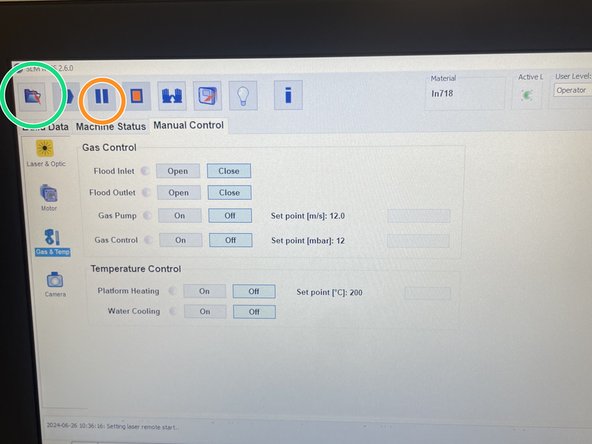
Then go to the Manual control menu > Gas and Temp. From here turn on the gas flow into the machine and wait till the environment gets down to ~1% Oxygen level.
-
Next turn on the turbine. There is a chance that the turbine will not turn on in which case we restart the machine and flip a breaker.
-
-
-
After all the build preparations have been made its time to run a first layer.
-
Load powder into the chambers and drop the plate by .05mm to give us a slightly thicker first layer.
-
Run the blade forward and back and check the powder thickness.
-
If the powder is thin enough you may move on otherwise readjust the height of the plate and then move forward.
-
A thin layer means you should be able to see the plate beneath.
-
-
-
After slicing the file take the USB and upload the build job to the computer in the SLM.
-
It is a good idea to copy the build file from the USB to the internal computer on the printer if the build fails.
-
Eject the USB and plug in the wifi module to allow remote monitoring of the build.
-
Next select the job from the file open icon on the top left of the machine screen.
-
Finally press play and kick back!
-
Almost done!
Finish Line


