-
-
So you want to Sandblast eh. Well here is how we do it (from the start)!
-
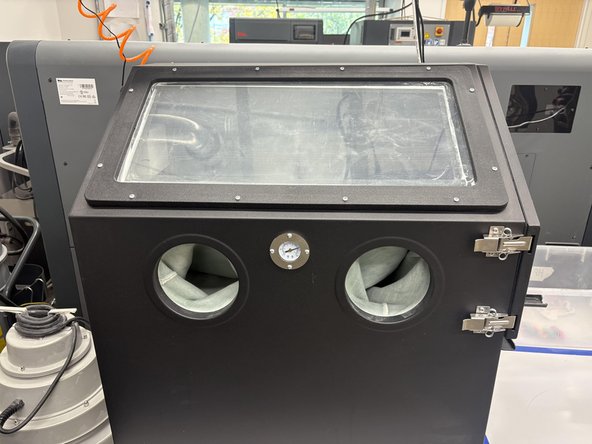
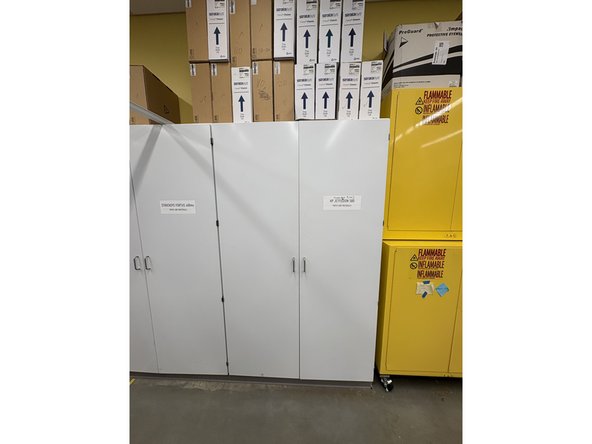
Step 1 : Find the Sandblaster in the lab. It looks like the image shown here!
-
Sandblaster is only for HP Use !! Fuse dust will cause staining of HP Parts
-
-
-
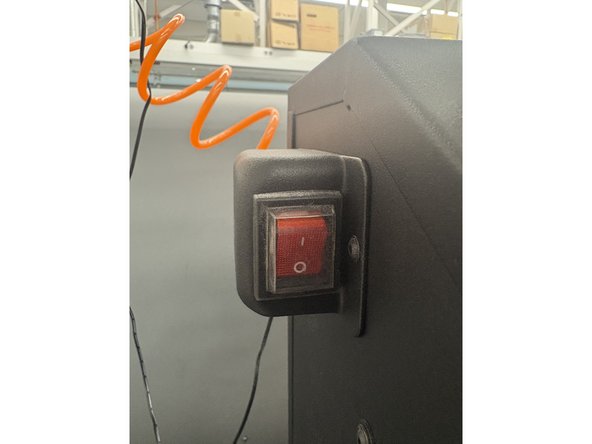
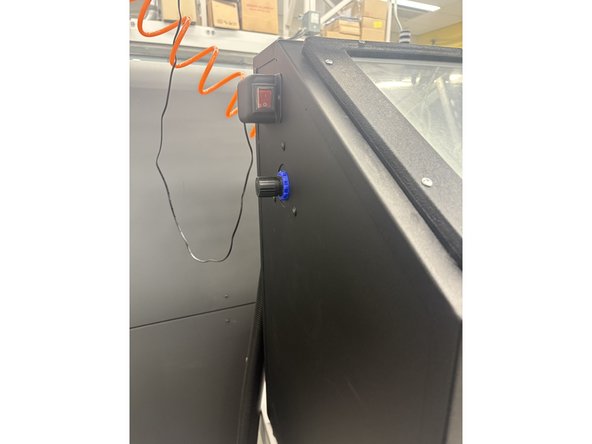
Step 2: Take a look at the blaster and find the on switch as shown in the image. Don't worry you're going to learn more. This step just turns the light on so you can see!
-
-
-
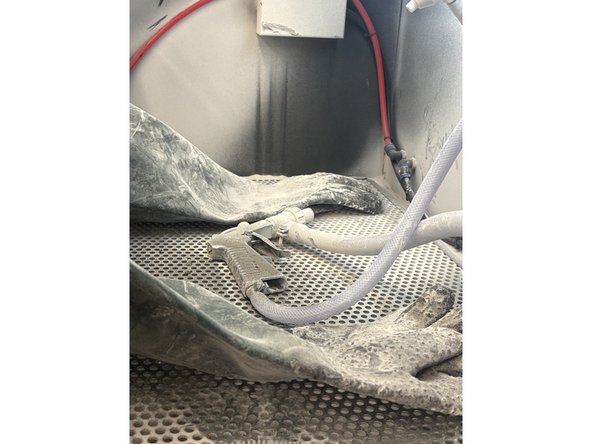
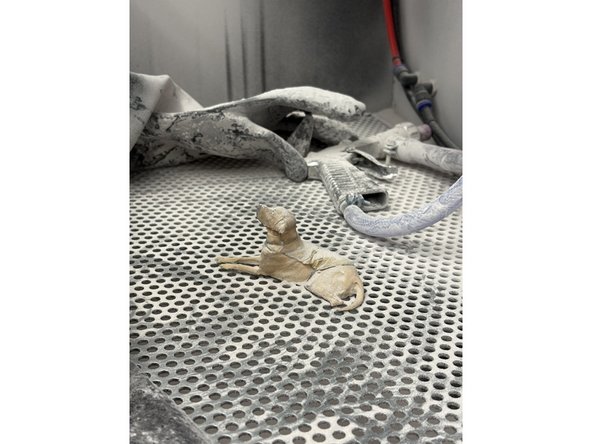
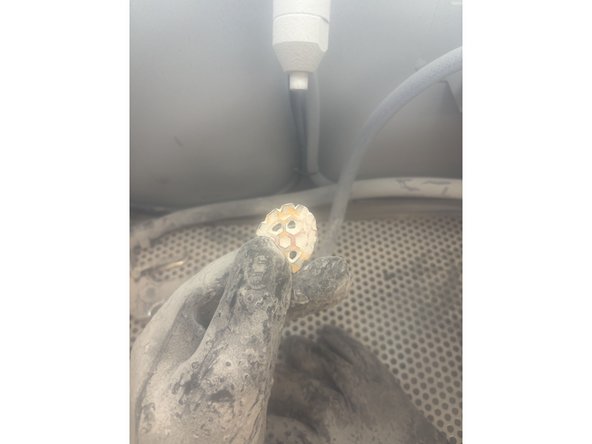
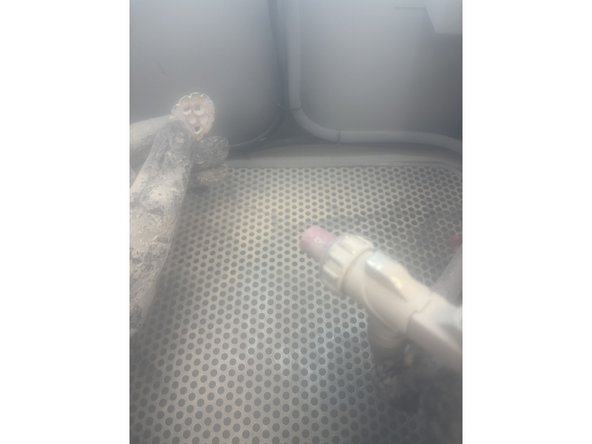
Step 3: Take a second to look in and observe the now-lit internal cavern. You should see the main static nozzle fixed near the center top (Picture 2). You should also see the inner air sand gun (Picture 3).
-
-
-
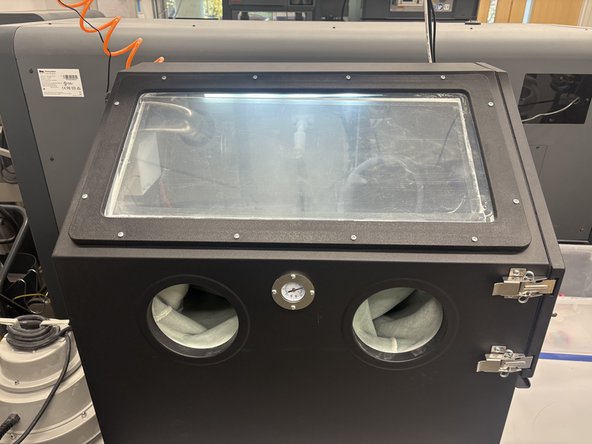
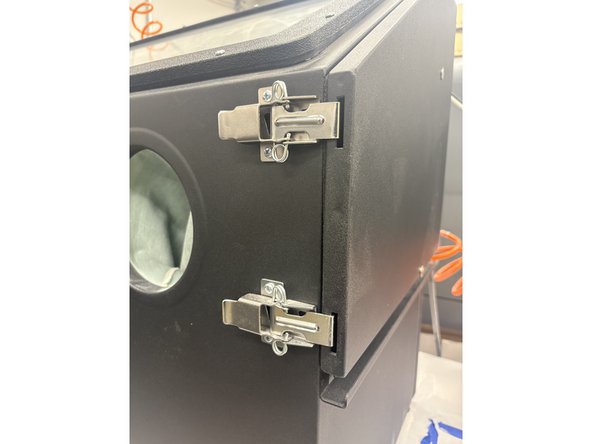
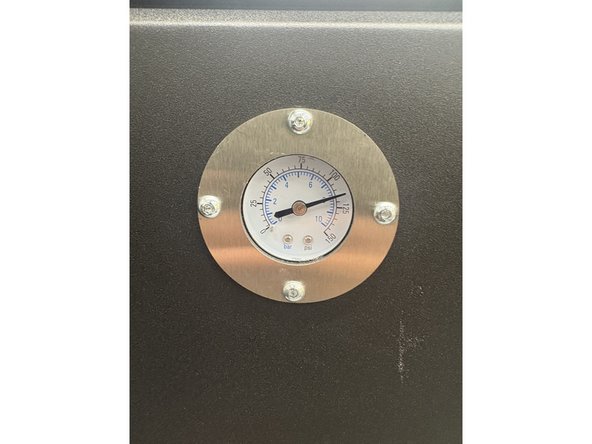
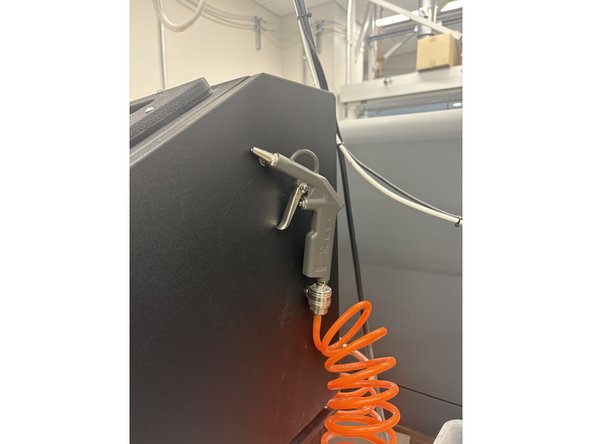
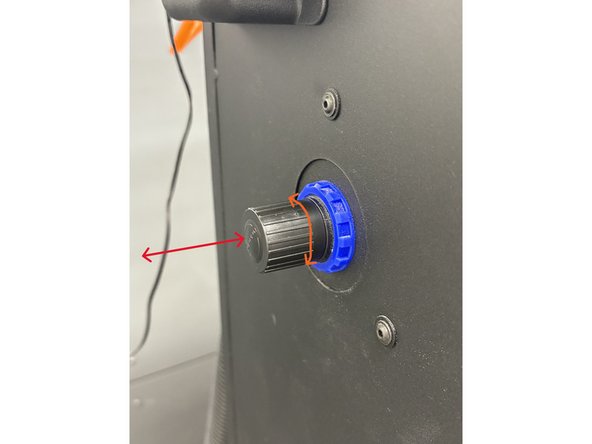
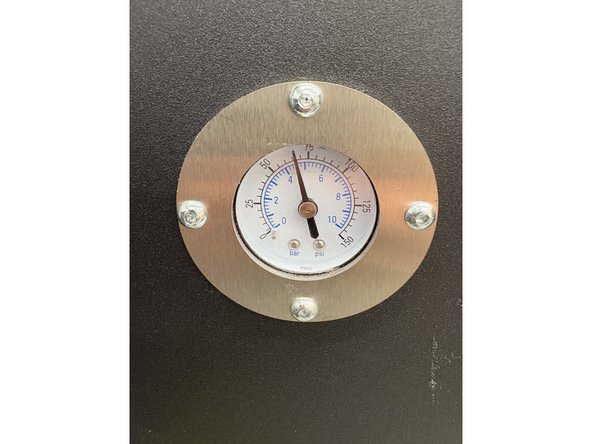
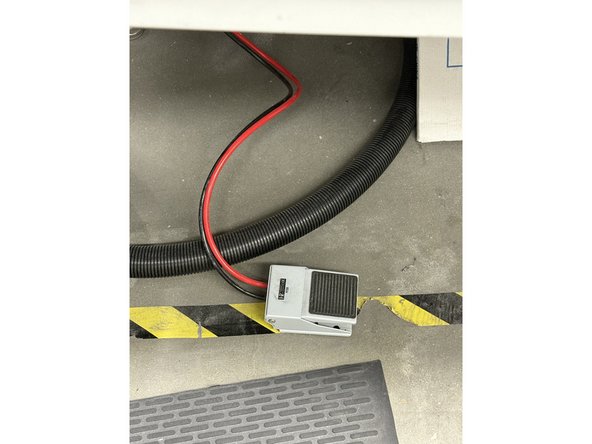
Step 4: Look at the outside of the sandblaster. Take notice of the latches to open the door. The pressure gauge, which tracks the psi of the static nozzle. Also the knob on the left side of the machine to adjust pressure.
-
-
-
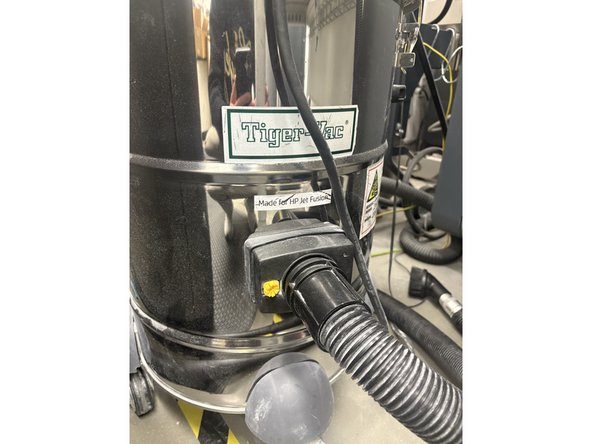
Take notice of the external air hose as well as the TigerVac vacuum on the left of the Sandblaster
-
-
-
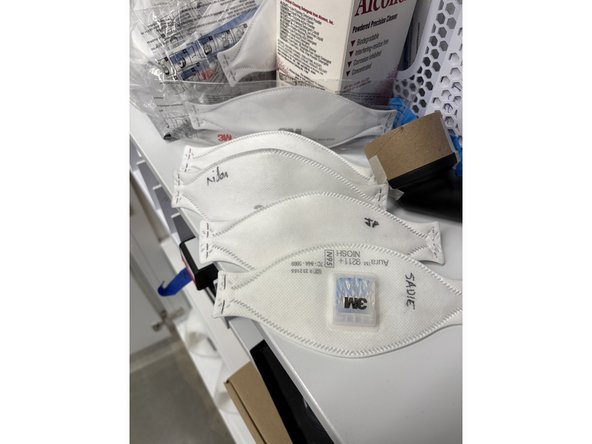
Find the N95 masks from the HP closet. If you don't already have one with a name on it then take out a new mask and write your name on in it with sharpie.
-
Don the mask.
-
Nobody knew who I was till I put on the mask.
-
-
-
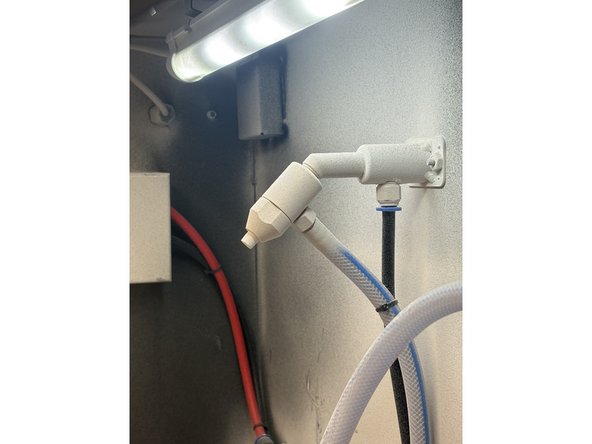
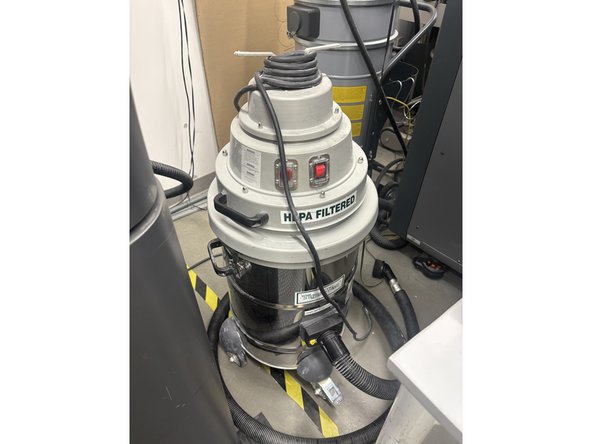
Look at HP TigerVac Vacuum. Observe that there are two separate hoses near the vacuum. One of the hoses leads straight to the brush attachment. The other leads to the SLS sandblaster.
-
Find the connection point of the vacuum to the vacuum hose. Trace the connection of the vacuum to make sure it is plugged into the Sand blaster and not the brush attachment. If you need to swap out the hoses pull the yellow tab to the left and pull the hose out. Then put the new one in.
-
Turn on the Vacuum before use !!
-
-
-
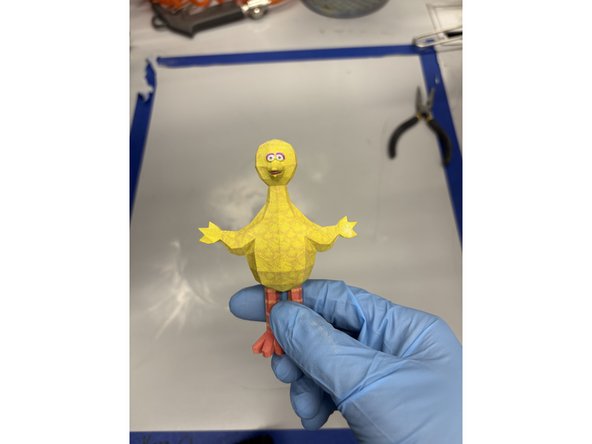
Take your dusty HP part and insert it into the blasting chamber by undoing the latches and placing the part inside. Once the part is inside close the door and secure the latches.
-
-
-
Make sure the light is still turned on. Find the pressure knob discussed earlier. Pull the knob out to enable twisting. Twist the knob till the pressure dial reads 60-70psi. Push the knob back in to lock the pressure.
-
-
-
Make sure the door is fully shut with the latches on before this step.
-
The pressure can be kind of finicky so if you are messing with the knob and nothing is changing on the dial. Find the floor pedal and tap it once or twice then check the pressure and adjust. Continue until at the right pressure.
-
-
-
Its finally time to Sand blast that thang. Insert your hands into the gloves. Pick up the part within the chamber and position it a few inches away from the static nozzle. Use the pedal under the desk to sandblast away. For heavily covered parts utilize the sand gun at long distance to blast at full pressure.
-
There is no pressure control for the sand gun
-
-
-
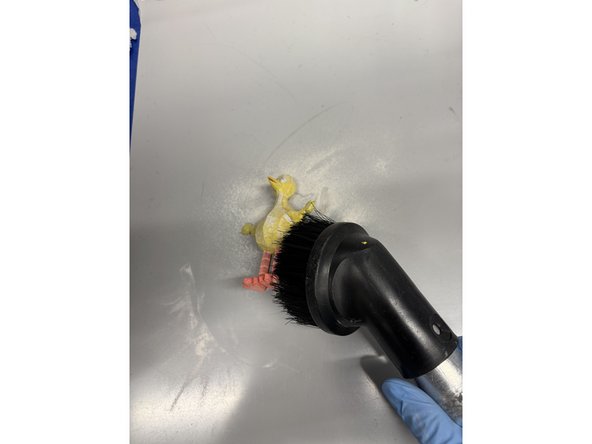
Take your part out of the chamber and place it on the work area. Redo the latches to seal back up the chamber. Swap the vacuum hose connection to the hose with the brush head.
-
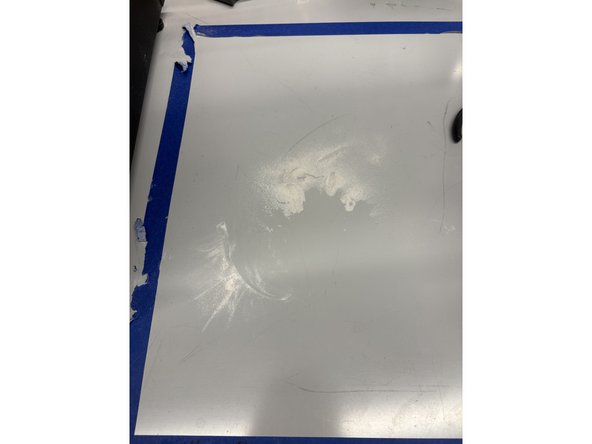
Turn the vacuum on and begin removing any excess dust on the part. Then turn your attention to the workspace and vacuum any accumulated sand.
-
-
-
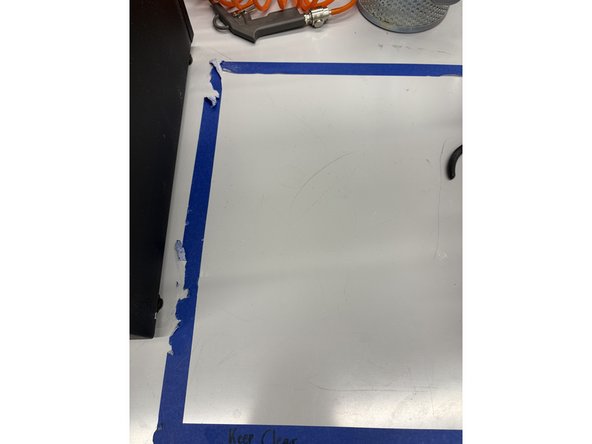
Take a final look around before exiting the space. Is the hose wrapped around the vacuum? Is the workspace clean? Is the blaster light turned off? Are the latches sealed?
-
If the answer to all of those questions then pat yourself on the back. You just sand blasted your first part!
-


Cancel: I did not complete this guide.
One other person completed this guide.