
-
-
Turn on the computer accompanying the ez router and load up MACH, the application for running the ez router.
-
-
-
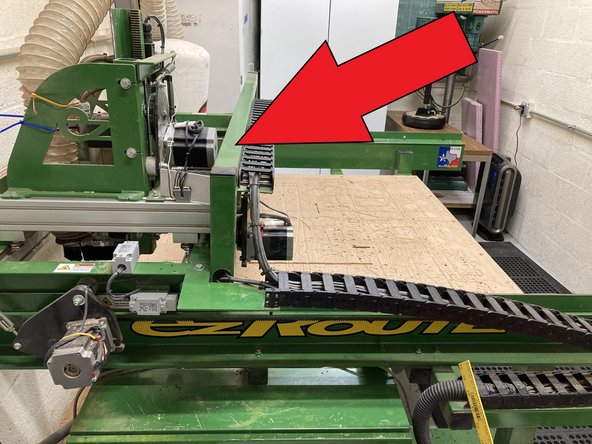
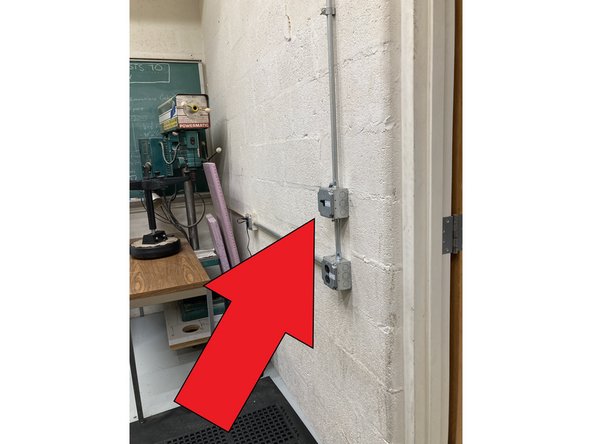
On the back of the ez router, pull out the red E-stop
-
Now flip the black switch to the left of the E-stop. The Ez router is now powered on
-
-
-
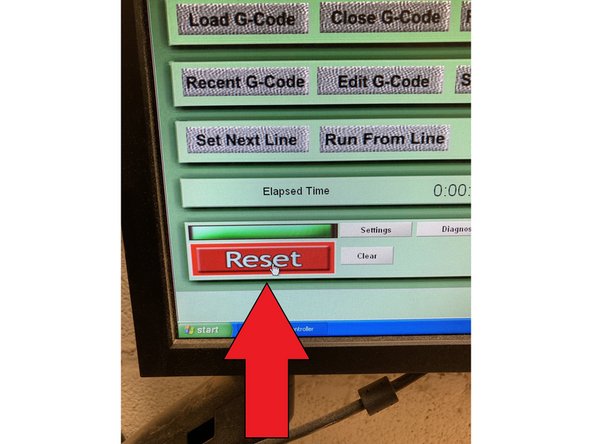
On the MACH application, hit the RESET button to sync the ez router to the computer
-
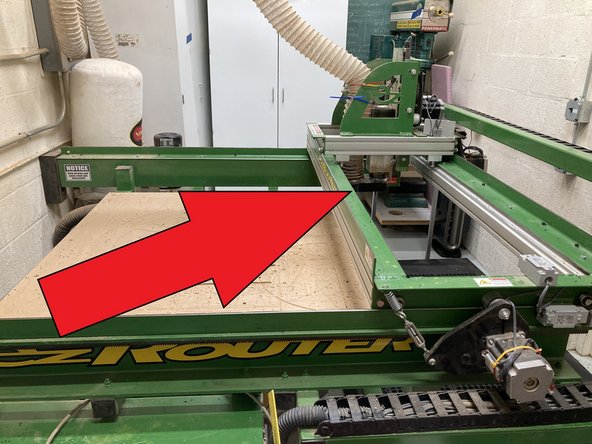
With the keyboard arrows move the spindle to the back corner exposing the router table. Secure your stock piece to the router table firmly
-
-
-
Click on the "tool Change"button so that the machine goes into the front position for operator tool change.
-
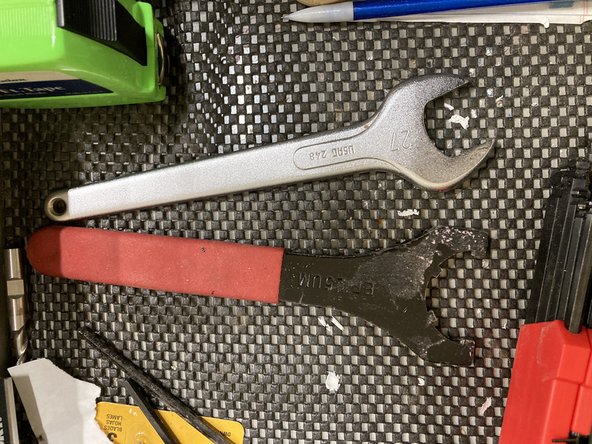
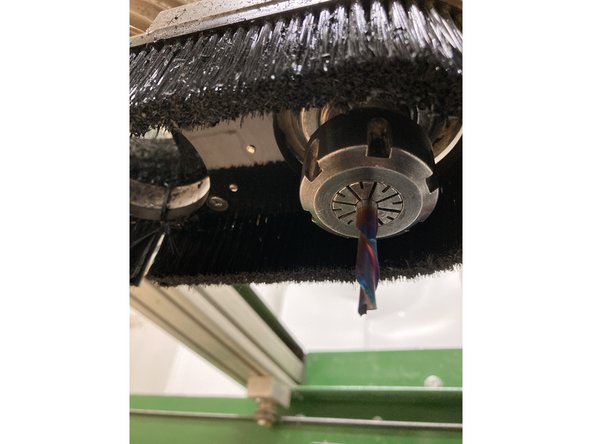
Using the two wrenches in the top drawer of the desk, loosen the collar of the spindle to access the collet and tool. Once desired tool and collet are in place, screw the collar back onto the spindle and tighten firmly
-
-
-
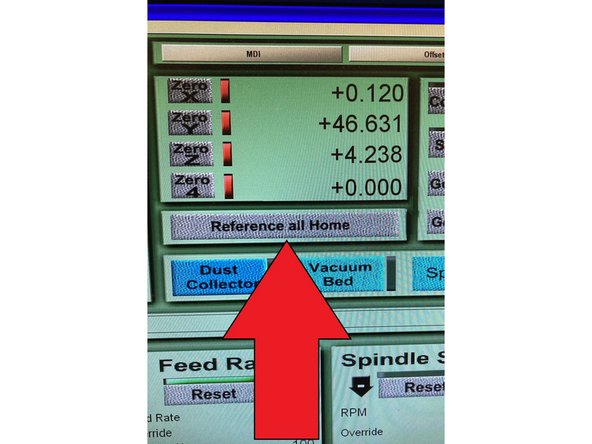
Click on the "Reference All Home" to zero out the ez router to its end stops/limit switches
-
Now move the spindle to the xy zero position of your stock in accordance to the way you setup your Fusion360 stock. The x and y axis is controlled by the keyboard arrows. First zero x and y, then move the z axis to about two inches away from the top of your stock
-
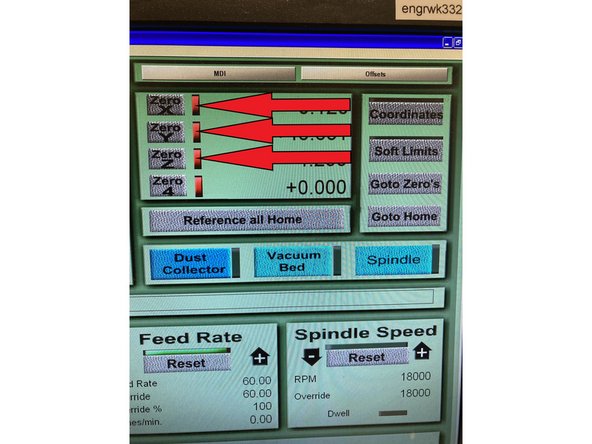
Once in stock zero position, click on the "zero x", "zero y", and "zero z" boxes on screen. The ez router is now zeroed to your work piece in conjunction to your fusion360 setup. Now click "Go To Zeros"
-
-
-
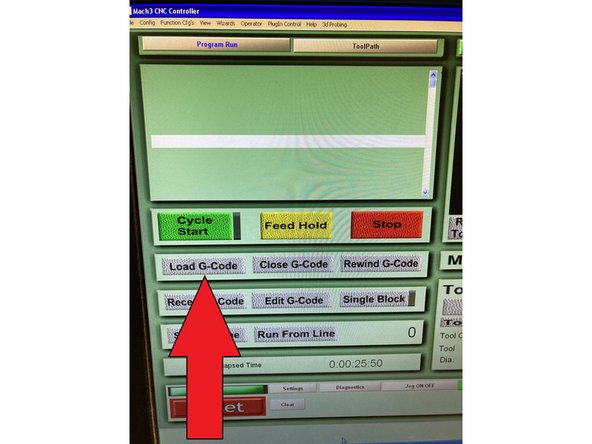
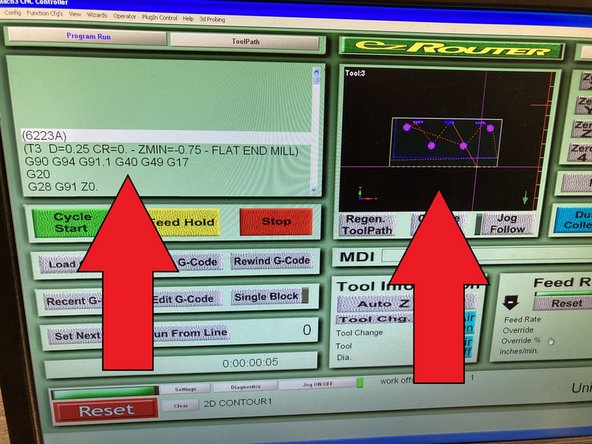
Upload the g-code(.tap file) from fusion360 post processing onto the ez router computer and place in desired folder. Then Click "Load G-code" in the MACH application, locate your .tap file and open. Once G-code has been loaded to the MACH application, you will see the lines of G-code on the screen and also an outlined image of your work-piece.
-
Make sure the image generated is showing an accurate depiction of your tool path.
-
-
-
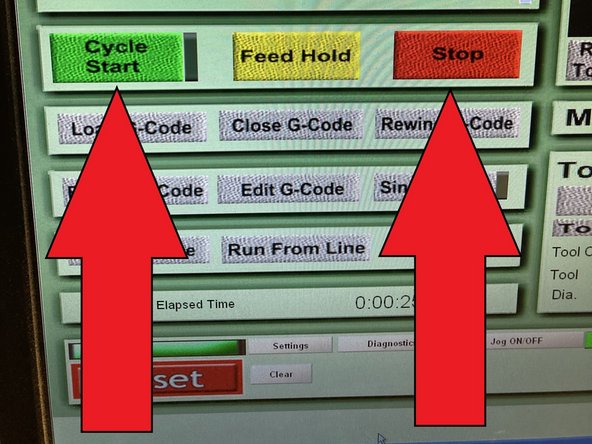
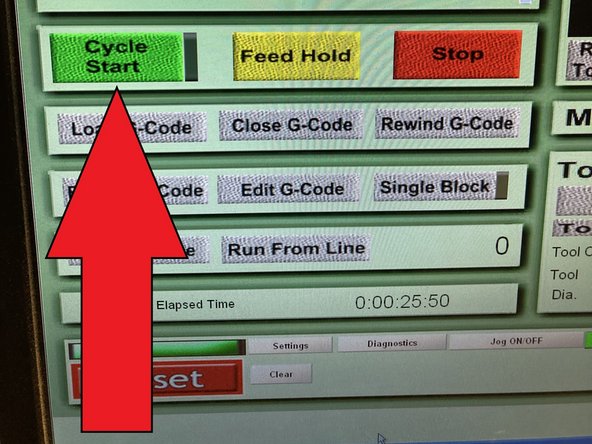
With the Z axis zeroed at least two inches away from your stock, click on cycle start to run a dry pass of your G-code to make sure there are no problems and the tool path is accurate. Once everything is confirmed to be good; click "stop" the cycle, click "go to zeros", and click "Rewind G-code" to go back to the first line
-
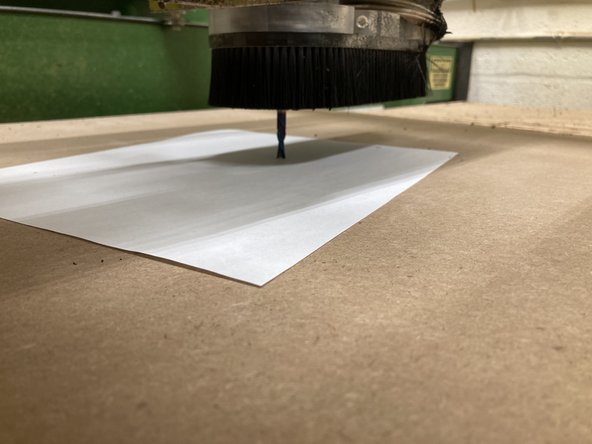
Now move the spindle to the center of your work piece and zero the Z axis by using the "page up" and "page down" buttons on the keyboard with a sheet of paper separating the tool end to the top of your work piece, same as manual leveling of a 3D printer. Once completed, click on "Go To Zeros"
-
-
-
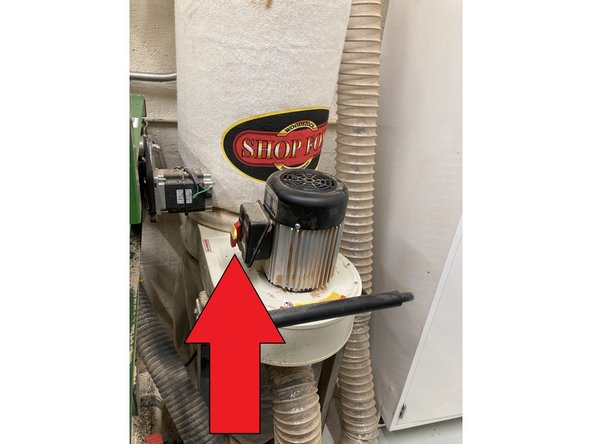
Turn on the dust collector and "Cycle Start"
-
Monitor the operation the whole time and if anything goes wrong, immediate click "stop" or in worse case hit the red E-stop on the back of the ez router. Once your op is completed, move the spindle to the back corner exposing the router table with your routed piece on top. Remove your finished piece and vacuum the entire router ROOM
-
Power off the router and turn off the lights
-


Team
