
Introduction
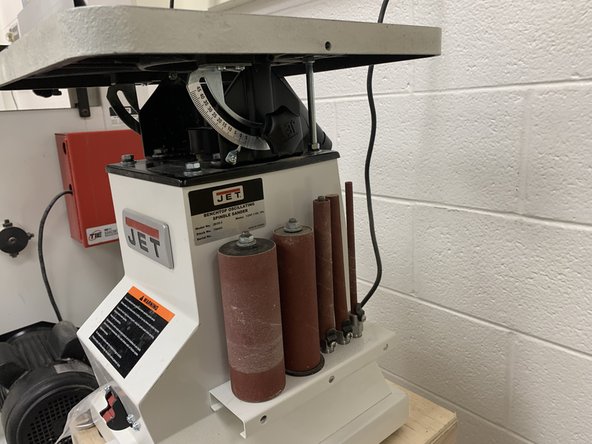
While sanding flat surfaces is easy to do with a palm sander, drum sander, belt sander, or just plain old sandpaper, it gets hard to do when you’ve got a curve to work with. That’s where the spindle sander comes in. The spindle sander comes with cylinders of varying diameters to allow you sand even the smallest curves.
-
-
Ensure you have done the following:
-
Secured all loose and baggy clothing.
-
Removed any bracelets, rings, necklaces, or any other jewelry that could get caught in a machine.
-
Tied back loose hair.
-
Taken and put on protective goggles from the cabinet.
-
-
-
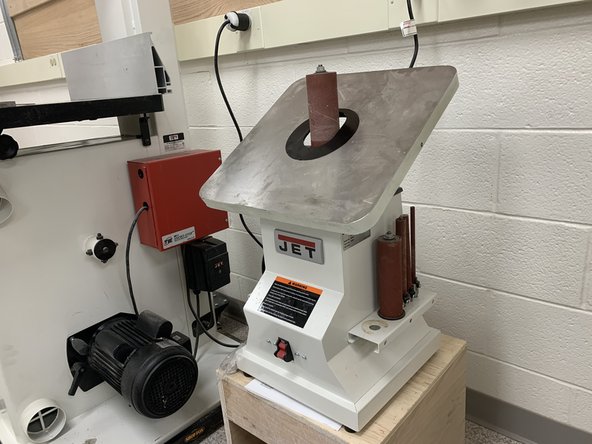
Choose the appropriate insert plate for your desired spindle and angle
-
There are 4 total insert plates, 2 oblong plates and two circular plates. Use the oblong plates when sanding at an angle.
-
Place insert plate into table by lining bottom notch on the plate's indent
-
-
-
Consult your plans to determine what spindle is best suited for your needs
-
Clean spindle threads and spindle housing if any excess dust is present
-
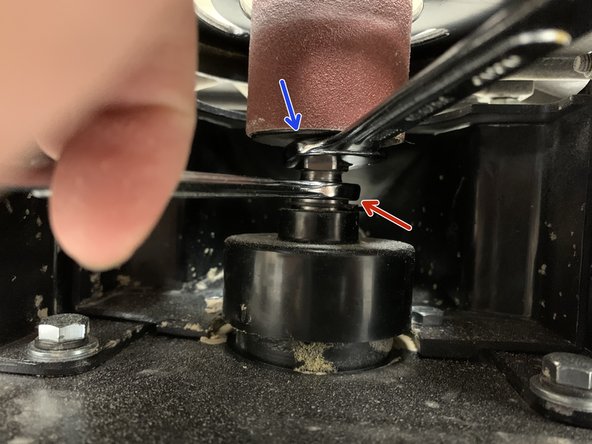
Thread spindle counterclockwise into the spindle housing until tight
-
Use the provided adjustment wrenches by holding the spindle housing with one wrench, and turning the spindle with the other
-
Spindle housing
-
Spindle nut
-
-
-
Check the table is 90° by laying a machinist's square against the table and the spindle
-
To adjust the angle of the table, loosen both adjustment knobs on either side of the table
-
Push table to desired angle, checking the angle with the built-in gauge and your own protractor
-
Tighten both knobs to set angle
-
-
-
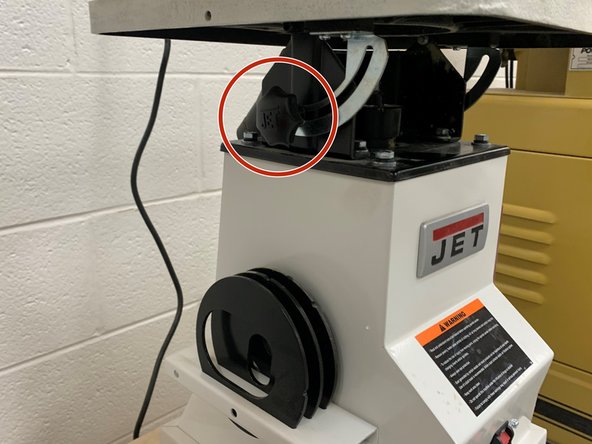
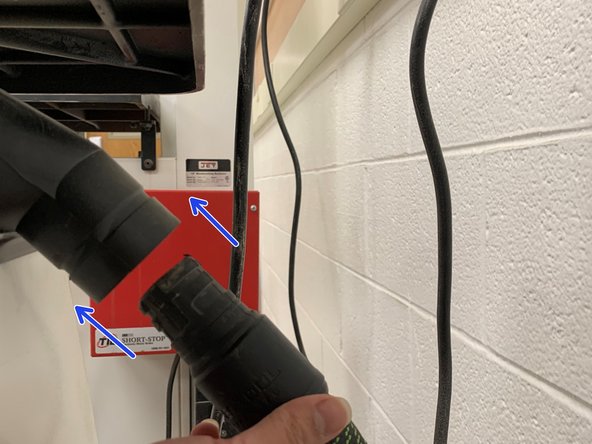
Insert a Festool vacuum hose in the rear dust port
-
Note: the Festool hose will not snap on perfectly, nor will the dust collection be perfect. Simply attach the hose until it rests inside the sander.
-
-
-
Cut the majority of the excess material with the appropriate tool (table saw, handsaw, etc.)
-
Mark your desired curve using pencil on the work piece according to your plans
-
-
-
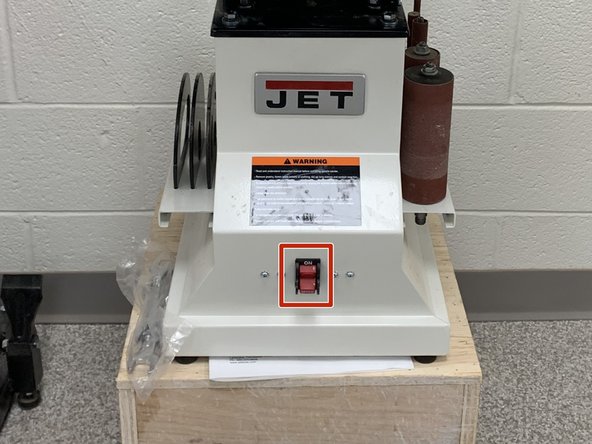
Turn on the vacuum
-
Flip the on switch for the sander
-
-
-
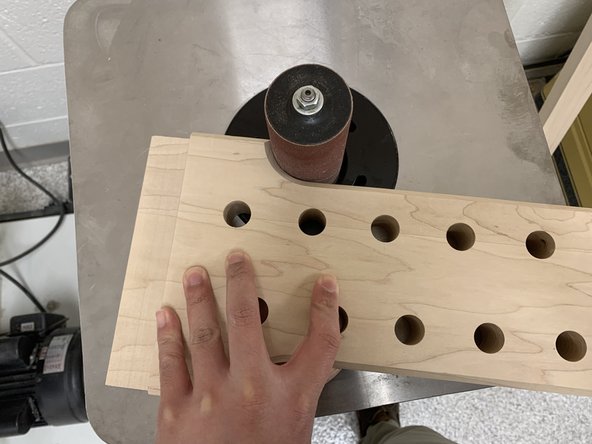
Hold workpiece with fingers far from spindle and with piece flat against work table
-
Move workpiece at a constant speed along spindle to avoid burn marks and flat spots
-
Hold workpiece firmly to avoid the workpiece being caught and flying off the table
-
Sand until you reach the curve drawn in step 6
-
-
-
Turn off sander. Stay with machine until spindle stops rotating
-
Use vacuum to clean work table and around spindle housing
-


Cancel: I did not complete this guide.
2 other people completed this guide.
Team
