
Introduction
This guide will cover all the necessary steps including safety check to begin a print on the Nexa3D XiP.
-
-
Insert a USB drive into the PC you are using.
-
Once you have completed slicing, find the .NXA file.
-
Copy/paste the .NXA file onto a USB drive
-
Eject the USB drive and insert it into the XiP you are printing on.
-
-
-
Tap the "Print" button on the touch screen.
-
Tap "USB" for the file location.
-
Find the model you want to print and tap on it.
-
-
-
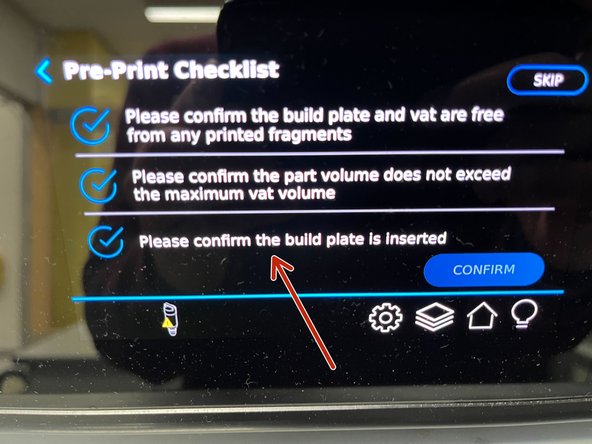
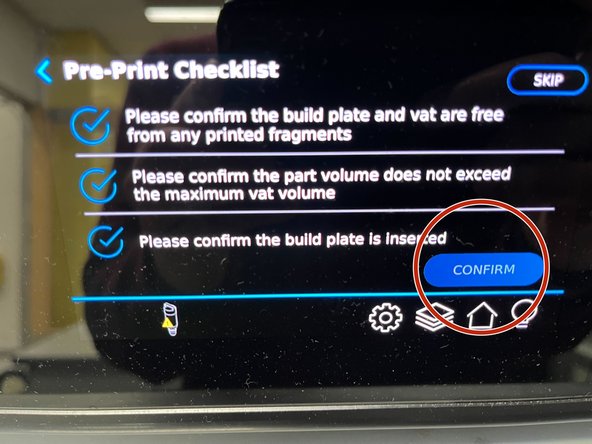
A Pre-Print Checklist must be completed before confirming the print.
-
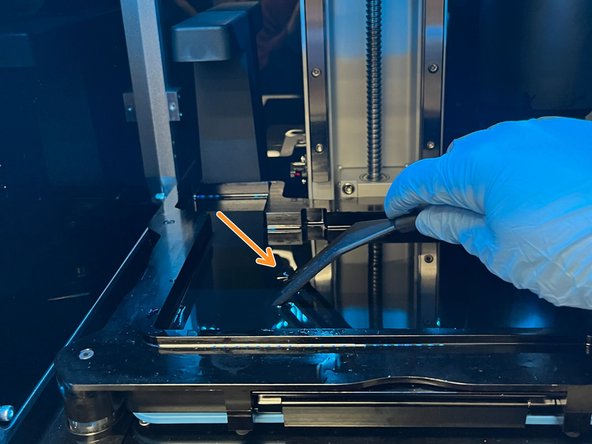
Take a rubber spatula and gently glide along the bottom of the tank. There should be no debris or rough patches.
-
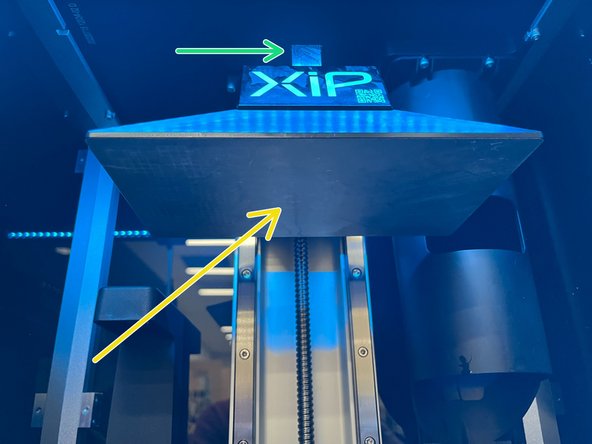
Make sure the build platform is cleaned and seated in the machine.
-
The latch at the top should be in the upright position.
-
-
-
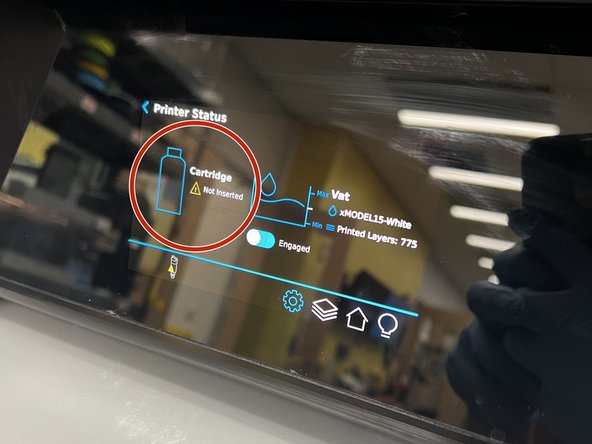
Navigate to the Printer Status menu to check if a cartridge is inserted.
-
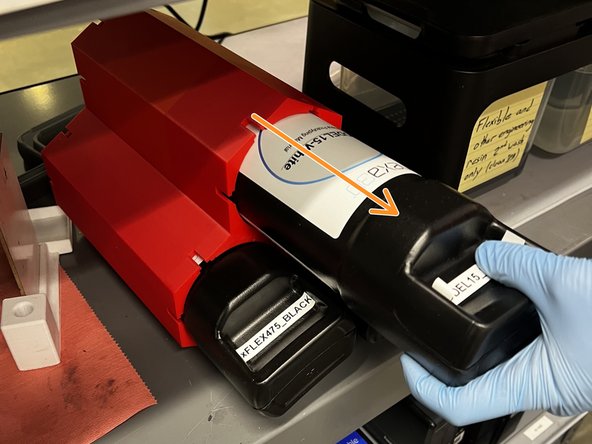
If there is no cartridge inserted, take one from the cartridge honeycomb. Ensure the cartridge matches the resin in the tank!
-
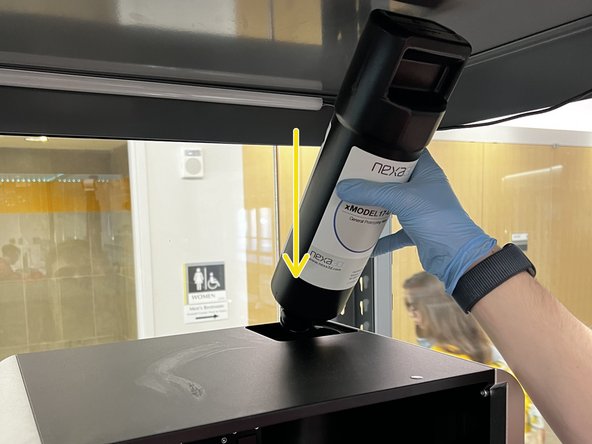
Insert the cartridge at the top of the machine.
-
-
-
Tap "CONFIRM" once the previous steps are completed.
-
A progress screen will appear for the duration of the print.
-
The print has now been started.
-


Cancel: I did not complete this guide.
4 other people completed this guide.