Introduction
This guide is intended to teach you how to create a print request in the MakerBot platform. This process is important to understand as it is how we, in the MIC, are able to communicate with the MakerBot printers and process requests.
Images By: Matteo Marchi
-
-
Select the gear icon in the bottom left to bring up a pop-up window with different option.
-
Select New Print to start the submission process.
-
Select Print Request to start a request in the platform.
-
Do not choose Direct Print unless instructed to do so by a Senior Lab Manager or Lab Coordinator
-
-
-
All of the following information should be taken from the PaperCut request
-
Enter the project name and request deadline
-
Make sure to include the PaperCut request number in the project name with the format - PC#XXXX
-
Enter the customer's name and email
-
Enter material (usually PLA for MIC), color from possible options, and the quantity requested
-
Upload the .makerbot file (sliced in MakerBot Print) and add notes if customer requested special instructions.
-
Add any customer notes from the PaperCut request
-
These special instructions could be a customer that wants to keep failed prints for educational purposes.
-
-
-
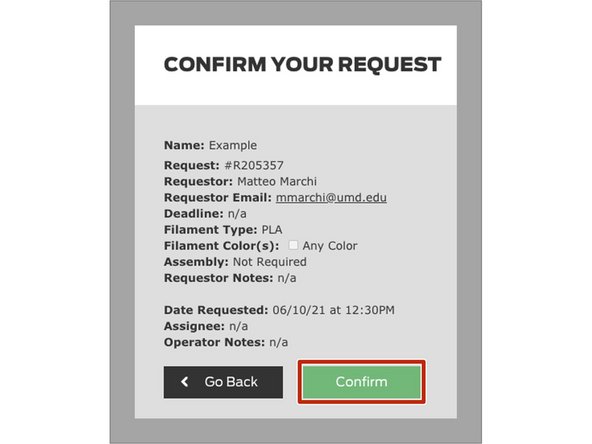
After filling in all of the necessary information, select Confirm
-
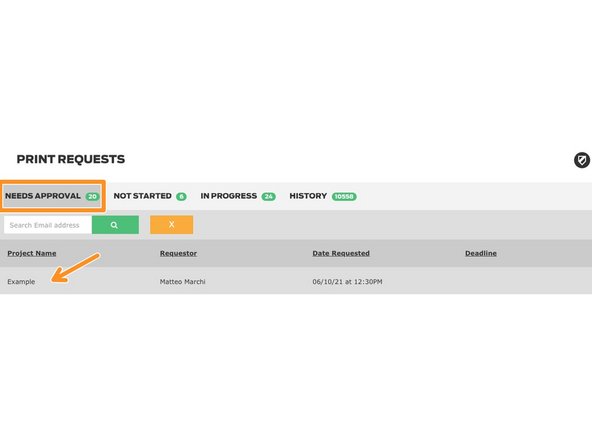
Click on your new request in the Needs Approval
-
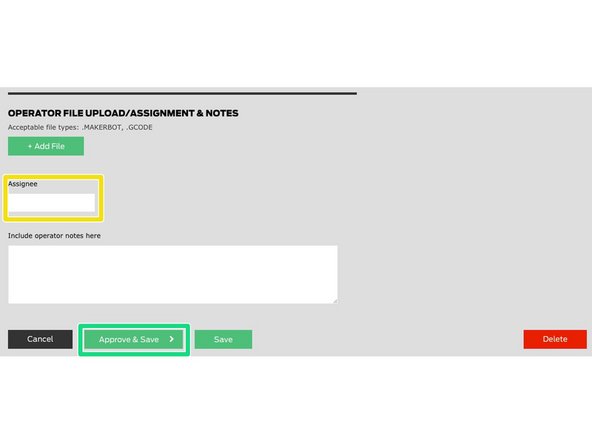
Fill out your name in Assignee
-
Select Approve and Save
-
-
-
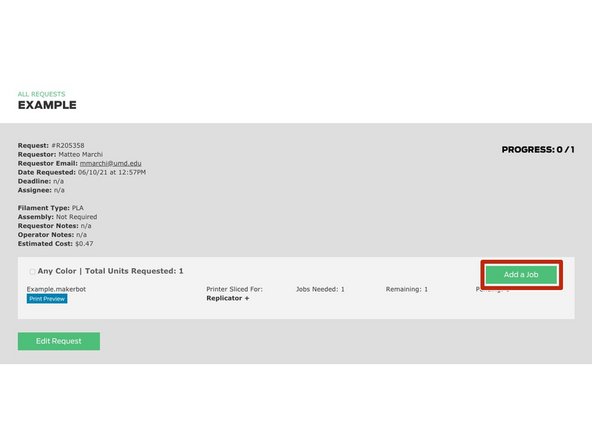
After approving your new job, you'll want to add it to a printer
-
Some prints will need multiple jobs for completion, but often the number of completed jobs on the actual request may be wrong. Make sure to double check with the PaperCut request.
-
Select Add a Job, and then select your file, and then click Select Printer
-
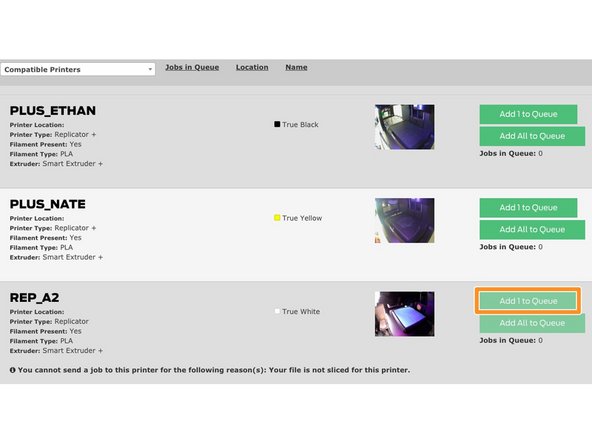
Select a printer you would like to print on by clicking Add 1 to Queue
-
You can also queue a print on a printer that is currently printing by clicking Add 1 to Queue in the All tab
-
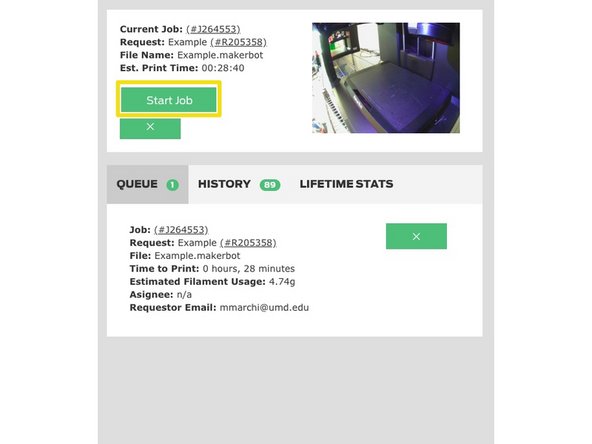
Ensure that the build plate of the printer is clear, and then click Start Job
-