-
-
Open Fusion
-
Make sure you are in the IFL fusion Team
-
Open part you are going to manufacture
-
Change to manufacturing tab
-
And remember to mess around with settings and selections as you go to see how they effect the toolpath.
-
-
-
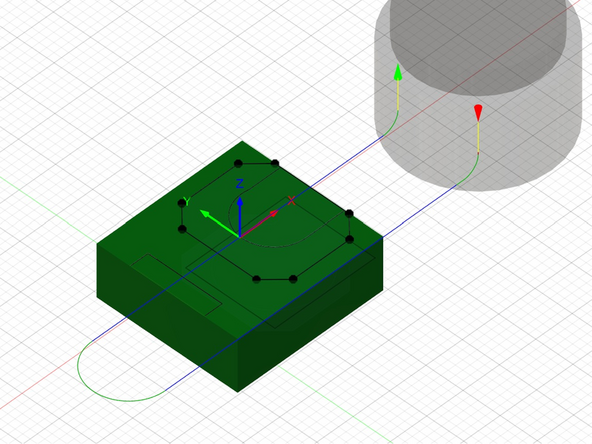
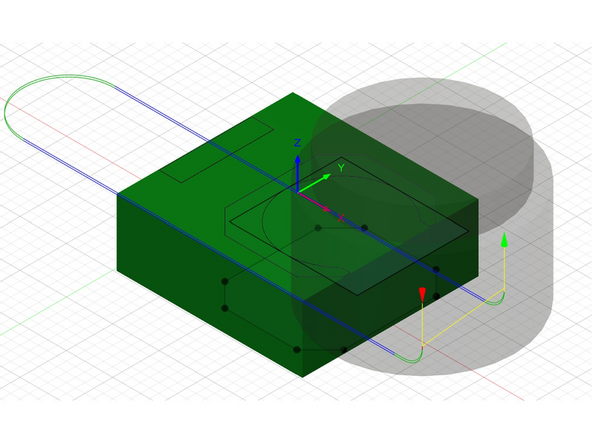
Set up axis for how you intend to work hold the part. Positive y is towards the back positive x is to the right and positive z is up on the trak
-
Set to stock size this should be fairly accurate but is significantly more forgiving then the datron.
-
For this part we will need to machine on both sides of the part. We will be starting with the bottom of the part and then flip it.
-
-
-
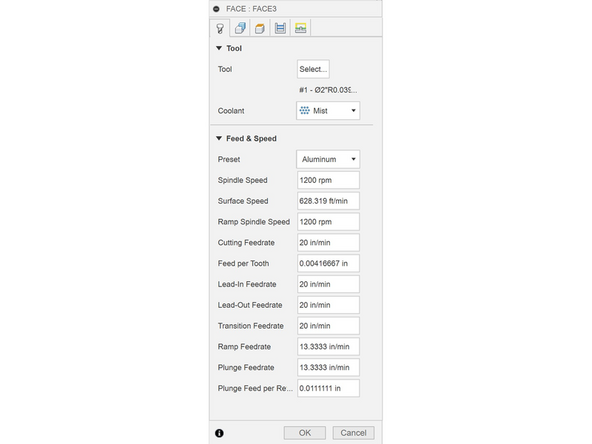
Parameters should be mostly preset in the tools
-
Make sure to turn on multiple depths for the face mill
-
-
-
For this part select the 3/16 endmill and the aluminum for the preset.
-
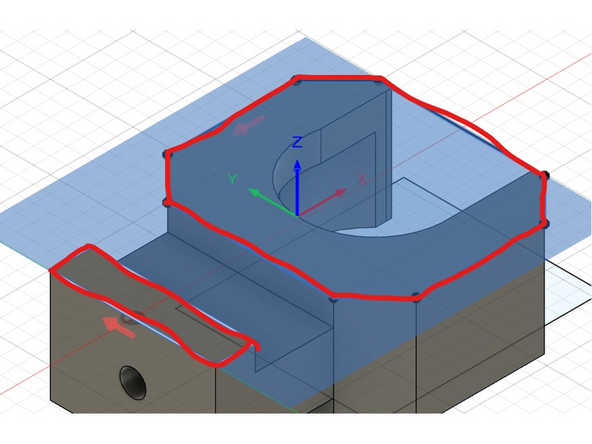
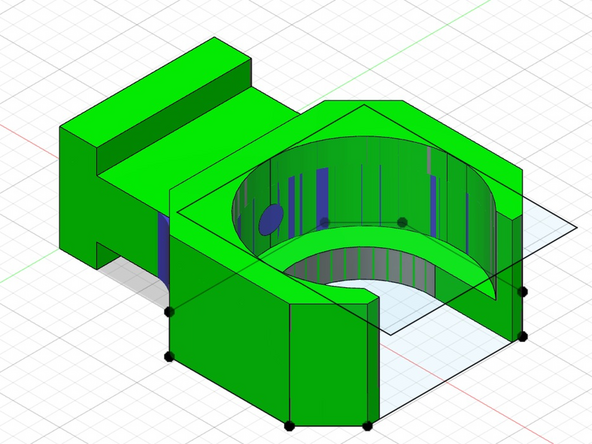
Create a draw of the shape indicated in red for the holder part.
-
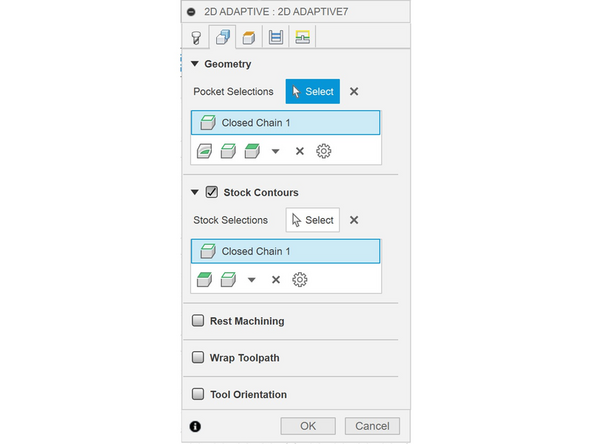
For pocket selection, select the edge of the back and the drawing created on the edge of the holder part excluding the center. Both are outlined in read.
-
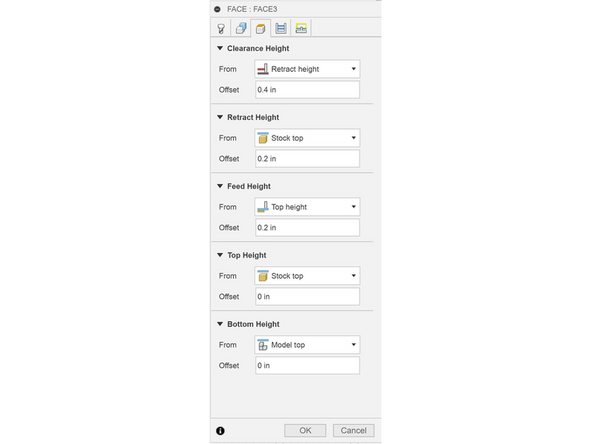
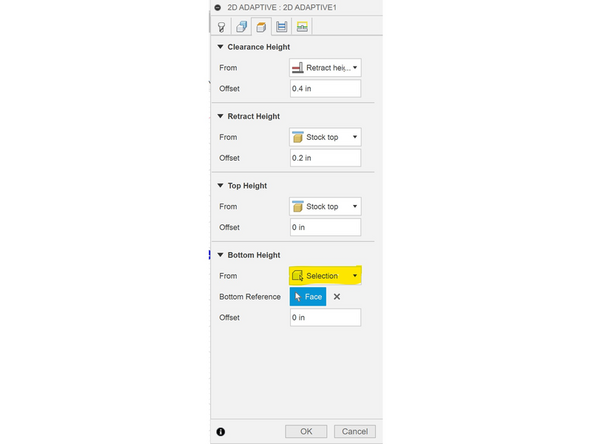
Change bottom height to selection and select face in between 2 faced surfaces.
-
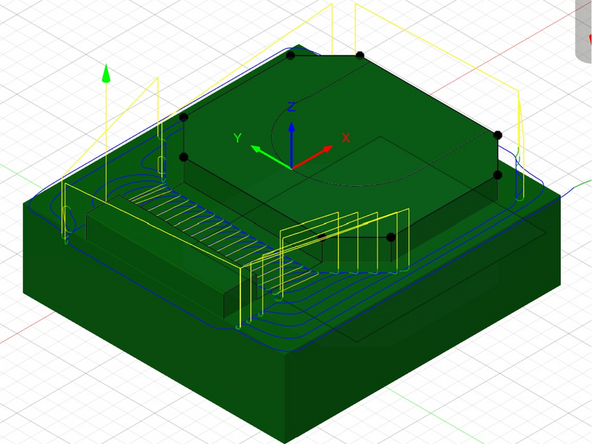
Turn off stock to leave and turn on smoothing.
-
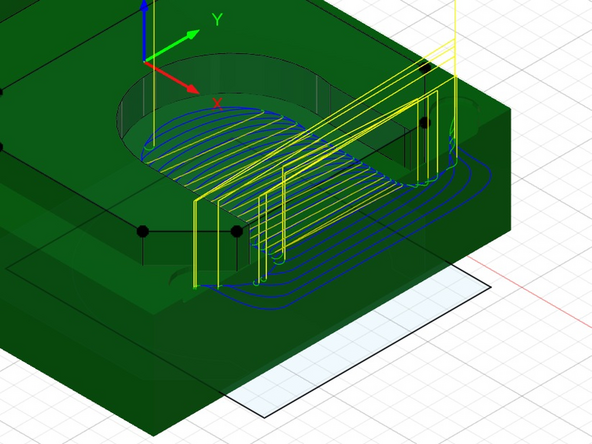
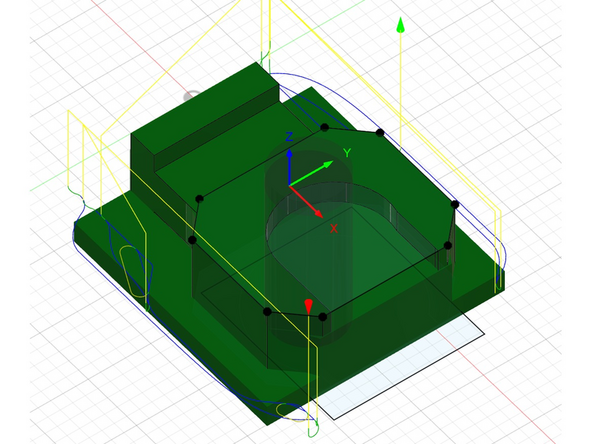
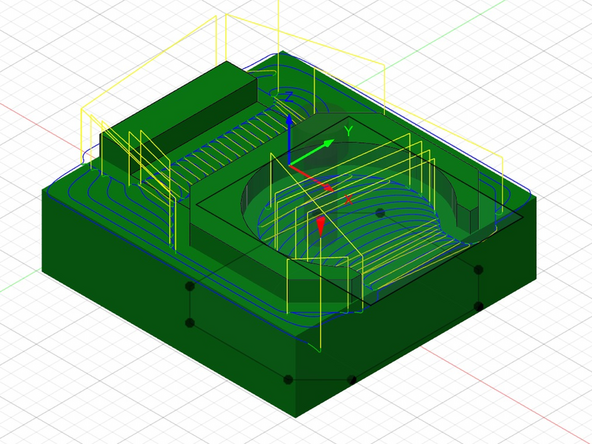
Toolpath should look like main picture.
-
-
-
Tool is 4 flute 3/16 with the aluminum preset.
-
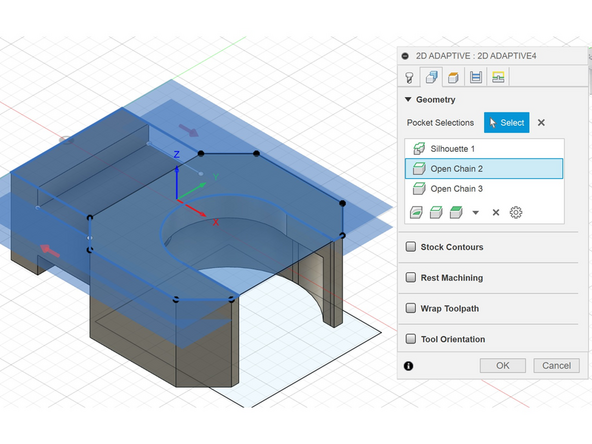
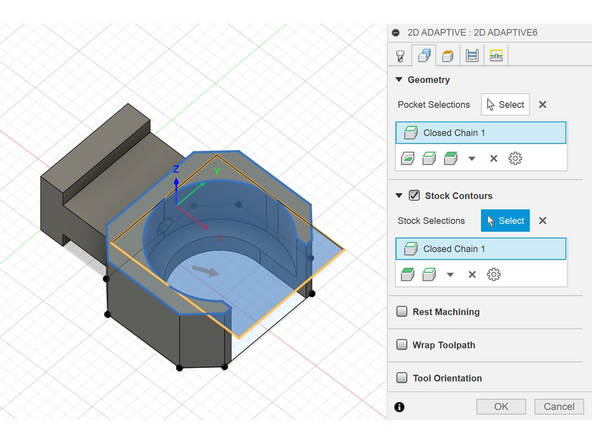
Select the outer edge of the underside of the tool holder.
-
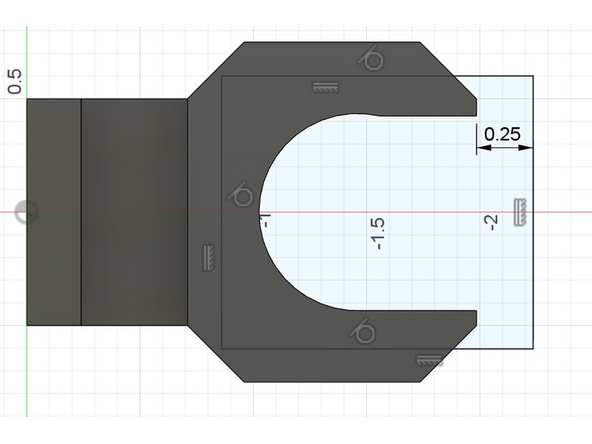
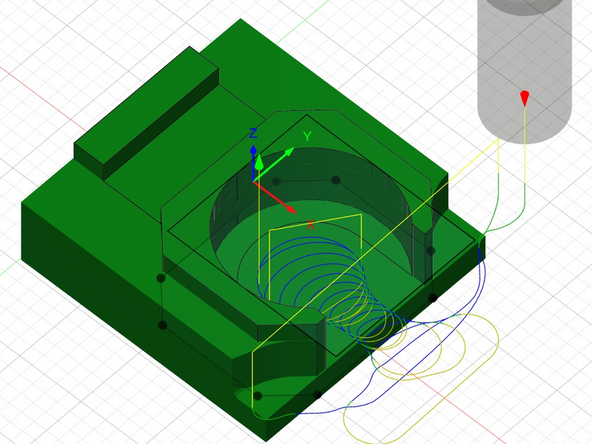
Create a sketch to confine the tool to just the opening. Similar to sketch in second picture.
-
Add the sketch you just created under stock contours.
-
Change bottom height to selection and select the bottom of the toolholder slot.
-
-
-
Tool is 4 flute 9/16 with aluminum preset.
-
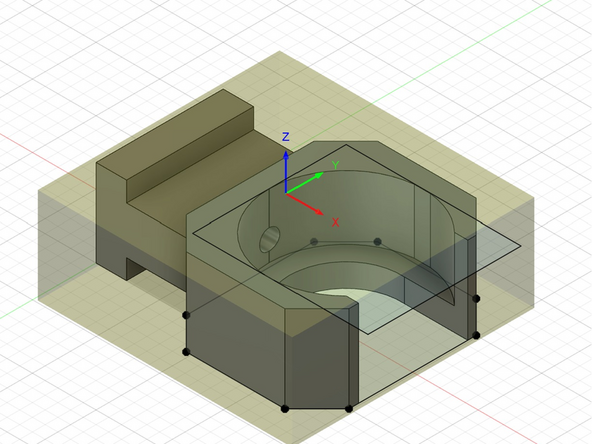
Then click the down pointing triangle at the bottom of pocket selections and choose silhouette then select so you get a silhouette in the XY plane.
-
Then select the 2 edges of the notch that align with the silhouette selection. This is needed to ensure it doesn't cut into the "bridging" part of the piece.
-
Select the "top" edge of the bridge for the top height.
-
Then for bottom height do stock bottom and set the offset to 0.18.
-
-
-
We cant machine all the details on this part from 1 side so we need to flip the part. This means we need a new setup so we have our new Z axis.
-
This process is the same as the previous only now positive Z should be towards the top of the part
-
-
-
This should be the same as the previous facing
-
-
-
Use 4 flute 3/16 aluminum preset.
-
Select the edges of the 2 top faces of the part.
-
For bottom height select the top surface of the bridge section.
-
-
-
Use 2 flute 9/16 aluminum preset.
-
Select the top edge of the holder for pocket selection.
-
Select the same rectangle from before for the stock contours.
-
Bottom height should be set to selection and bottom of hole in holder should be selected.
-
-
-
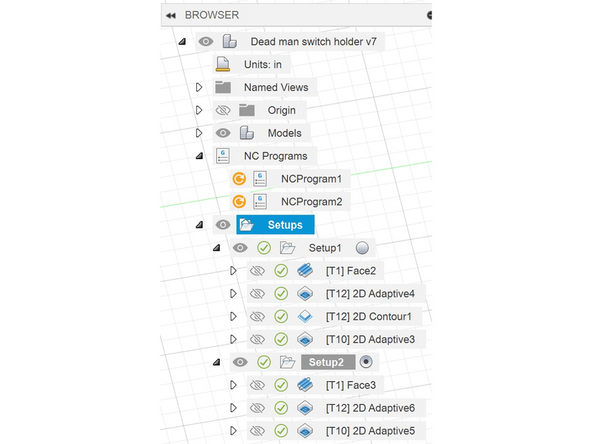
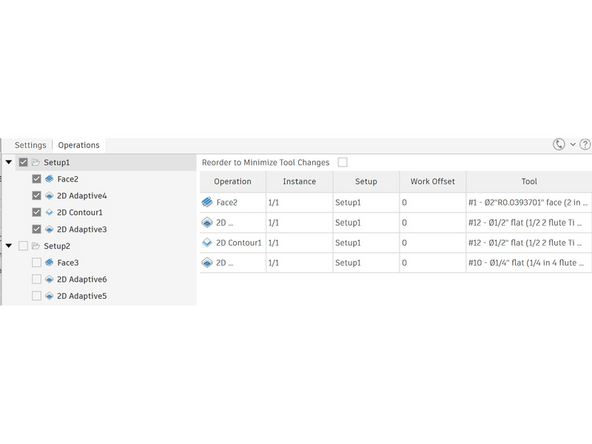
For multiple setups you need to first select setups(selected in first image) then click simulate
-
Since you are machining from multiple sides the simulation may start or finish machining on the opposite side from your view.
-
-
-
Clock NC program to create a file to export to the trak. This process will be the same as previous training.
-
Go to the operations tab.
-
Select the setup you want for that NC program.
-
Repeat for each setup .
-