Introduction
The Miter Saw has the ability to also cut trenches (really big grooves) into a workpiece. This is achieved by a stop that is built into the miter saw itself.
-
-
Ensure all proper PPE is worn
-
Ear protection (not required but HIGHLY recommended)
-
Goggles
-
Gloves should NOT be used around the miter saw
-
-
-
Make sure all the following:
-
Tied back any loose hair
-
Removed any jewelry from wrists or hands
-
Rolled back any long sleeves
-
Wore closed toed shoes
-
Secured any and all loose and baggy clothing
-
-
-
Trenching is cutting out material in large grooves, or "trenches"
-
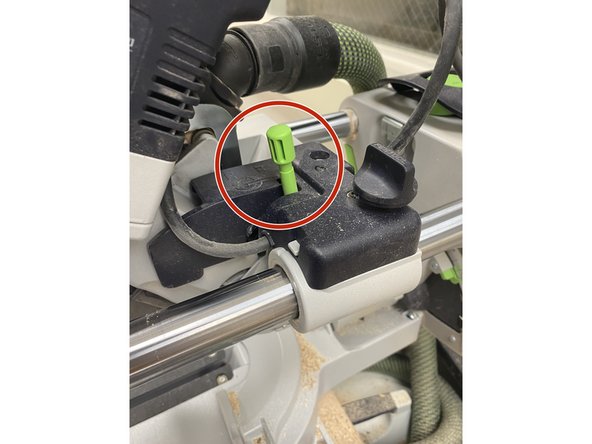
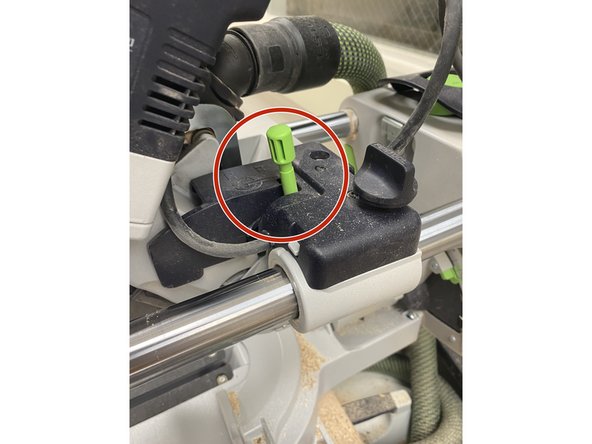
The upright green knob on the right side of the saw controls the depth of the cut and can be turned for micro adjustments.
-
The farther the knob is pushed down, the deeper the trench will be.
-
-
-
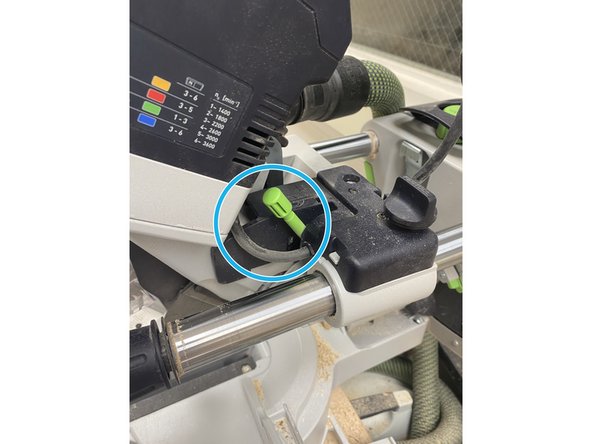
Make sure to return the trench depth back to the original state once done with the machine.
-
This is done by returning the green knob to its original upright position.
-
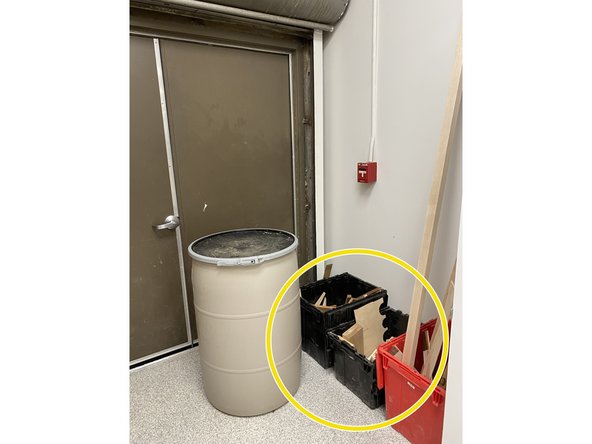
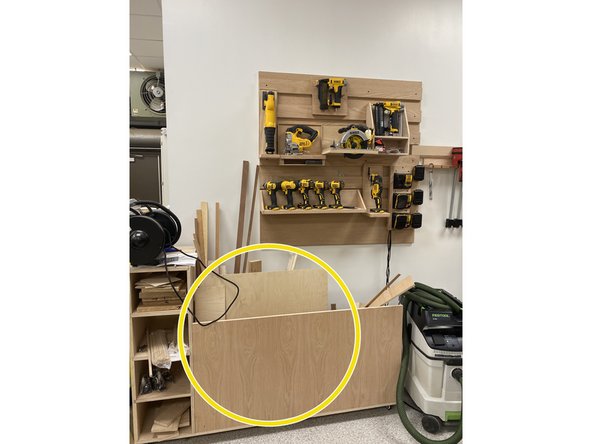
Place any and all scrap materials either in one of the bins at the back of the woodshop or by the DeWalt power tool wall, or keep for personal use.
-