Difficulty
Easy
Steps
4
Time Required
00:05:00 - 00:10:00
- Filament 4 steps

Missing Images
This guide needs more images to properly convey the procedure being described.
Introduction
This guide will explain the steps needed to change the filament on the Ultimaker 2+ or 3.
Sources: Changing the material and nozzle on the Ultimaker 2+, Changing materials and print cores on the Ultimaker 3
Pictures by: Nico Lagendyk
-
-
Press the dial to wake the machine if it is not already
-
Select Material
-
Select Change
-
Wait for the printer to warm up
-
-
-
Remove the material from the feeder
-
Remove the spool from the spool holder
-
Make sure to loop the end of the filament through the spool holder to prevent tangles
-
Put the new spool on the spool holder
-
-
-
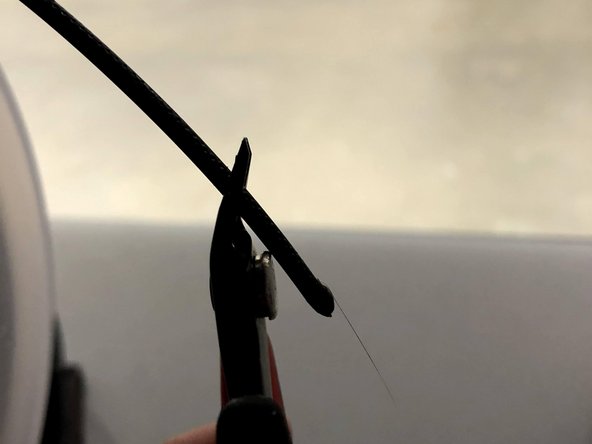
Cut the filament at an angle
-
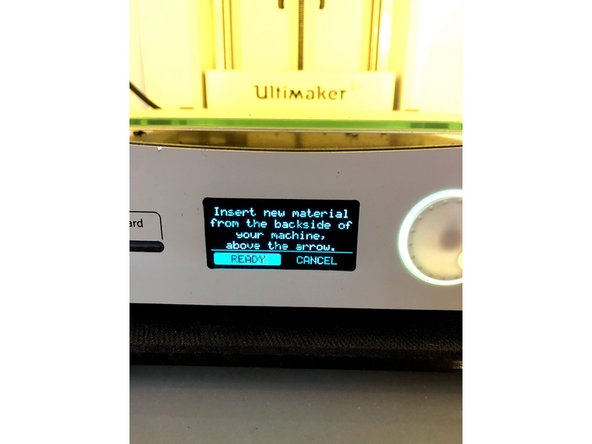
Press the ready on the menu
-
-
-
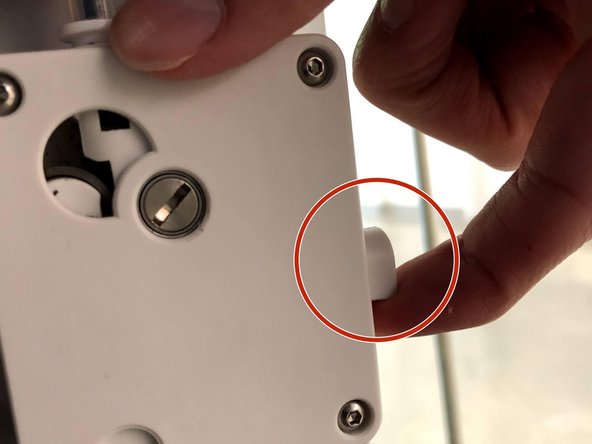
Pull the lever on the back drive assembly to release the friction gear
-
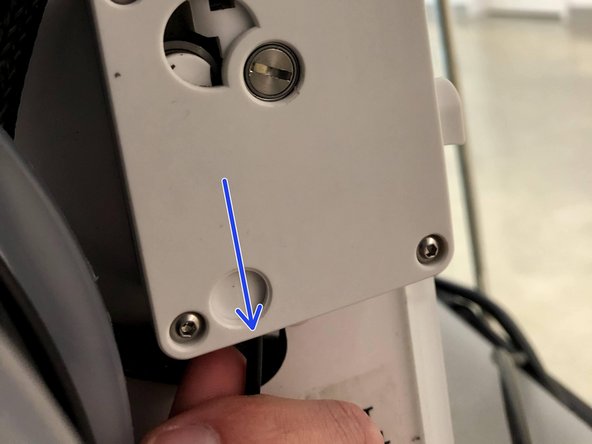
Push the filament into the back drive assembly
-
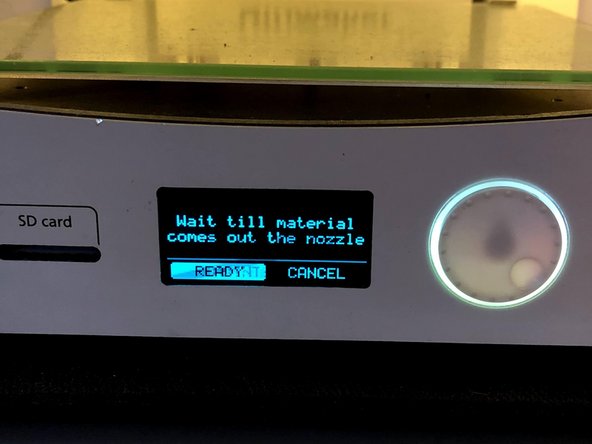
Press the dial when the gears have grabbed on to forward the filament
-
Press the dial again once the filament is extruding
-