Introduction
This guide will explain the necessary steps to setup and start prints on the Ultimaker 2+.
Pictures by: Nico Lagendyk
-
-
Remove the SD card from the Ultimaker 2+
-
Use an SD card slot on your computer or an adapter
-
Copy .gcode from computer to SD card
-
Return SD card to the Ultimaker 2+
-
-
-
Verify that the desired filament is loaded on the machine
-
If not, follow the steps in the Changing Filament Dozuki
-
-
-
Ensure that the build plate has been cleaned since the last print
-
There are several methods for build plate adhesion:
-
Kapton (or Polyamide) tape/sheet is a good reusable surface for most common plastics (gold appearance)
-
There may be a flexible build plate attachment with Buildtak, this surface needs to be as clean as possible, and should be cleaned with IPA
-
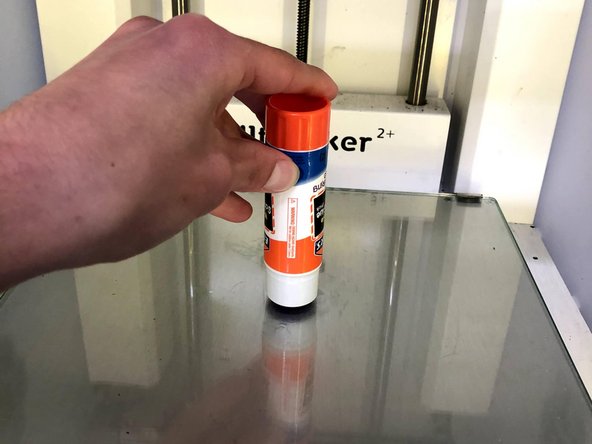
Glue is a slightly more messy alternative for common plastics
-
Ensure that one of the above are present on the build plate
-
Only attempt to apply Kapton tape if you are confident in being able to apply it with minimal bubbles forming
-
-
-
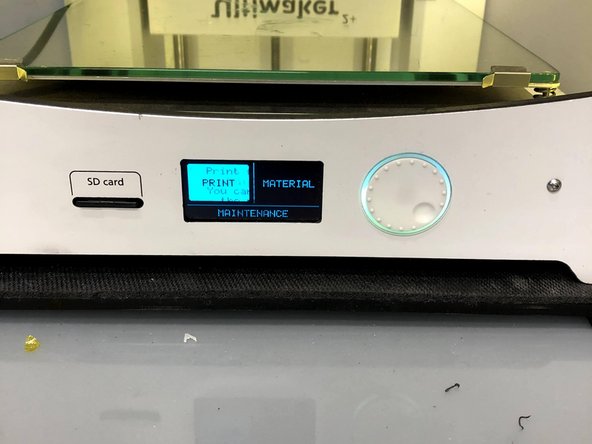
Push the dial to wake the machine
-
Select Print
-
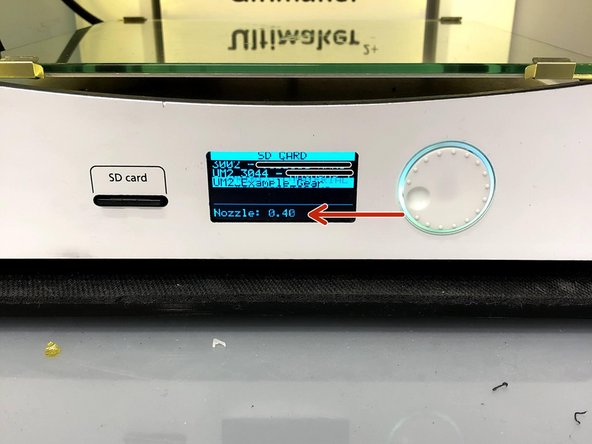
Use the dial to scroll to the desired file
-
Select the file by pushing the dial
-
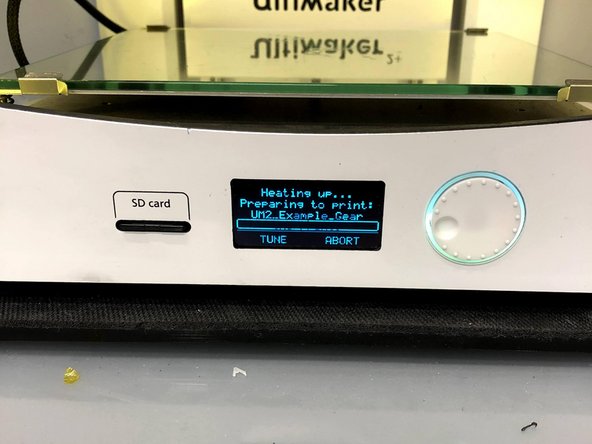
Verify again that the preview information appears to be correct
-
-
-
Return to the printer after a few minutes to check if the first layer is adhering properly
-
If it the print is adhering properly, allow the printer to continue
-
If the layer is not adhered correctly, stop the print
-
Adjust the glue or tape and then restart the print
-
Or, re-level the Print Bed
-


