Introduction
Learn how to install Ultimaker Cura and get started with slicing your first parts. Ultimaker Cura can be used with a large variety of consumer 3D printers, but this guide uses the Ultimaker 2+ as an example. Learn more on the Ultimaker website.
Images from: Kai Hirshon.
-
-
Download the latest version of Ultimaker Cura from the Ultimaker Cura webpage.
-
Cura also comes in other flavors, such as Dremel Cura, so download whichever version is most appropriate for your application
-
-
-
Review then agree to the terms of use on the first page, then click next.
-
Review the page that describes the changes from prior versions of Cura, then click next
-
Open the appropriate menu to add a printer
-
If the printer is always connected to your network, then use Add a networked printer
-
For other printers, use Add a non-networked printer
-
For this guide, we will be adding the Ultimaker 2+, which is not wifi-enabled
-
-
-
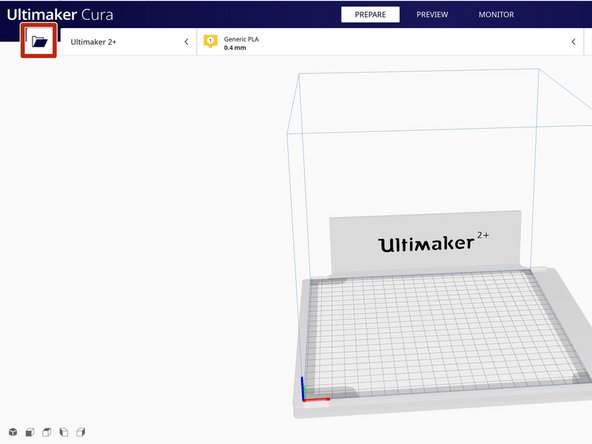
There are two ways to import an STL in Cura:
-
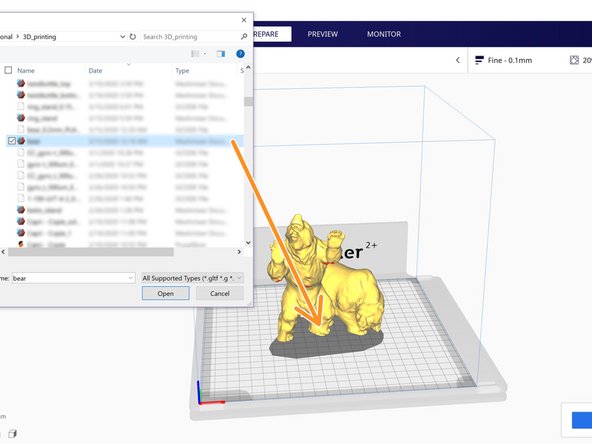
Click on the file icon in the top left to open a file browser window
-
Drag and drop a file into the Cura window
-
Multiple files can also be added to a single print by following the same process
-
Be sure to check the imported units of the part to verify that it is the correct size
-
-
-
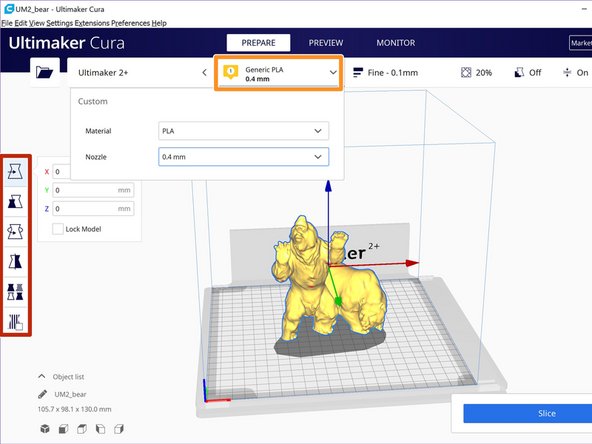
The tools on the left enable manipulation of the file: move, scale, rotate, mirror or duplicate
-
Select the material and nozzle size with which to print the part
-
The top section of the screen may be slightly different depending on which printer is configured, so it may be necessary to look for the desired settings
-
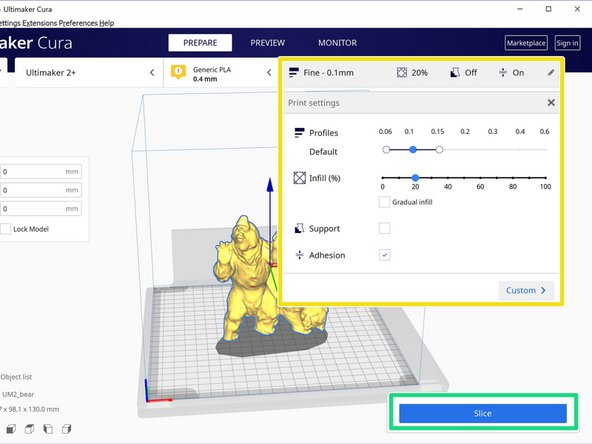
Choose the default profile most appropriate to the part:
-
Most parts will be fine with a 'normal' print profile, which balances speed and quality
-
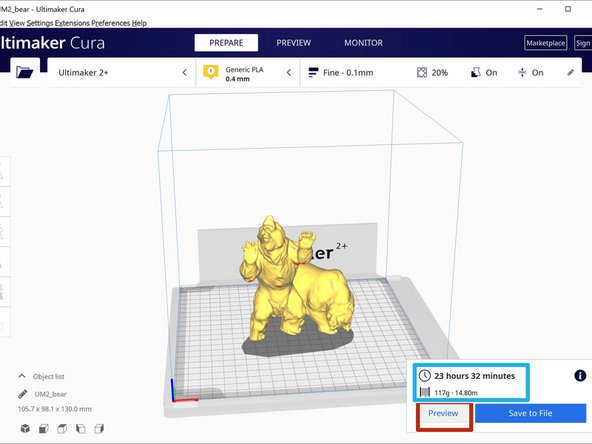
Press the Slice button after choosing the correct profile and material
-
-
-
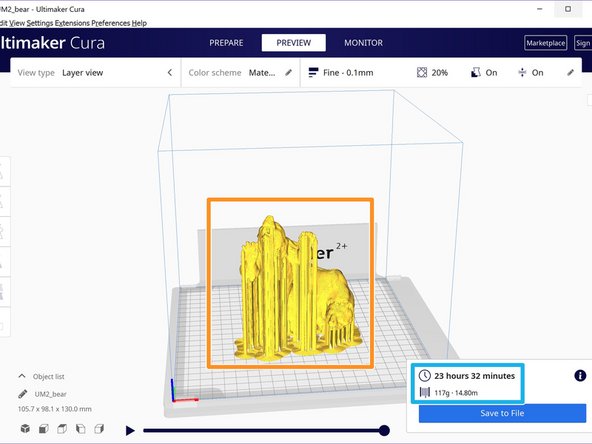
After slicing, confirm the part looks as intended by clicking Preview
-
Examine the preview to insure no error in placement of the automatic supports or build-plate adhesion aids
-
Estimates of material used and time to print the part are also displayed here
-
If necessary, remember these values for keeping track of part cost or comparison against other print settings
-
-
-
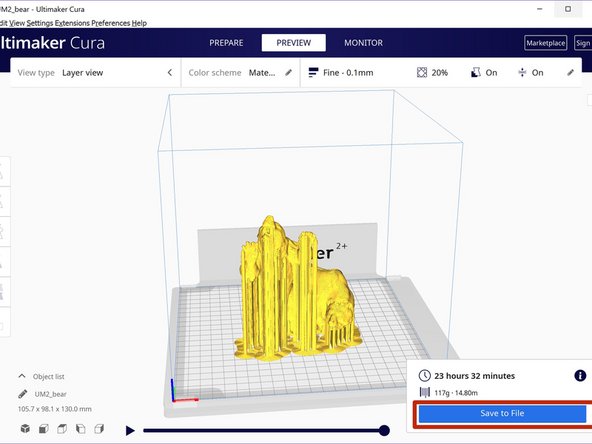
Click on the Save to File button if the print matches expectations
-
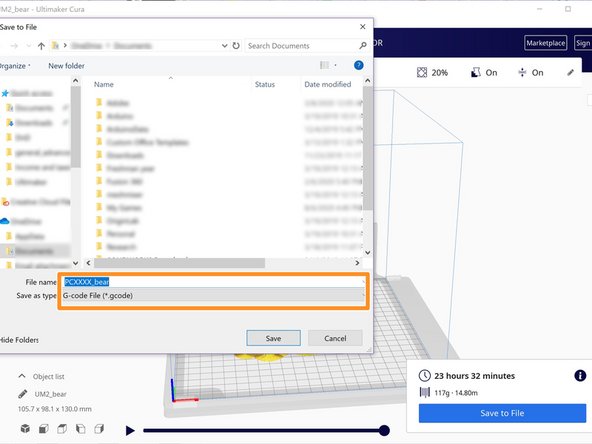
Save the print to the desired location
-
For parts that you may want to reference the settings used, it is also recommended to save the Cura project file
-
By default, the file title will be the name of the first file imported to Cura for that session
-
Change the title if necessary for your desired workflow
-