Introduction
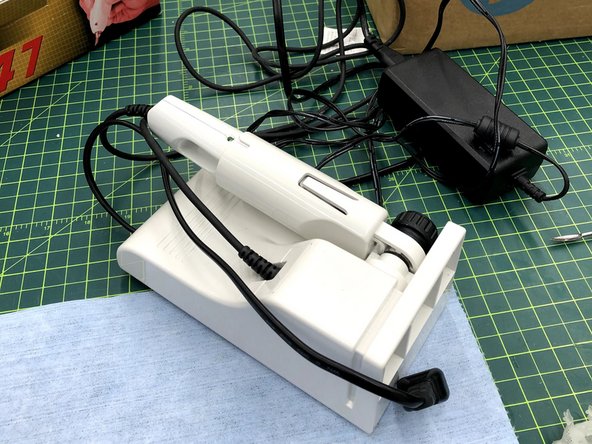
This guide will explain the proper usage of the Ultrasonic Cutter for parts processing.
Pictures by: Nico Lagendyk
-
-
The ultrasonic cutter operates by vibrating a small blade at very high frequencies to cut through plastics
-
Due to the nature of high frequencies it is virtually impossible to tell if the machine is on from visual inspection of the blade
-
Be careful not to make contact with the blade since it will go through skin with ease
-
-
-
Use the ultrasonic cutter ONLY with plastics
-
Never cut plastics which release toxic gases when melted
-
The Ultrasonic Cutter is great at removing support material from various 3D printed materials
-
-
-
Remove the Ultrasonic Cutter from its box and plug it in
-
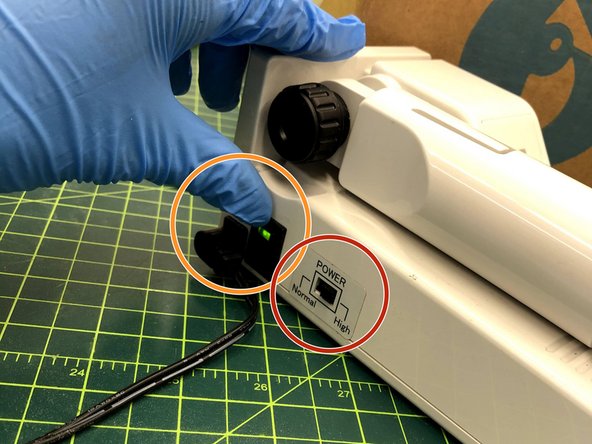
For most cases set the power level to normal
-
Flip the side switch so that the light turns green
-
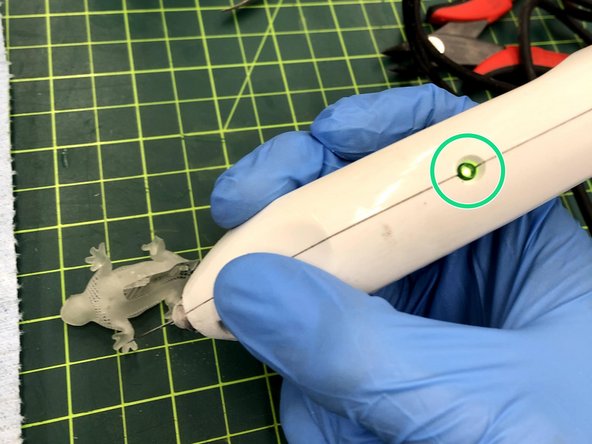
Press the white button on the handle, currently underneath the operator's thumb in the picture, to turn it on
-
The light will be green when it is on
-
-
-
The Ultrasonic Cutter will heat up as it is used due to the power supply and transducer
-
To prevent overheating:
-
Make small cuts
-
Pause between cutting
-
Don't leave the machine on for more than 5 continuous minutes
-
-
-
If the switch on the base does not turn green ensure all power cables are connected (plug, power supply, base)
-
If the machine doesn't turn on when the small white button is pressed then it may be overheating
-
Set the power level to normal and wait a few minutes before trying to turn the machine on again
-
The device has an internal failsafe to not operate when it's too hot
-
The blade must also be rigidly attached to the cutter for it to work so tighten down the nut at the tip of the handle
-
Be sure to use the correct size allen key (1.5 mm)
-


