-
-
Take the filter box out of the cabinet closest to the main entrance of the AFL in the mechanical space. Plug the filter into the outlets under the table. Don't hit the power switch yet.
-
Pull the room's air hose down from the ceiling and rotate it over towards the filter. Make sure the room's air tube is opened to allow suction, there is a small black plastic knob that controls this.
-
Stretch the plastic tubing out and insert it into the rubber seal on the back of the filter. Make sure the metal hose clamp ring around the rubber seal is tightened down and the plastic tubing won't come out.
-
-
-
Unwind the cord of the air compressor and plug it in under the table.
-
Take the airbrush hose and screw one side of it into the front of the air compressor.
-
-
-
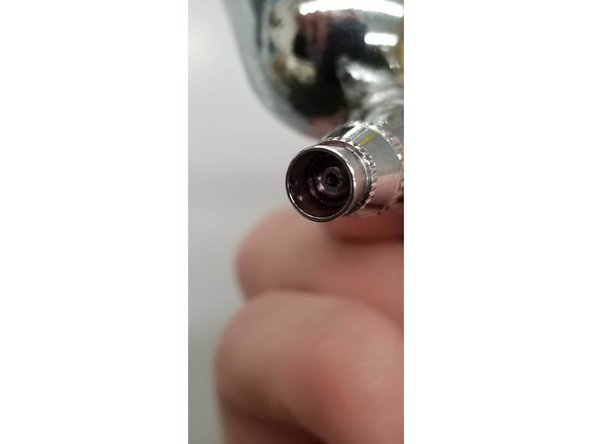
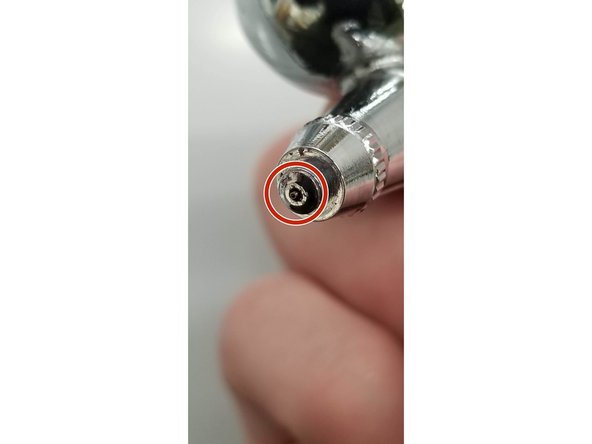
Take a close look at the nozzle at the end of the brush. As you move the control button on the brush back and forth, the small needle sticking out of the nozzle should visibly move in and out of the brush nozzle.
-
You can carefully unscrew the needle guard surrounding the needle to get a better look. The pictures here show the brush with the guard on, and then two with the guard off showing the needle out and then in.
-
-
-
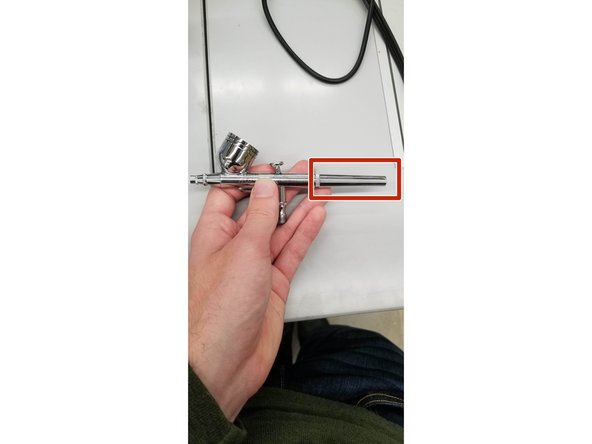
Unscrew back of airbrush to expose the end of the needle.
-
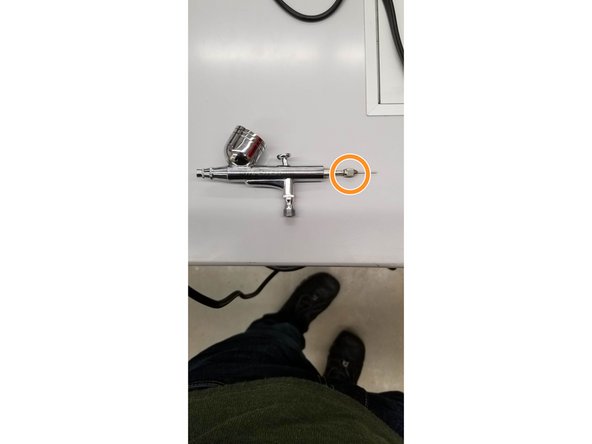
Unscrew the clamp that holds the needle in place.
-
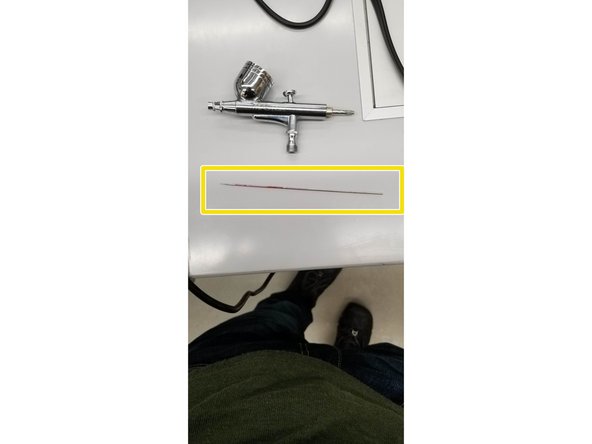
CAREFULLY remove the needle from the brush and set it to the side. The tip of the needle is very delicate, be gentle so it doesn't get bent.
-
-
-
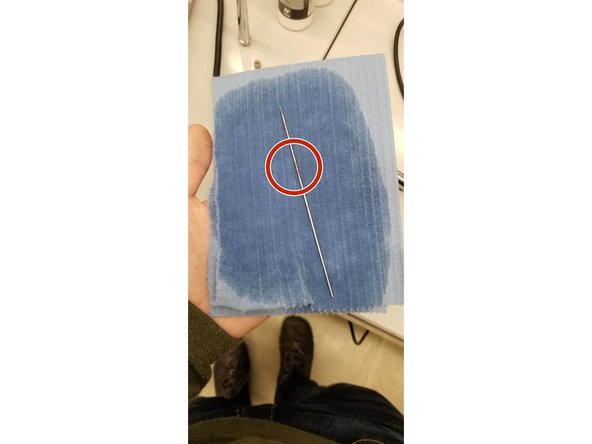
Wipe the needle down with IPA. Be gentle so you don't bend the needle and focus on any spots where paint has dried in place on the needle.
-
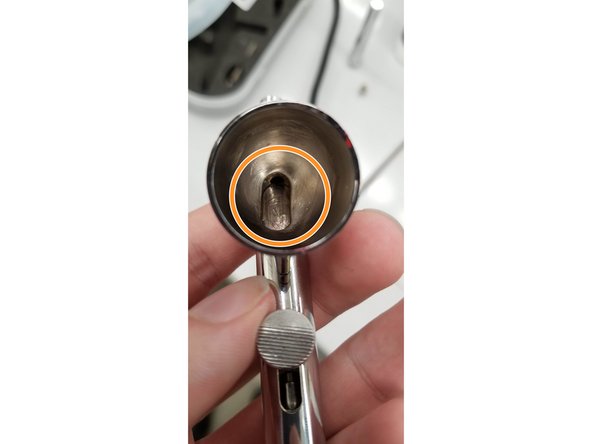
Flush out the inside of the airbrush with IPA and airbrush cleaner fluid. Paint tends to accumulate in the circled region underneath the needle. You can use a cotton swap with IPA on it to scrub out the paint chamber.
-
Reassemble the brush and move the control button back and forth. Their should be little to no resistance and the needle should move noticeably in and out of the front of the brush nozzle.
-
-
-
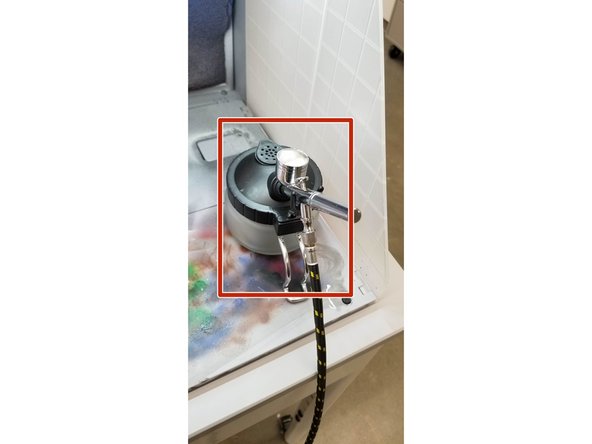
Screw the hose from the air compressor onto the brush.
-
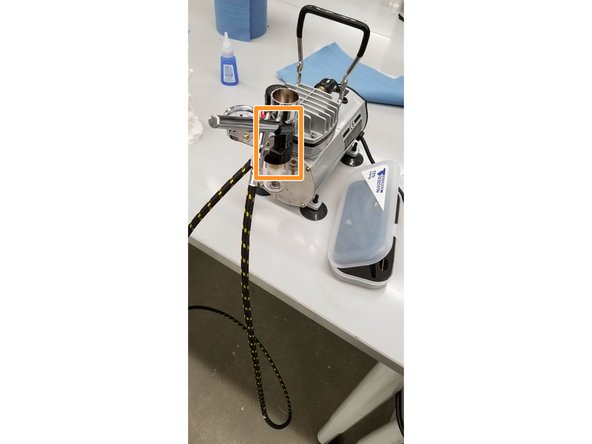
The brush can be stored in the plastic mounting piece on the air compressor when not actively in use.
-
The final setup should have the fully connected filter box on the right and the air compressor with the stored brush on the left. Place the waste container filter inside the filter box for use while you paint.
-
-
-
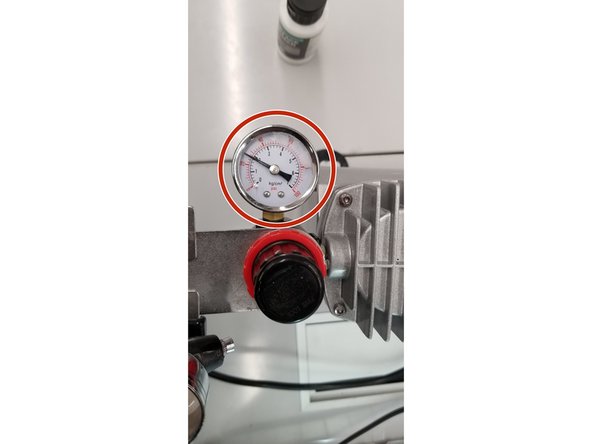
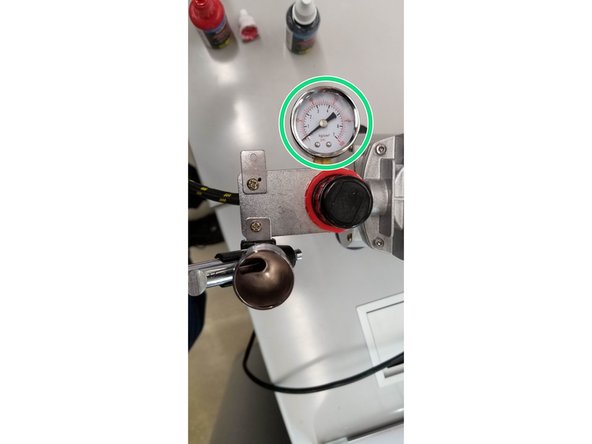
Turn the air compressor on and wait for the pressure to level out. Press and hold the control button of the brush down and see what pressure the gauge settles at. This is the working pressure. Check the paint container you will be using and make sure the working pressure is in the recommended range for your paint.
-
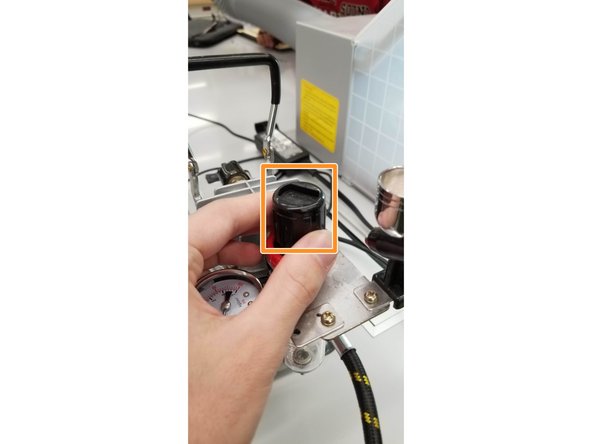
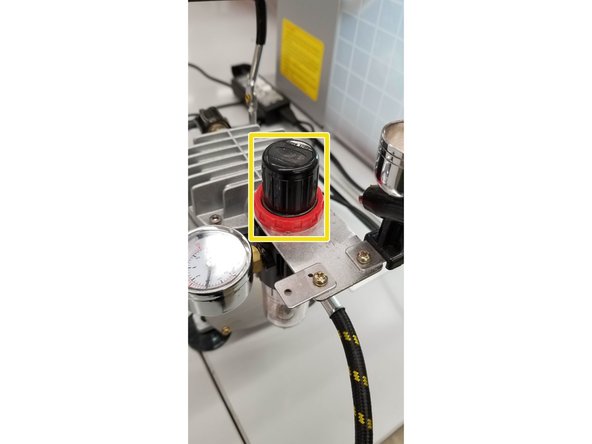
If the pressure needs to be adjusted, you pull up on the plastic knob below the pressure gauge to unlock it. Rotate the knob while watching the gauge. Let go of the control button, allow the pressure to level out, then hold it down again to check the working pressure. Do this several times to make sure you have the pressure you expect.
-
When the pressure is correct, press the locking ring of the knob back down. Keep in mind that the pressure when the brush is not in use should be higher than the desired working pressure.
-
-
-
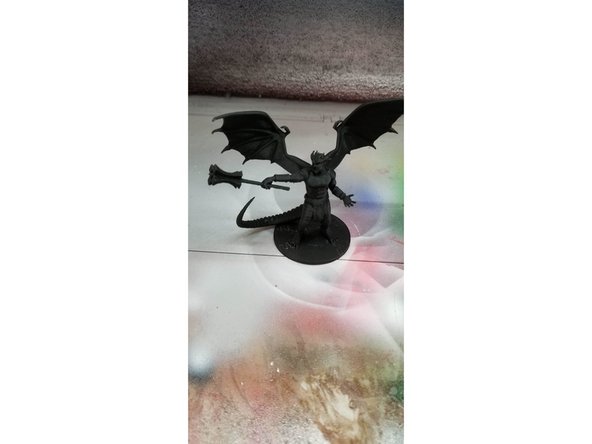
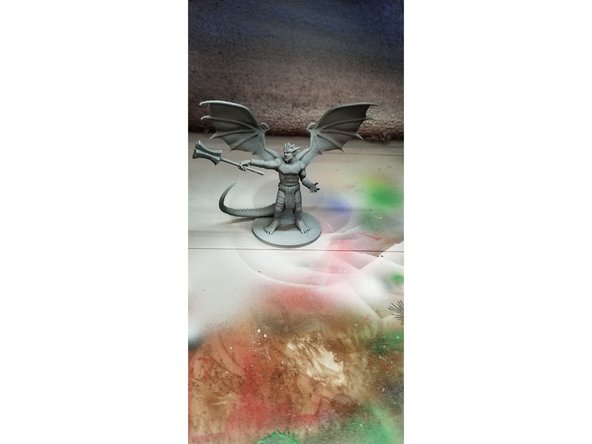
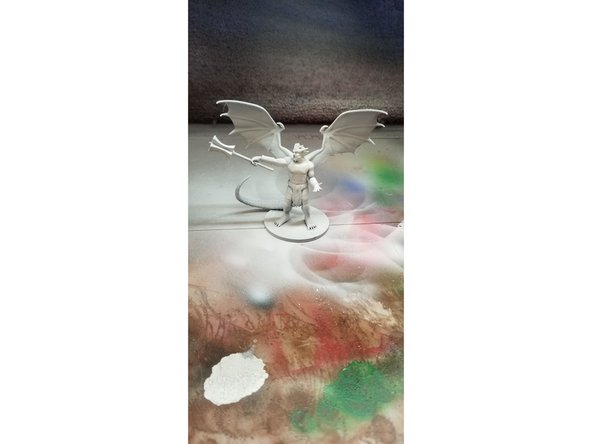
Place your models in the filter box near the back filter material. Turn the filter on and give it a second for the fans to get to full speed. Put your paint into the brush, don't fill the entire paint hopper, you usually need much less than you think. For printed objects, you will want to apply a coat of primer before adding colored paints.
-
Apply the primer or paints in thin layers. Hold the airbrush around 8 inches away from the model as you paint. You will want to spray some paint off the to side to allow the pressure to decrease to the working pressure and avoid paint splatters while you work. Moving the control button backwards as you press it down gives greater paint flow.
-
For small features or thinner coats, leave the control button mostly forward as you paint. Keep an eye on the needle at the front of the nozzle, paint can buildup here and you may need to carefully wipe it off with an IPA covered cotton swab. Continue applying paint in thin coats as needed and allow to dry in the filter box.
-
-
-
After you finish using a color or paint in the airbrush, fill the paint hopper partway with airbrush cleaner fluid. Spray the cleaner through the brush and into the waste container, making sure to move the control button back and forth as you do to clean the needle. Clean remaining paint from the hopper with IPA, paper towels, and cotton swabs.
-
When you are finished painting, turn the air compressor off. Press and hold the control button down and allow the brush pressure to return to 0 on the gauge.
-
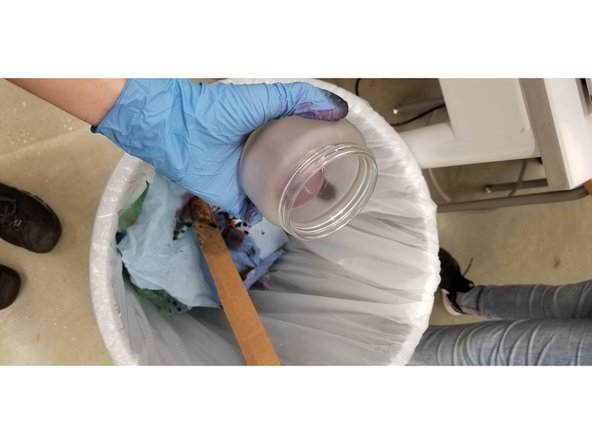
Empty waste container into the trash can. Wipe down the inside of the glass container with paper towels to remove excess paint and cleaners.
-
Pack up all of the equipment when you are finished with it and return it to the cabinet. Make sure the room's air tube gets moved back to the stored position.
-