Introduction
This guide will explain the basics of slicing in Zortrax’s proprietary software, Z-Suite, for generating .zcode to be used with the M200 and M300 printers.
Images By: Nico Lagendyk
-
-
When you first open Z-Suite you'll be presented with an option to choose a device to print from.
-
Select the appropriate device you need to use for the job
-
For this guide we'll be using the M300
-
-
-
Drag and drop your files into the software or browse for files by clicking "Add Files"
-
Clicking add files brings up your file explorer where you can select the 3d object you want to print
-
Make sure your file is in the appropriate file type of .stl
-
Select your file, then click open
-
Your file is then imported onto a plate virtually representing the build plate
-
-
-
Navigating is pretty easy and similar to other 3D software
-
Scrolling changes the zoom and holding down the left button of your mouse allows you to rotate the plate
-
All these basic tools have associated buttons on the left toolbar
-
Selecting a model on the plate allows access to a new set of tools on the toolbar
-
This includes moving, scaling, rotating, placing by face, and splitting the model
-
-
-
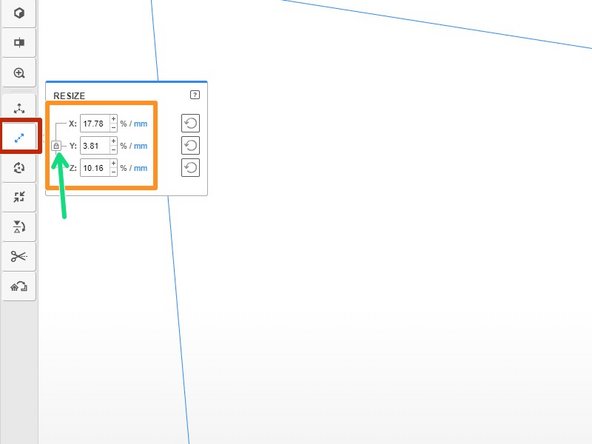
Access the resizing tool by clicking on the button with a line going through a point
-
Files can be exported in one unit system and then be imported in another so a part becomes either too small or too large
-
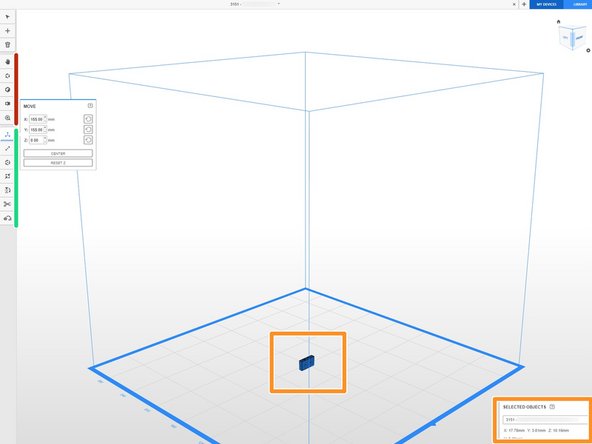
Retrieve the bounding box dimensions to fix this issue
-
This model should be 7" x 4" x 1.5", but as you can see, it has been scaled 0.1x in mm and is clearly too small
-
Convert one of your bounding box dimensions to mm and make sure that the little lock next to the dimensions is locked to preserve the scaling
-
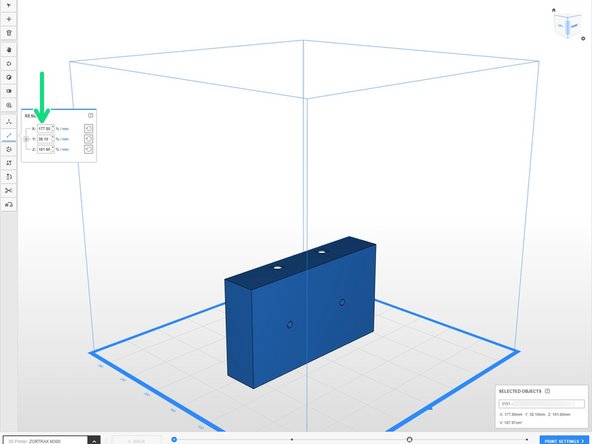
Once you change the dimension your model will look like the appropriate size
-
-
-
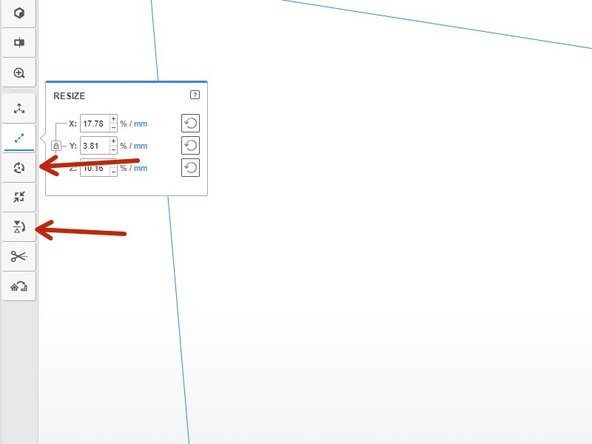
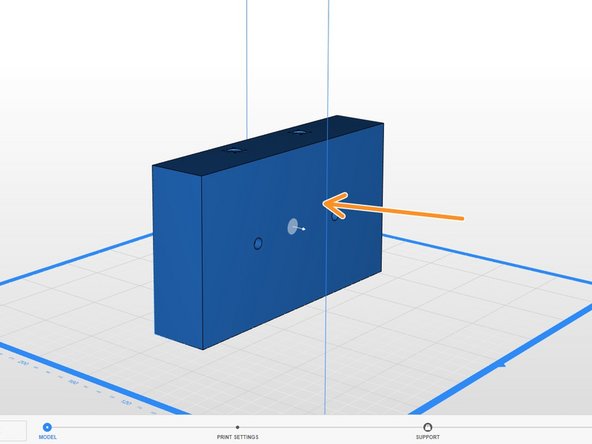
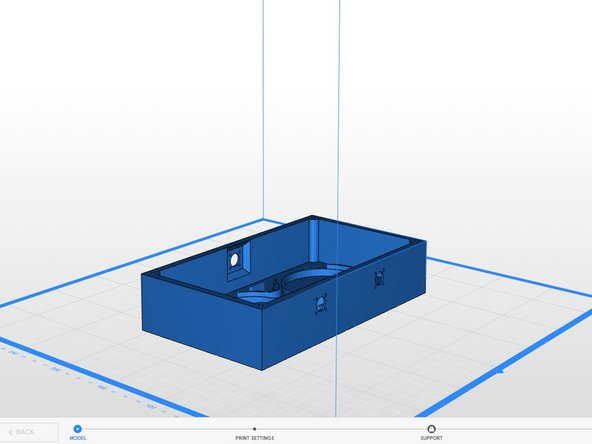
Orient your model in the best way to be printed
-
Minimize overhangs
-
Optimize for the least amount of support
-
For this model it is pretty straight forward that we want the large flat face on the plate
-
Use the rotate model or place by face tool to achieve this action
-
-
-
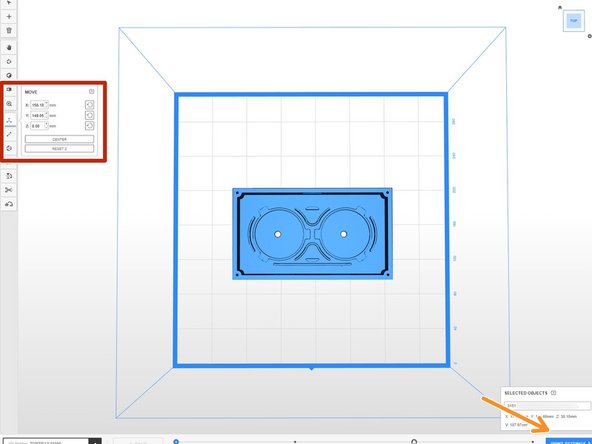
Move the model towards the center of the build plate and ensure that it fits properly
-
Change values in the move function box or drag the model when the tool is selected
-
Once the model is correctly scaled and moved you can move on to the next page by clicking "Print Settings"
-
-
-
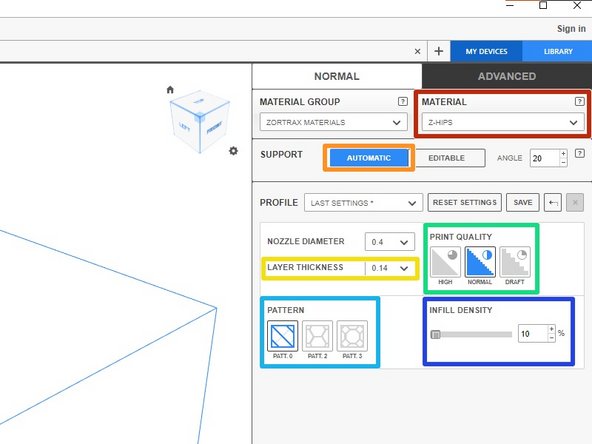
Select the correct material from the drop down menu
-
Click on "Automatic" for support
-
Use 0.14mm layer thickness for normal parts, but make it smaller for finer parts and larger for coarser parts
-
Set print quality to "Normal" in most cases
-
Use rectilinear infill pattern unless customer states otherwise
-
Use 5-15% infill unless customer states otherwise
-
Click "Preview" down at the bottom when finished
-
-
-
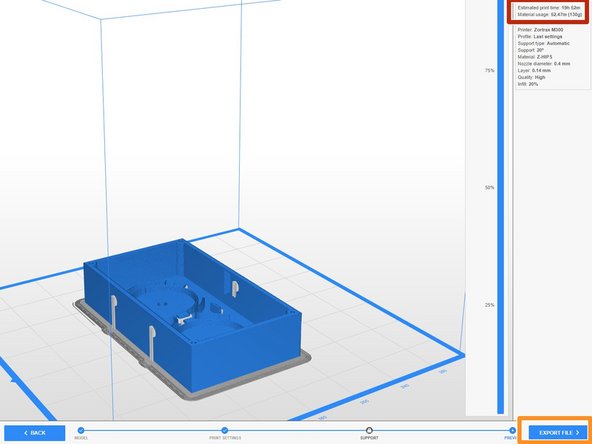
When you click preview, the software will go through and add support where its necessary and generate the .zcode for the printer to read
-
Note the time and amount of material needed
-
Export the file to use on the printer
-
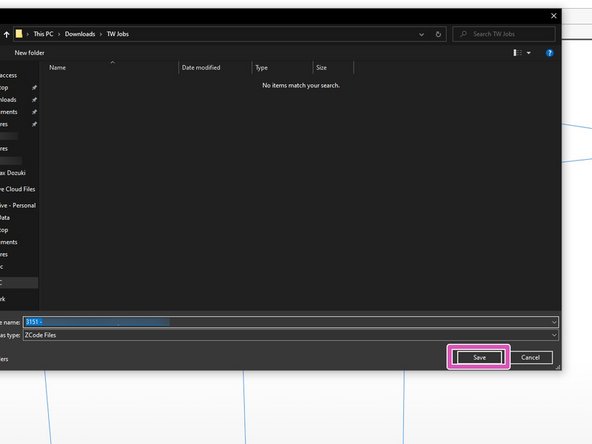
Uncheck the "Export the report to a .txt file" unless you want that information
-
Save your .zcode file in your desired location
-