Introduction
This guide will explain how to change the filament in the Zortrax M200 and M300.
Images by: Nico Lagendyk
Tools
Parts
No parts specified.
-
-
Select "Material" from the menu
-
Select "Unload Material"
-
Wait for extruder to heat up
-
-
-
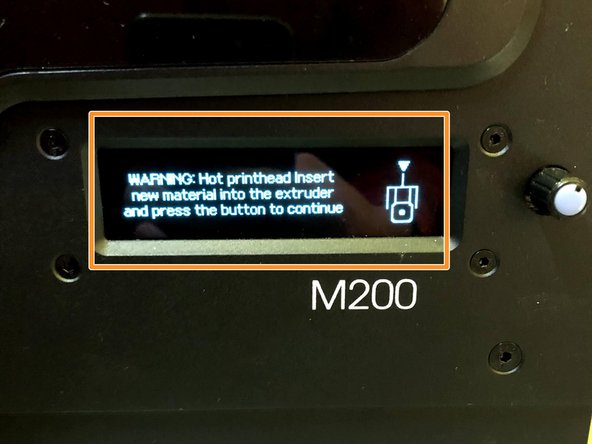
When prompted press the knob (after printer has warmed up)
-
Firmly tug the material up out of the extruder
-
It may be necessary to pull somewhat harder than expected if the filament is stuck
-
-
-
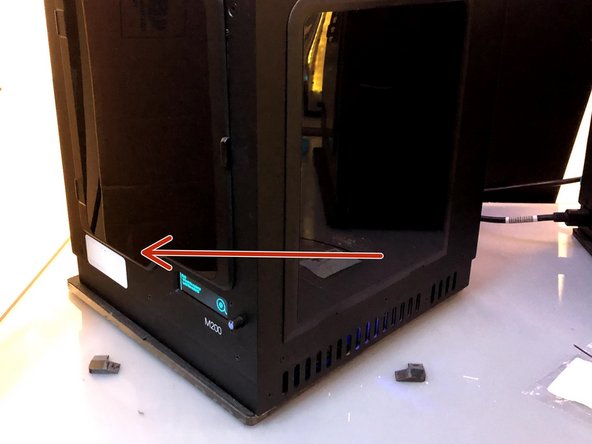
Rotate the printer to the left to access the rear, where the printer spool is
-
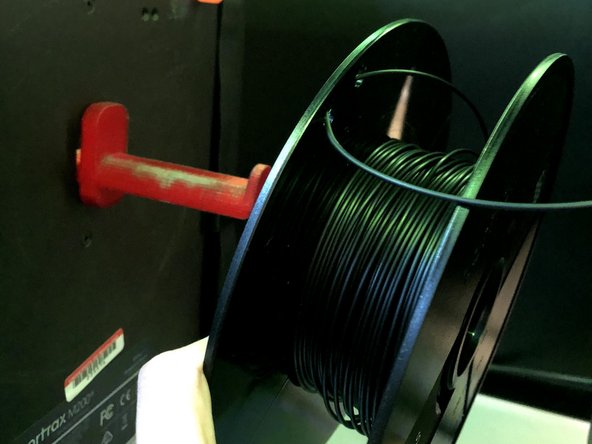
Wind any excess filament onto the spool
-
Tuck the filament into the spool using the two little holes on the edge
-
Pull the spool off of the spool holder
-
-
-
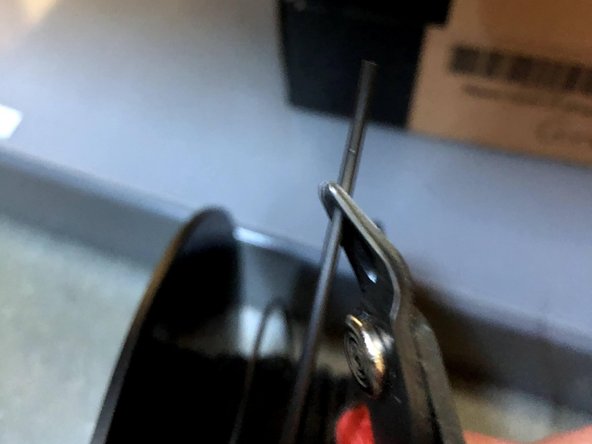
Prepare the new filament by cutting an angle at the tip using the side cutters
-
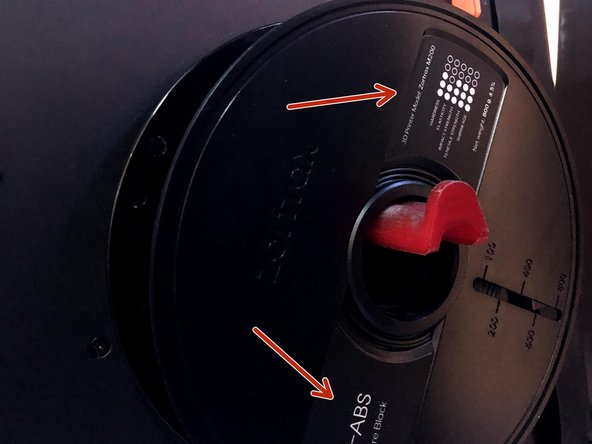
Place the new spool on the spool holder with the label facing outwards
-
Feed the new filament through the PTFE tube up to the gears
-
Rotate the printer back around so you can see the menu screen
-
-
-
On the menu select "Material" then "Load the Material"
-
The extruder will begin to heat up again
-
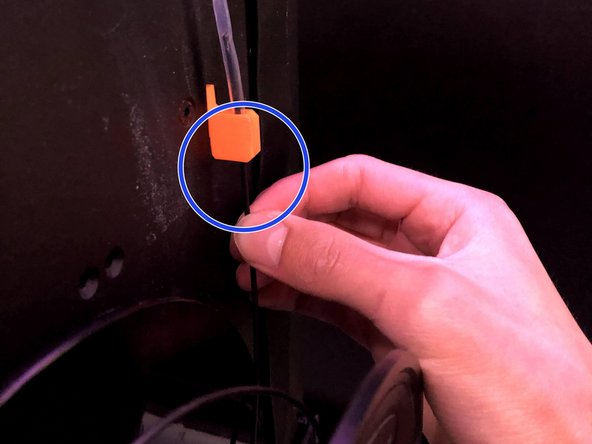
Remove the PTFE tube from the plastic bracket at the top of the extruder by pulling lightly upwards
-
Pull the filament the rest of the way through the tube and guide it to the drive gear
-
When prompted, press the button and feed the filament into the extruder (this may take a few minutes while the extruder heats)
-
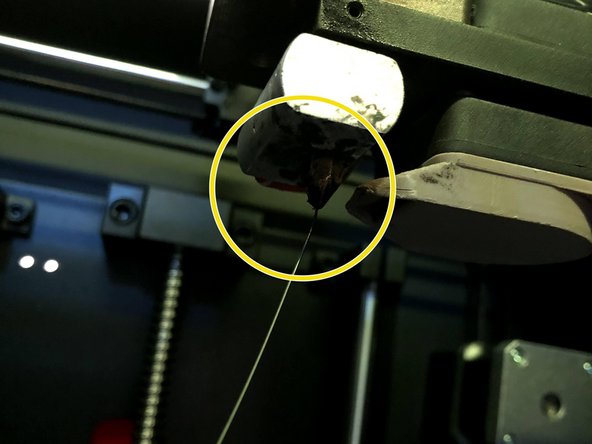
Once the filament is extruding click the button again to stop the process
-


