Introduction
This guide will explain how to remove a model from the Zortrax M200 and M300 printers as well as tips for removing support material.
Images by: Nico Lagendyk.
Parts
No parts specified.
-
-
Unplug both white cable connectors at the very back of the build plate
-
The small plug is extremely fragile
-
Make sure to tug evenly so as to not damage any of the pins
-
Once the connector is removed lift evenly on both sides of the build plate to remove it from the magnetized posts
-
Use thick gloves if the build plate is still hot
-
Angle the build plate to take it out of the machine
-
-
-
Place the build platform on a flat surface or in a fixture
-
This can be useful to avoid the build plate sliding around while trying to remove a print
-
If a fixture is unavailable, try to utilize a flat lip or wall in your work area
-
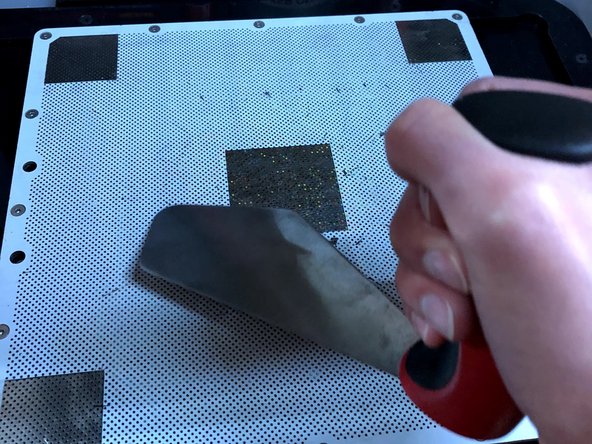
Using a spatula work around the edges of the raft and slowly push further each time
-
Be patient with fragile parts as they could pop off or crack
-
Do not aim the spatula at the rear connectors, as this could irreparably damage the build plate
-
-
-
Use the spatula to lightly remove any filament stuck to the build plate
-
Use the edge of the spatula, and scrape over the area where the print was
-
Be extremely careful not to hit the connectors
-
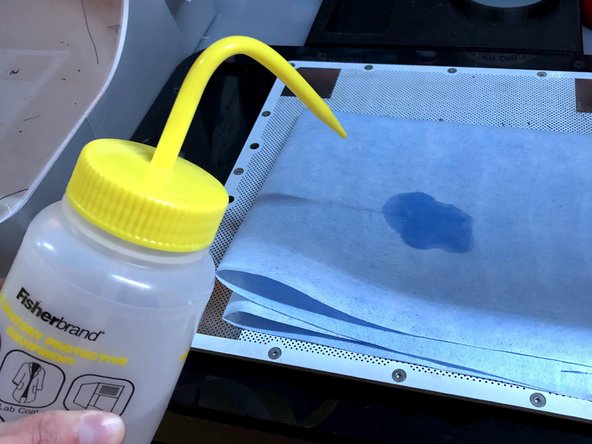
Using a paper towel wipe the build plate clean with IPA
-
Clean the gold squares, since these are the contact points which tell the printer how level the plate is
-
Return the build plate to its resting place in the machine
-
Reattach the white connectors in the back
-
-
-
For simple prints, the raft will come off by using even force closest to the corner between the part and raft
-
For more complex parts, the raft may require some poking and prodding from the spatula- use gloves to avoid cuts
-
If the raft is fused to the part, re-slice the part with a larger raft-to-model spacing
-
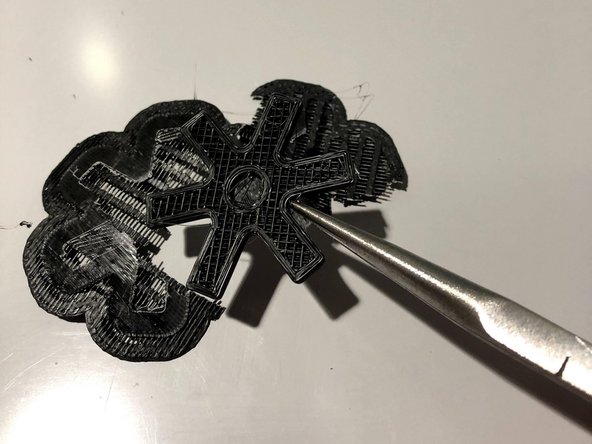
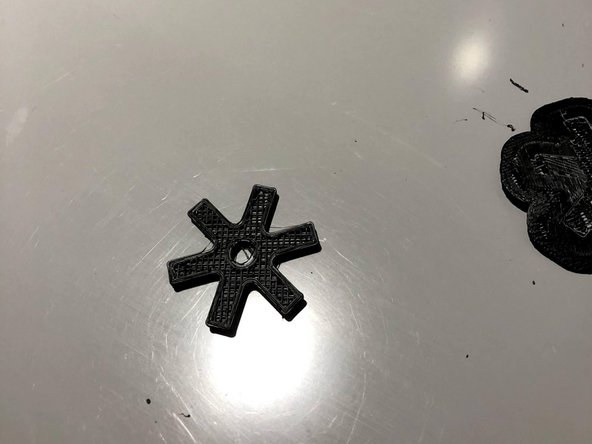
Supports can be removed using pliers or picks and patience
-
Supports that are fused to the part and difficult to remove may require additional post-processing, or need to be re-sliced with larger spacing
-
-
-
In order to minimize the risk of damage to the build plate, certain methods can be used:
-
For simple prints, first attempt to remove the print from the build plate without removing the build plate from the printer
-
This should only be attempted by minimizing the force applied to the build plate to avoid un-leveling or damaging the printer
-