Introduction
This guide will explain the necessary steps from taking a .zcode file to having a finished print
Images by: Nico Lagendyk.
-
-
Both the Zortrax M200 and M300 use an SD card to load files
-
Transfer the desired .zcode file to the SD card and bring it over to the printer
-
Insert the card into the machine by pushing it into the slot behind the screen
-
-
-
Verify that the correct material has been loaded, or load the correct material
-
Push the knob on the front to wake the printer
-
Click the "Models" folder on the menu to view the contents of the SD card
-
Scroll down to the desired print file (usually most recent first)
-
Select the file by pushing the knob
-
Confirm you have the correct model by checking the material and print time
-
Finally scroll down to "Print: [Model Name]" and click the knob again
-
-
-
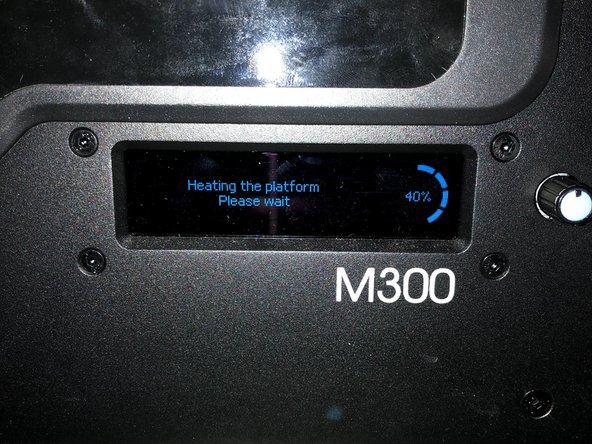
The print process begins with warmup, and the print cannot be cancelled during warmup or printing the raft
-
If it becomes necessary to stop the print during this phase, you must power cycle the printer
-
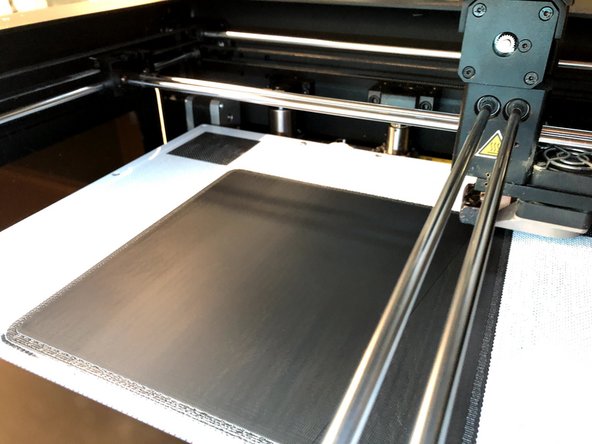
Check back to see the first layer and ensure it looks normal
-
Check back intermittently to make sure the printer is still successfully putting down layers and building the model
-


