Introduction
This guide will explain the basics of slicing in Raise 3D’s slicing software, ideaMaker.
Images by: Nico Lagendyk
-
-
When you open ideaMaker you'll be prompted with this screen
-
Click on printer settings to ensure you have the correct printer set up
-
A new window will open and you can select your printer from the dropdown menu
-
We have a RAISE3D N2 Plus in the AFL so that will be the profile used in this guide
-
Click "Save" then x out of the original pop-up window
-
-
-
Click "Import Models" and a file explorer window will pop up
-
Select your file and click "Open"
-
Make sure you have the correct file type of .stl or .obj
-
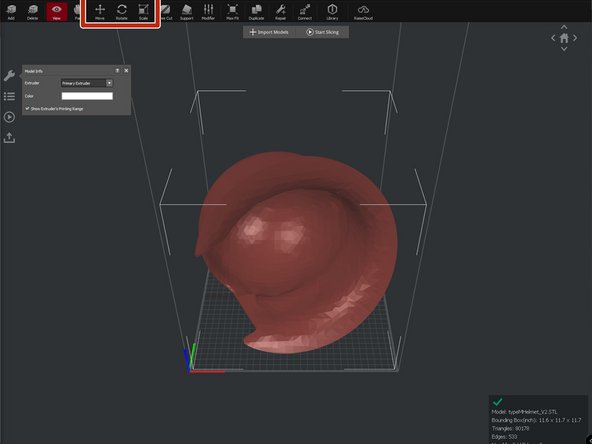
Check the bounding box dimensions in the lower right corner
-
-
-
Navigating is pretty easy and similar to most other slicers
-
Scrolling allows you to control zoom
-
Hold down the right mouse button to orbit about the part
-
All the basic functions such as move, rotate, and scale have corresponding buttons in the top ribbon
-
You must have a model selected to use any of these modifiers
-
-
-
This example model is a little trickier than others so the best course of action is using a place by face to correct the orientation
-
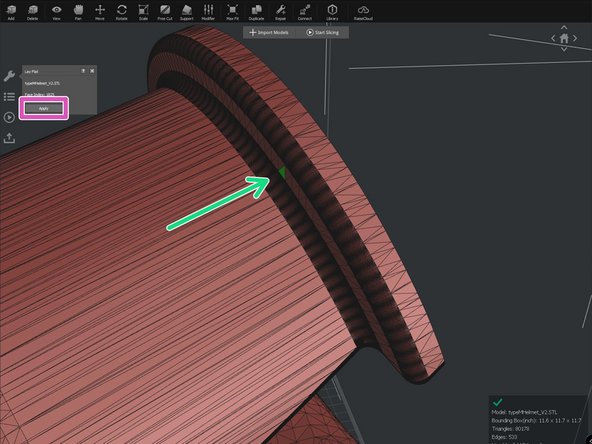
Select the model, then click on the "Model" tab
-
Click "Lay Flat" to place by face
-
Select one of the triangles on the model to pace it on the face
-
Choosing a face that will be parallel to the build plate will also work
-
Then click "Apply"
-
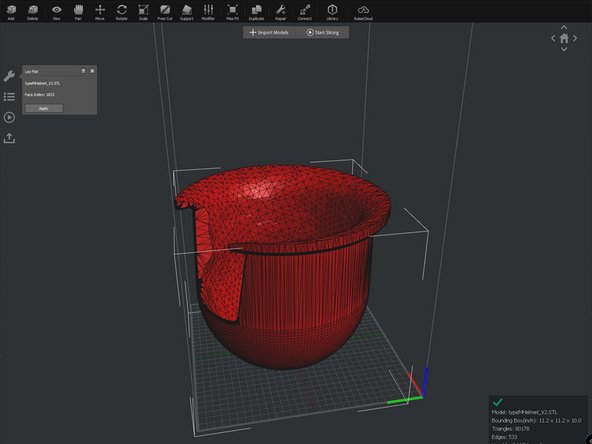
The part will automatically rotate to make that face parallel to the build plate
-
-
-
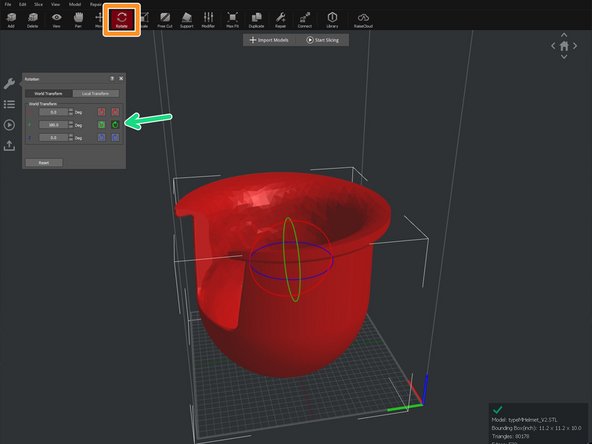
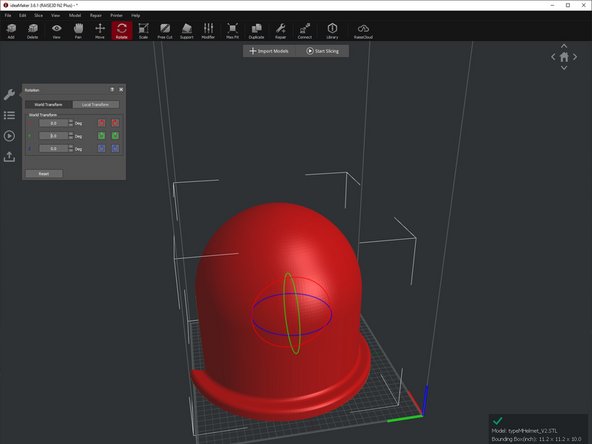
Rotate the model by selecting "Rotate" from the top ribbon
-
For this example you can just use the buttons to rotate in increments of 90 degrees
-
The model is still bright red signifying that it is outside of the build volume
-
-
-
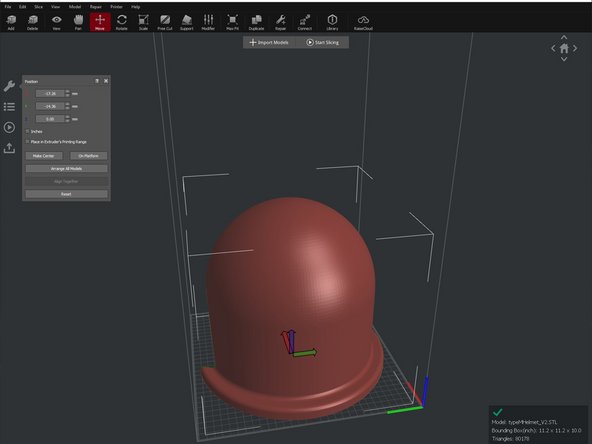
To arrange the model click the "Move" button from the top ribbon
-
Click the "Make Center" button to center the model
-
Notice the model has turned a faded red color. This means that the model is within the build volume of the printer.
-
-
-
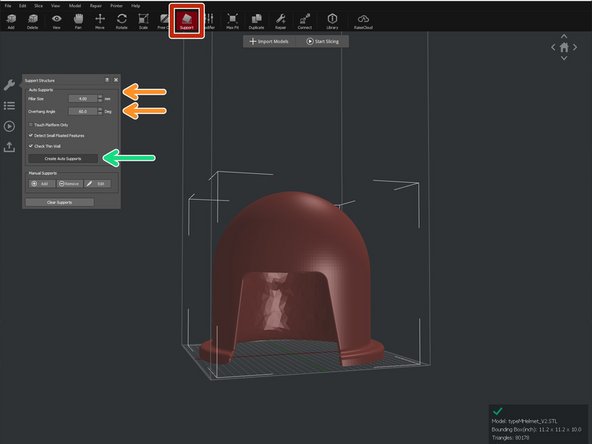
Click the "Support" button on the top ribbon
-
Modify the pillar size and overhang angle to your desired quantities
-
Then click "Create Auto Supports"
-
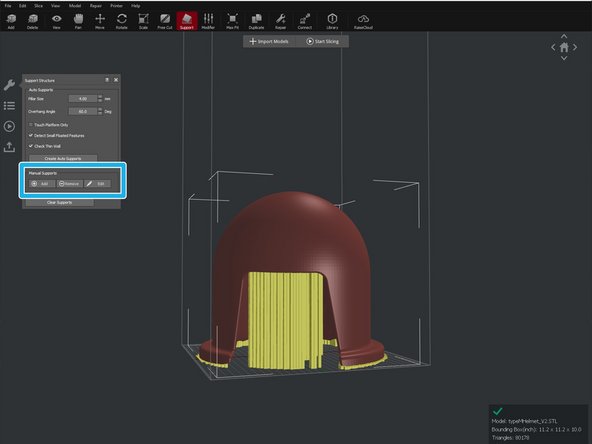
You can add or subtract supports manually by clicking on their respective buttons
-
-
-
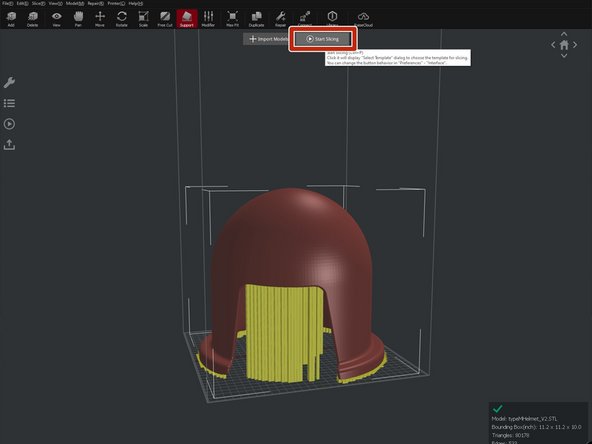
Click the "Start Slicing" button to open the print profiles window
-
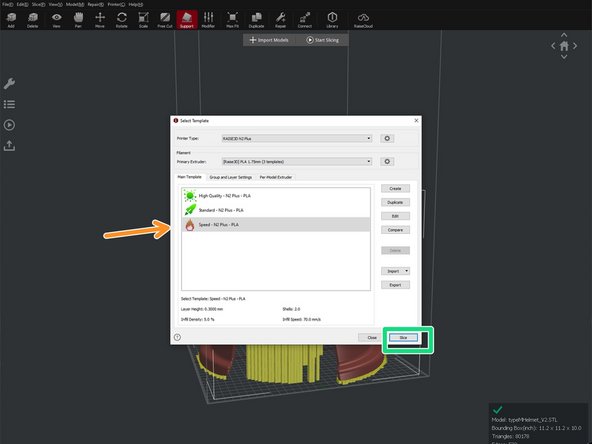
Select your desired print profile
-
The profile used in this guide can be found in the network drive under \\tw\AFL (Clark)\Raise N2 Plus
-
Click "Slice" and the software will create the gcode
-
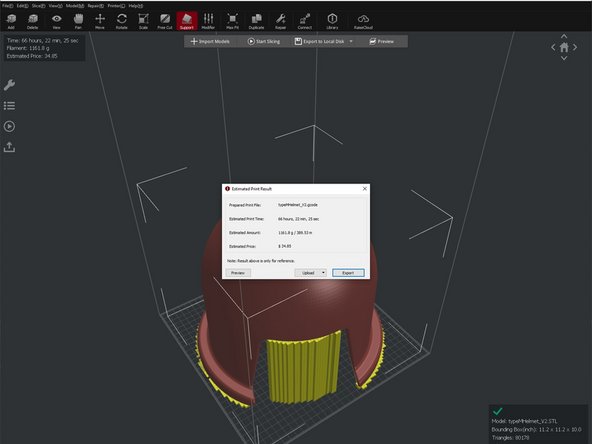
It will then display a window with relevant print information like time and material used
-
-
-
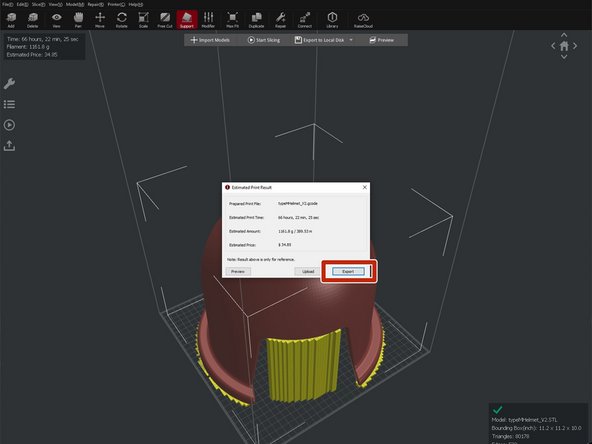
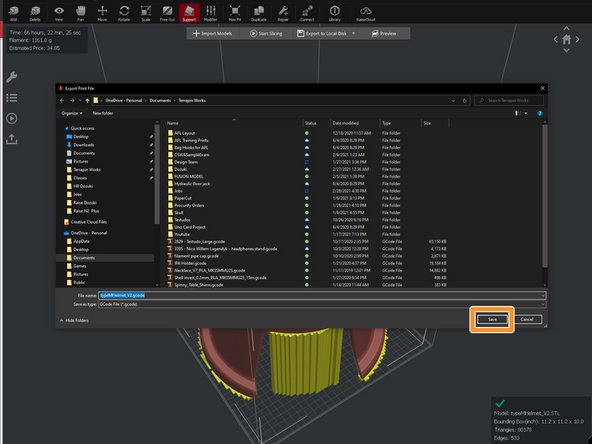
From the slicing information screen click "Export" to open a file explorer window
-
Find your desired location and click "Save"
-