![[DEPRECATED] Formlabs Form 2: Wash and Cure Station](https://d3t0tbmlie281e.cloudfront.net/igi/umd/VSVkt3lcYjfC3gjK.medium)
Introduction
This guide will explain the necessary steps to properly harvest and cure a print from the Formlabs Form 2
Images by: Terrapin Works
Parts
No parts specified.
-
-
Wear gloves to prevent getting resin on your skin
-
Once the print is complete, lift up orange hood and flip up the black clip holding down the build plate
-
Pull the build plate straight out rotate to prevent dripping
-
Flip the black clip back down and bring down the orange hood
-
Do this immediately, ambient light can affect the resin sitting in the tank
-
-
-
Hold the build plate over a trash can
-
Spray part down with IPA wash bottle
-
Make sure to spray small crevices and holes where resin may have built up
-
-
-
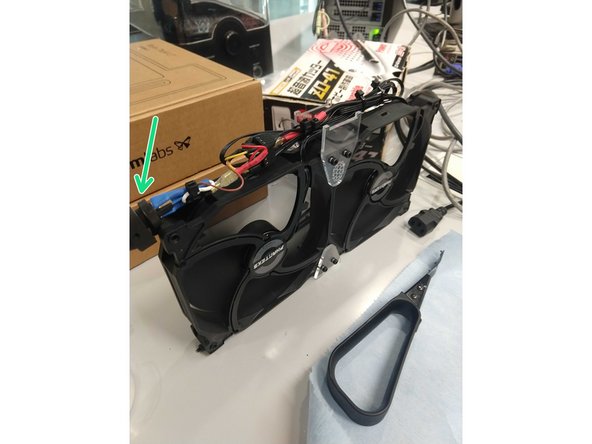
The Form Wash will rinse the part of any excess resin
-
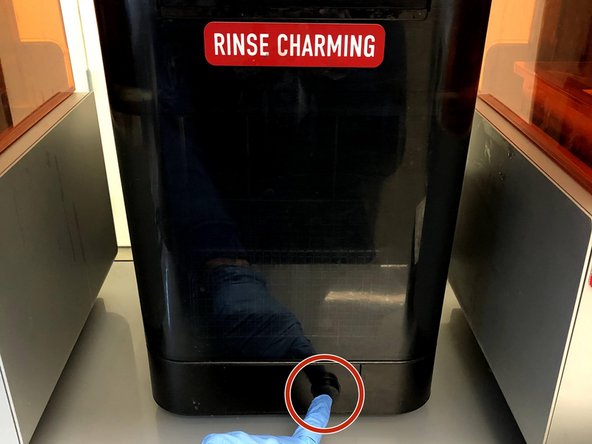
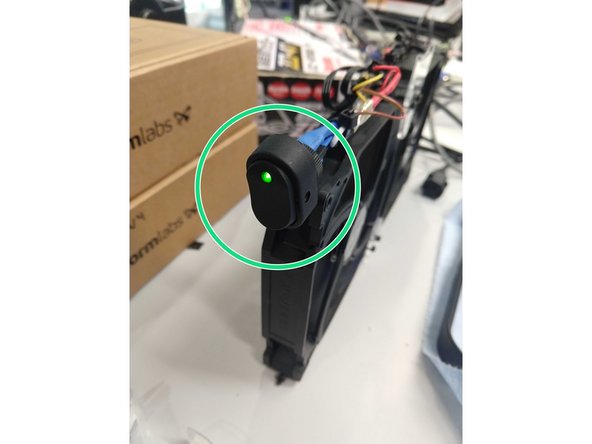
Press the black button to turn on the wash
-
Scroll to "open"
-
Push the black button again to raise the arm
-
Place the build platform on the arm with the model facing down
-
Build platform should slot nicely into tracks of the wash
-
-
-
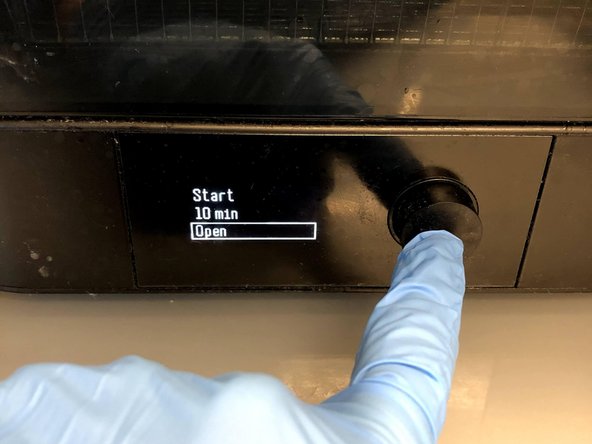
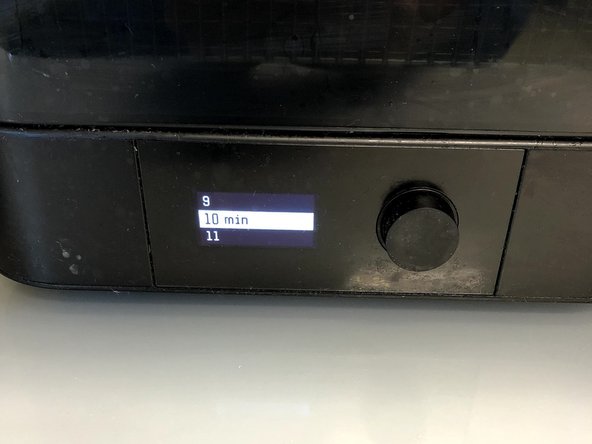
Use the knob to scroll down to time and make sure the correct time is selected
-
If you're unsure about how long to set it for you can check here
-
Scroll up to start and press the knob
-
-
-
The arm and build plate will automatically rise out of the wash when the time has finished
-
Remove and rotate the build plate so that the part is upright
-
Scroll to "sleep" on the Form Wash and push the black button to set the tank to sleep
-
Do not keep the Form Wash open too long or the IPA inside the Wash will evaporate
-
-
-
Do another quick rinse of the part with IPA over a trashcan
-
Place the upside down build plate on a towel
-
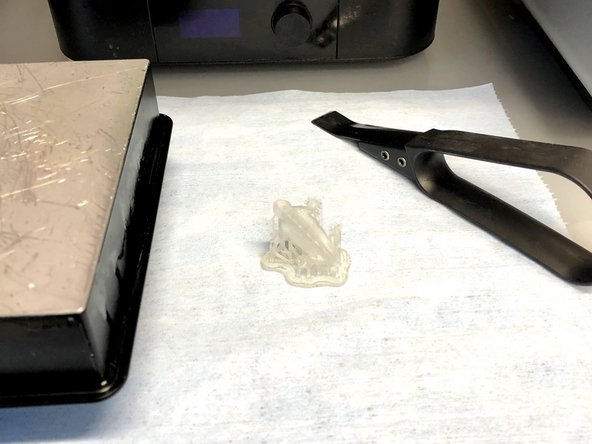
Use the lever tool to loosen the raft from the build plate
-
Be careful not to scratch the build plate! This tool is meant to be placed under the raft and then rotated so that the part pops off
-
Place the removed part on a paper towel to begin drying
-
-
-
Spray down paper towel with IPA and thoroughly wipe off the build surface
-
Using a new side of the paper towel clean the sides of the build plate
-
Wipe off build platform with a clean side of a final time to ensure that all resin is removed from the plate
-
Replace build plate back into the machine
-
-
-
Leave part out on paper towel and set to dry
-
The part must be completely dried so this will take some time, check to see if part is dry every 15 minutes
-
If part does not dry after substantial amount of time, place the part in the metal basket of the form wash and run another wash cycle
-
Part MUST be completely dry because any leftover resin will set unevenly resulting in a poor surface finish
-
In order to speed up drying times, there is a selection of drying techniques.
-
The part can be placed in front of a fan to ensure consistent airflow over the part
-
The part can be sprayed with compressed air to speed up drying times
-
-
-
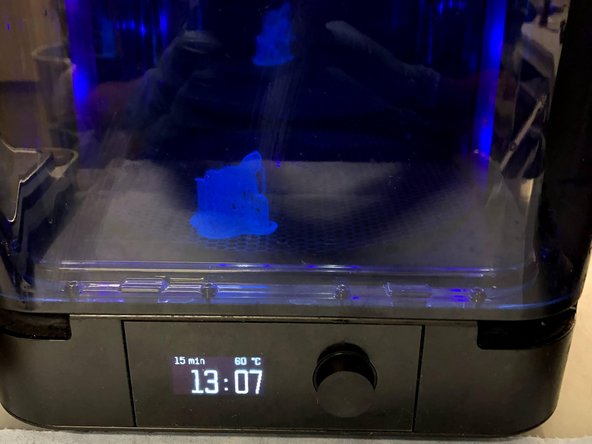
Preheat the form cure for the correct time and temperature for the resin
-
For a list of times and temps check here
-
Open the lid and place completely dried parts on the circular plate
-
Parts MUST be completely dried before curing or else the surface finish will be ruined
-
Wait for the curing cycle to complete
-
Multiple parts can have the same curing temperature but different times, so parts can go together, just set the time to the longest of the group
-