Introduction
This guide will show you how to set up and cut parts on the Wazer.
-
-
Now that you've prepared your cut file, you'll prepare the machine and start the cuts
-
Insert the SD card on the right side of the machine
-
-
-
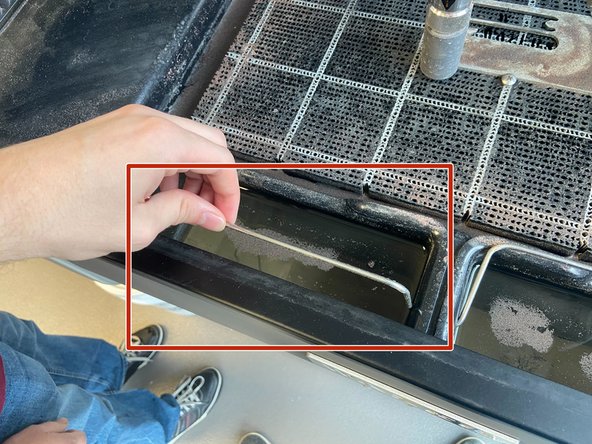
The water level in the machine should be at or just above the height of the bed.
-
If it is too high or too low, the machine will not turn on. In those cases, add or remove water until it is at the right level
-
Water can be added using the attachment on the faucet, or removed using a siphon
-
-
-
Double check that the water level is correct as per the previous step
-
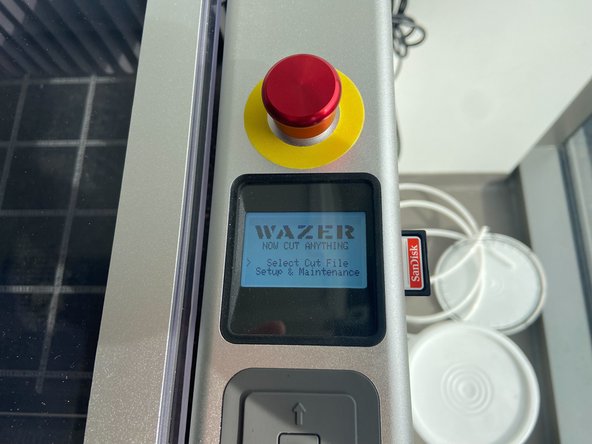
Ensure the E-stop is released
-
In order to release it, twist is counter-clockwise until is springs up
-
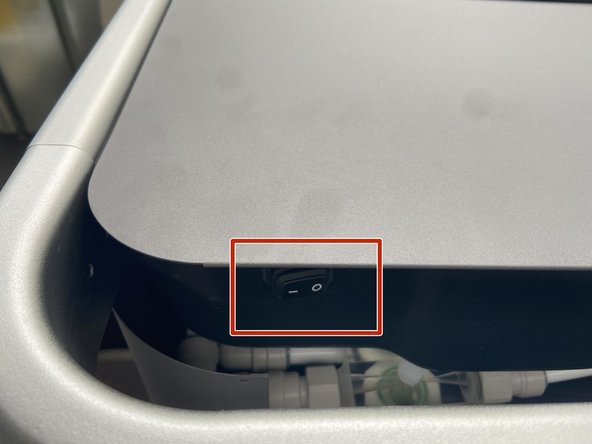
Turn on the Wazer using the power rocker under the right side of the machine
-
If it still isn't turning on, press the reset button on the power cords for both the cutter and pump box (located behind the cutter)
-
-
-
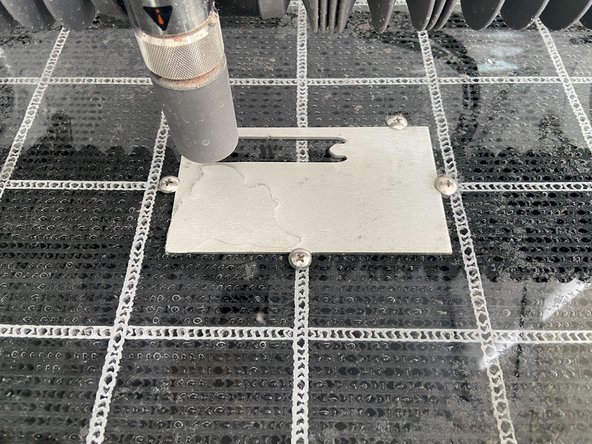
Remember where you placed your cut files in WAM and, using the pattern in the bed and the 5 provided screws, secure your stock in the correct place
-
You can move the origin of your cut path later, but this makes it so you don't have to
-
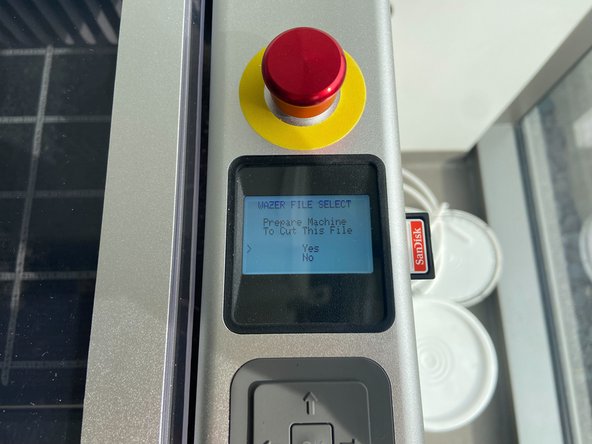
Select your cut files and click "yes"
-
-
-
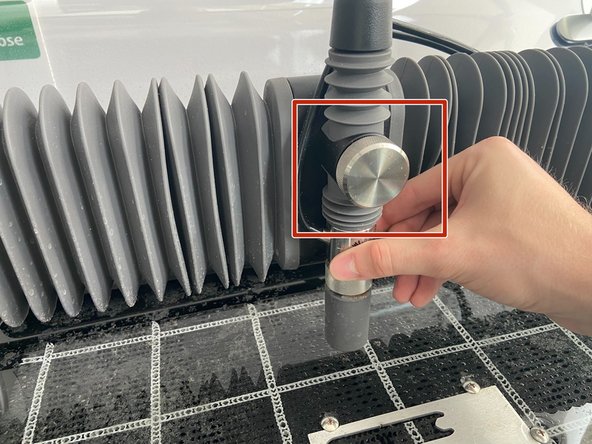
Lift the nozzle by unscrewing the chrome knob on the front of the cutting head, pushing the head up by hand, and retightening the knob
-
Press"ok" to home the machine
-
Ensure there is nothing in the way that the cutting head could run into
-
-
-
The machine will now confirm the file you want to cut, including the material, thickness, and cut time
-
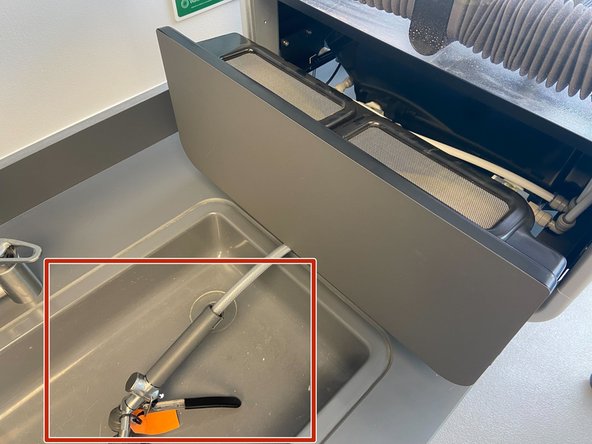
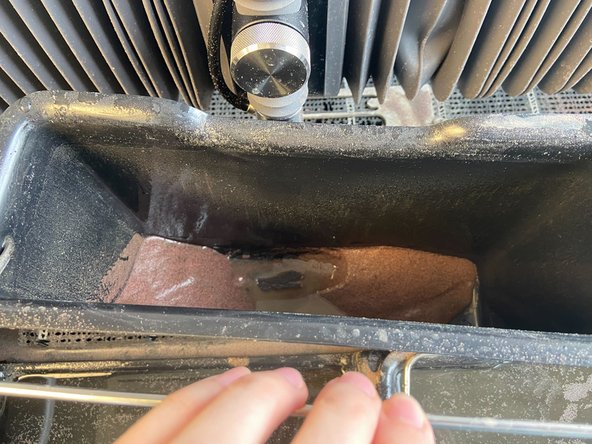
Next, you will need to fill the garnet hopper. This is accessed by lifting the eyewash up and leaning it into the sink, then pulling on the bottom of the left side of the machine
-
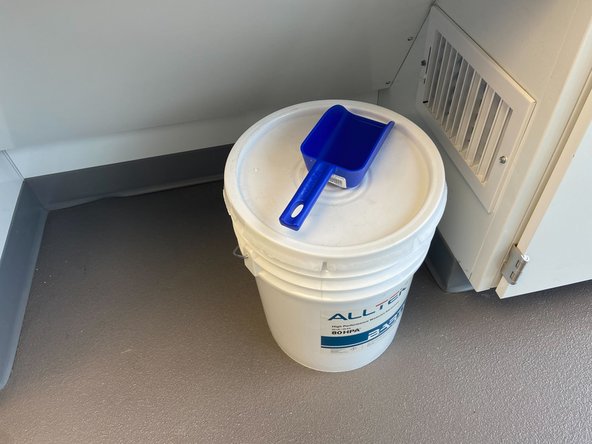
Fill it with clean garnet using the scoop already in the bucket (under the sink)
-
Always pour the garnet through the screen. This ensures no particle is too large for the machine and cause a clog
-
You can lift the screen to see how much more garnet you need to add, but replace it to continue filling
-
Push the slider closed when finished and replace the eyewash
-
-
-
Lift up the front cover
-
Lift the handle of the used garnet bucket. This doubles as the lock to keep the buckets in place
-
Lift the bucket, drain the excess water into the machine, then dump the used garnet into the used garnet bucket on the right of the cabinet
-
DO NOT mix used and new garnet!!
-
Press the buckets back into their spaces, allow them to fill with water, then ensure they are fully seated and press the handles back down.
-
This can be difficult but be patient. Filling the buckets with water will make this much easier
-
Sometimes used garnet can get stuck under the buckets. Use your hard to displace this in order to get the buckets fully seated
-
Double check that both sides of the handle are locked in position
-
-
-
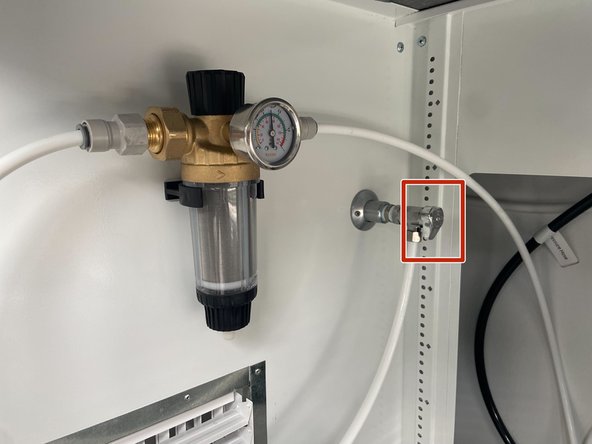
Check that the water supply is on in the cabinet under the Wazer
-
Double check that the material is fastened tightly to the bed
-
-
-
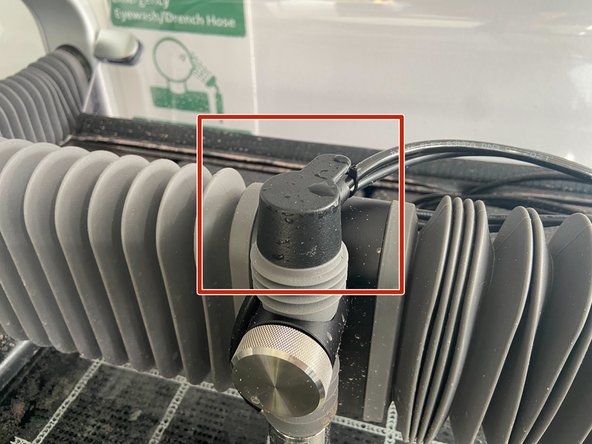
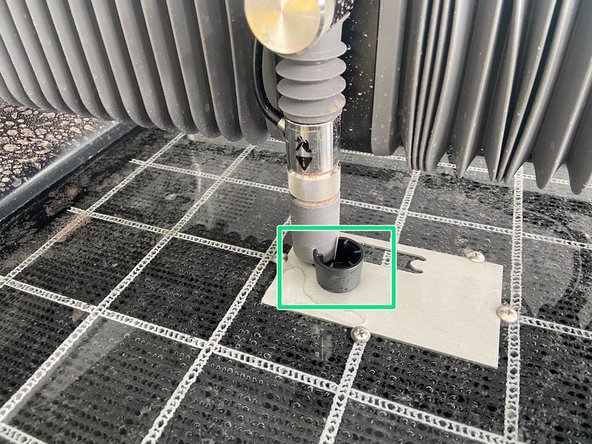
Take the black cap off the cutting head assembly
-
Place the flange of the cap under the nozzle, then adjust the nozzle height so the nozzle rests on the flange
-
Ensure you are not flexing the material by pushing the nozzle into the black cap. The cap should be able to move relatively easily
-
If the nozzle is too high, the cut quality will suffer minorly. If the nozzle is too low, it will cause a clog, ruin the cut, and require time-intensive maintenance
-
Replace the black cap on the top of the cutting head
-
-
-
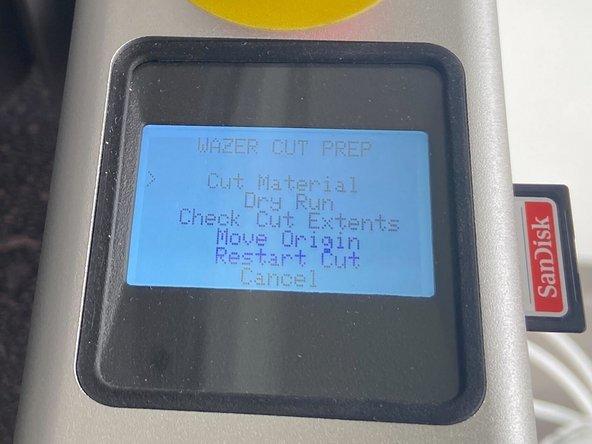
"Cut material" will allow you to start your cut after a second confirmation
-
"Dry run" will run the path of your part without water to ensure your stock is large enough for the part
-
"Check cut extents" will trace a bounding rectangle around your parts. This is quicker than the dry run but doesn't trace the actual cut lines
-
"Move origin" will allow you to move the origin of the cut by 10mm in any direction
-
"Restart cut" allows you to start from any point in the cut, in case of a failed cut
-
-
-
After starting the cuts, watch the cut and listen to the machine
-
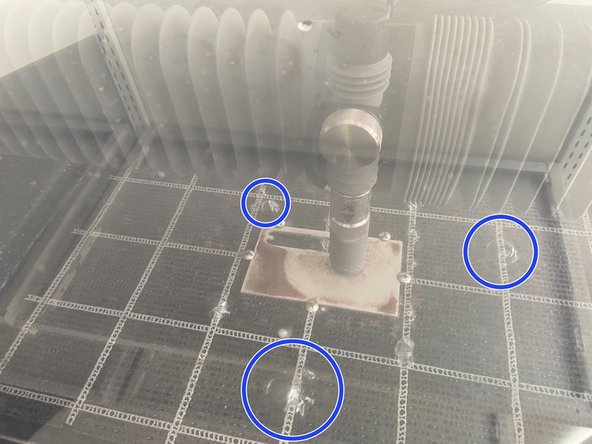
The water will first spray everywhere, accompanied by a high pitch sound of the water bouncing off the material
-
Watch and listen for the water to start bubbling through the bed and the sound to switch to a lower drone. This means the pierce was successful
-
If the pierce is unsuccessful, the parts will not be cut. Pause the machine by pressing the stop button, then go to http://wazer.com/resources and look up troubleshooting steps for a cut not cutting through
-
If you are not comfortable troubleshooting the machine, inform the Terrapin Works staff and let them show you how to troubleshoot the machine
-
-
-
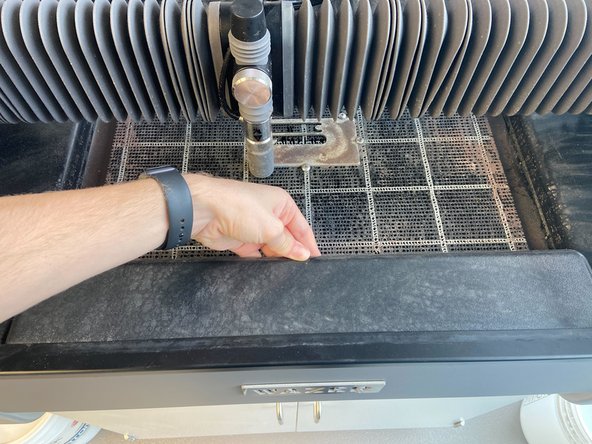
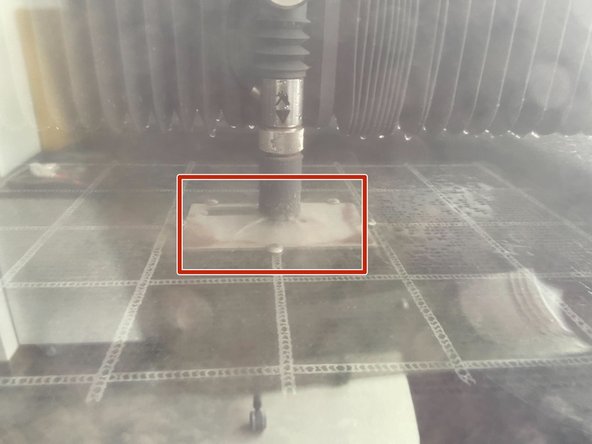
After the cut has completed and the Wazer says it is finished, you can open the top and move the gantry by hand
-
You'll notice that there is a lot of water and garnet sprayed around the machine after the cut. Leave the top open so the water can evaporate
-
Once the water has evaporated the leftover garnet can be cleaned using a soft brush
-
Be sure to turn off the Wazer once you've finished your cut
-
-
-
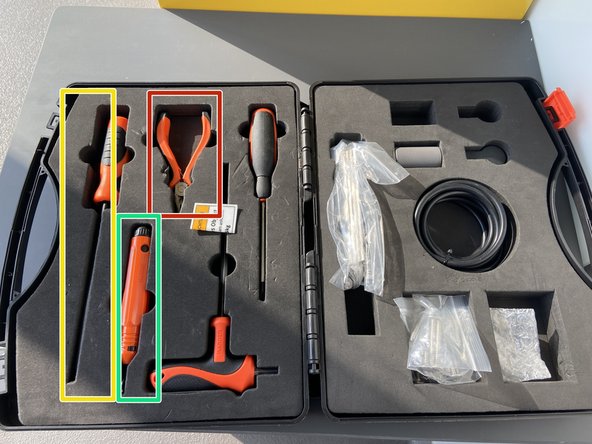
Parts that come off the Wazer will almost always need some sort of post processing. In the Wazer cabinet, there is a toolbox that comes prodived with the Wazer
-
The pliers can help twist the part and free it from the tabs in the stock
-
The file is good for removing left-over tab material
-
The deburring tool can clean up edges that came out rough from the water
-
You are also free to use any other tool in the lab to clean up your parts as you see fit
-
If you are unsure how to process your parts, feel free to ask the staff member on shift for assistance
-
Cancel: I did not complete this guide.
8 other people completed this guide.

