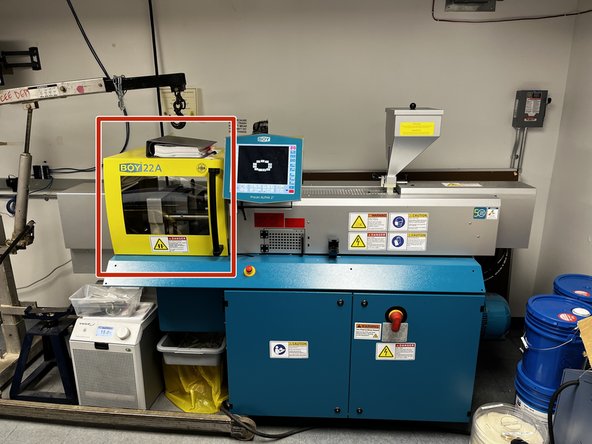
Introduction
This guide walks you through the steps for operating the injection molder in semi-automatic mode.
-
-
Ensure that the mold is open, the pins are retracted, the nozzle is moved back, and the screw position is greater than the set shot size.
-
-
-
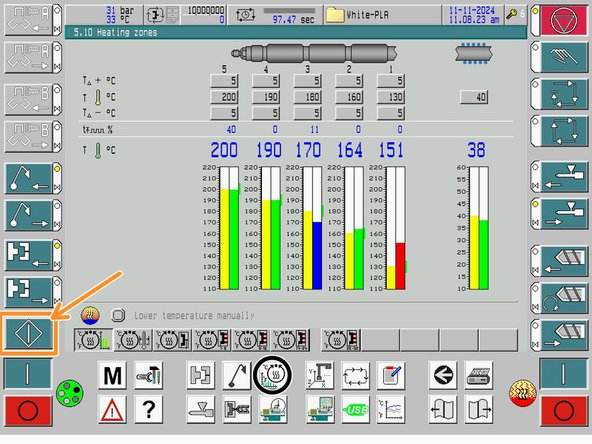
Press the button for semi-auto
-
The bottom left button should begin flashing green if all safety doors are closed and all components are in the correct position.
-
Pressing this button will begin the cycle and it will continue until either a cycle timer is tripped or the run is complete.
-
-
-
Video at x1.5 speed
-
Video of Semi-Automatic Mode in action. The cooling time was reduced to 30 seconds in this clip to be faster.
-
-
-
If ejection pin was not able to remove part completely. Open safety gate and manually remove material
-
For info on stuck part removal, refer to Common Failures Troubleshooting
-
-
-
To start another cycle there are several options
-
Opening the door and then closing it without changing modes will run another cycle
-
Pressing the start button when it is flashing
-