
-
-
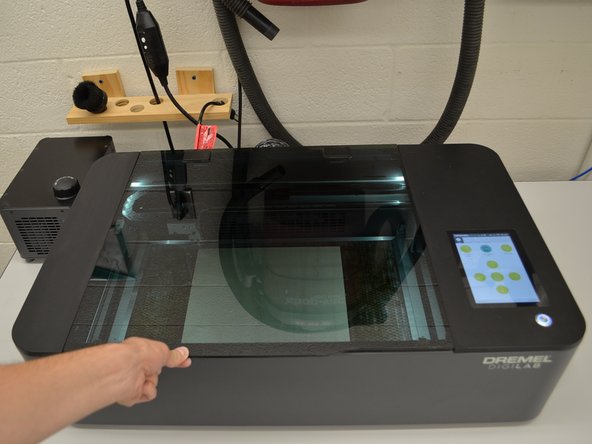
Make sure that the bed is clear. The machine will home once it is turned on, and there is a possibility of the lens crashing into anything that left on the bed.
-
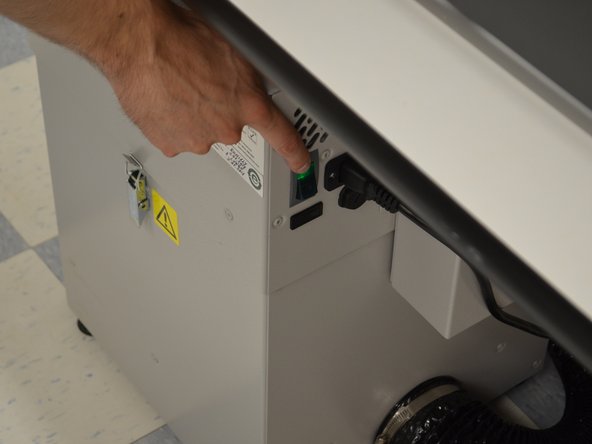
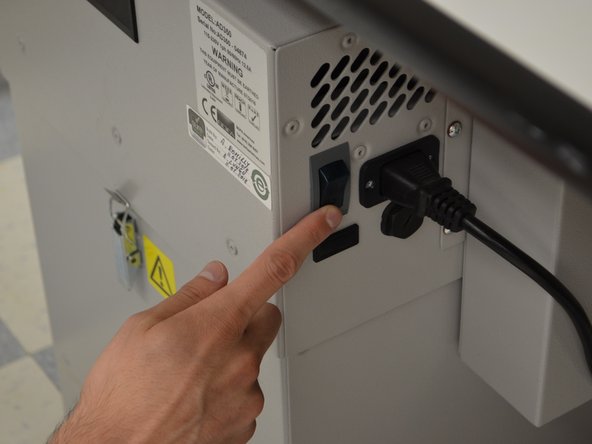
The power switch is located in the back right of the machine.
-
Turn the switch ON
-
The machine will power up and home. Continue once the control screen comes up.
-
-
-
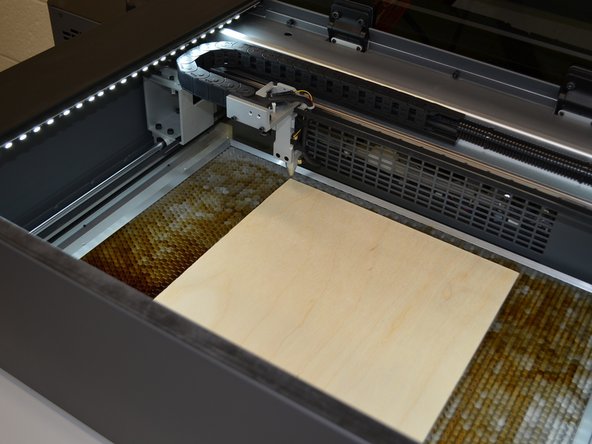
Place material flat on the bed.
-
Use the arrow keys to position the head assembly above the material.
-
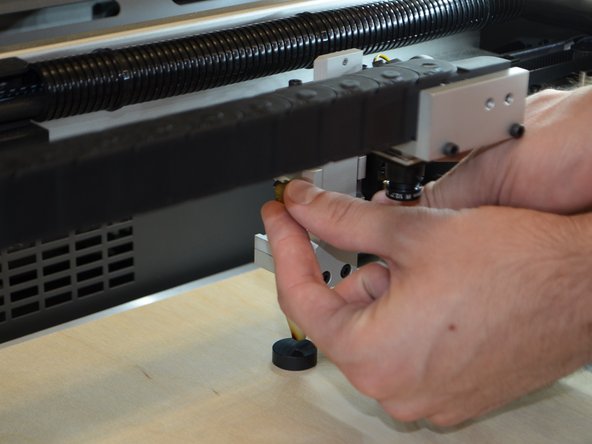
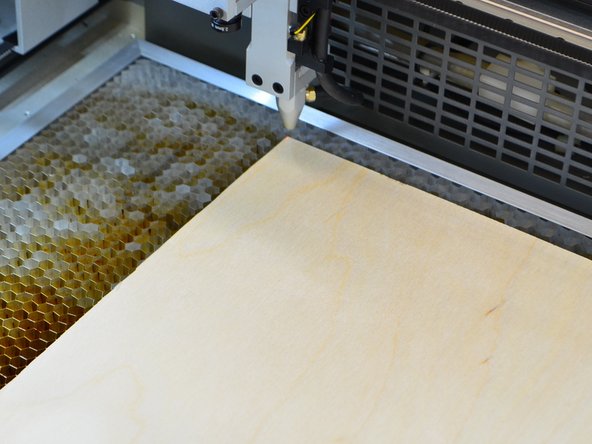
Place the focusing puck near the head.
-
Make sure to not touch the focusing lens.
-
Loosen the thumbscrew to the left of the focusing lens.
-
Place the focusing puck between the material and the head assembly.
-
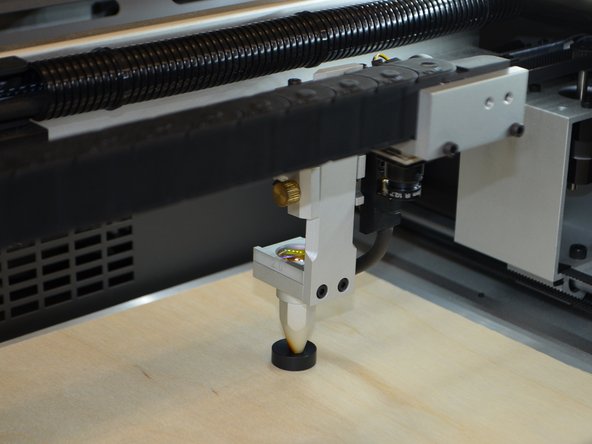
Lower the head assembly onto the focusing puck and tighten the thumbscrew.
-
Remove the focusing puck and return the head assembly to the desired home position.
-
-
-
Make sure to not touch the focusing lens.
-
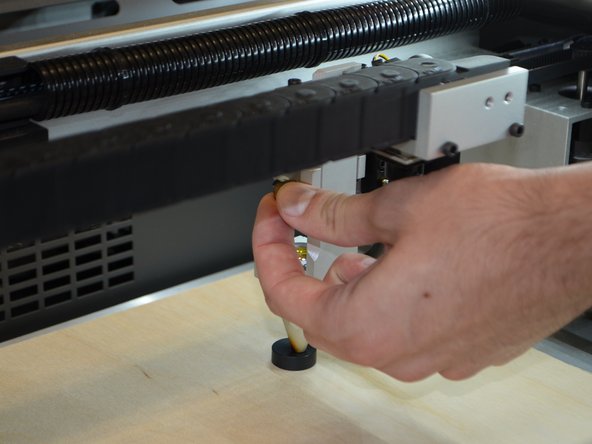
Loosen the thumbscrew to the left of the focusing lens.
-
Place the focusing puck between the material and the head assembly.
-
Lower the head assembly onto the focusing puck .
-
Tighten the thumbscrew.
-
-
-
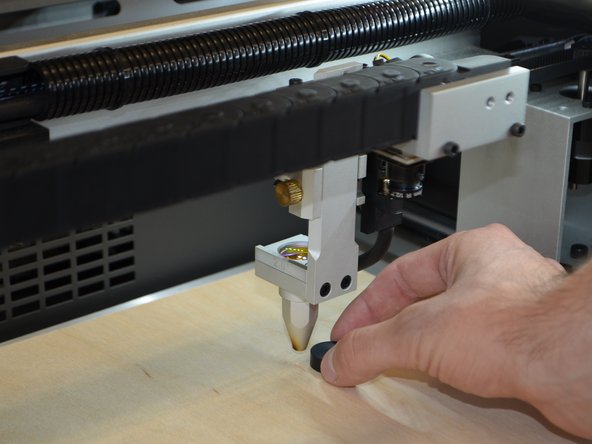
Remove the focusing puck.
-
Use the arrow keys to move to the desired home position.
-
-
-
For room 1201:
-
In a web broswer navigate to http://jmp1201lc.eng.umd.edu/
-
For room 1120:
-
In a web browser navigate to http://jmp1120lc.eng.umd.edu/
-
-
-
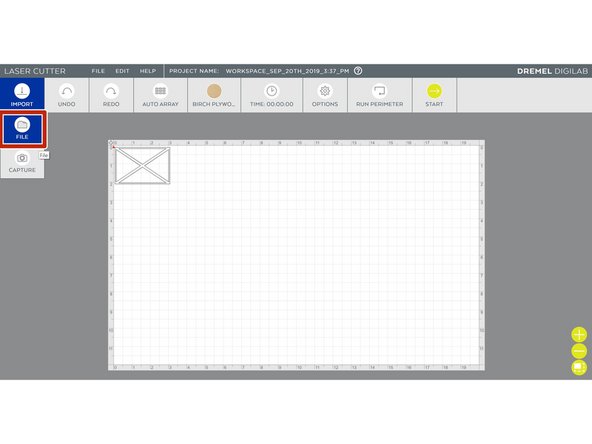
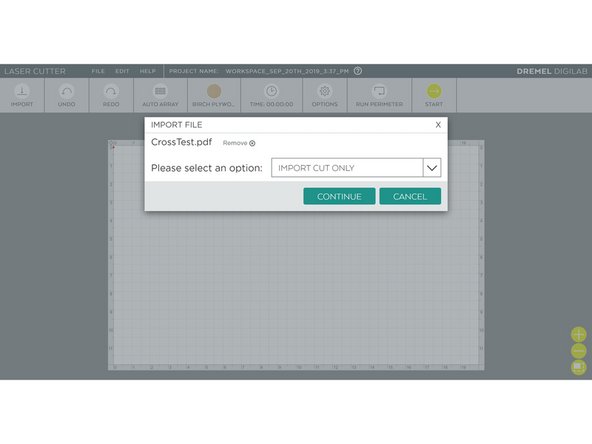
Select Import and File
-
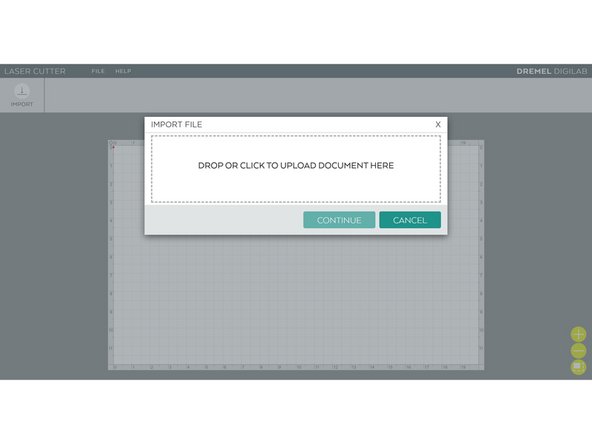
Click to upload file, select the PDF that you wish to cut.
-
Select Import Cut Only, then Continue
-
-
-
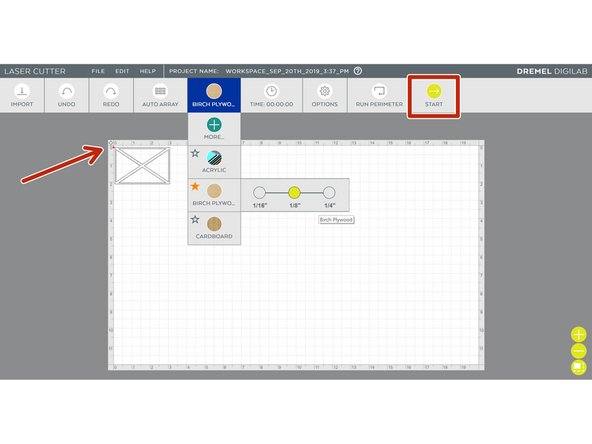
Check the file is placed in the top left corner.
-
Select the material type and thickness.
-
Click Start.
-
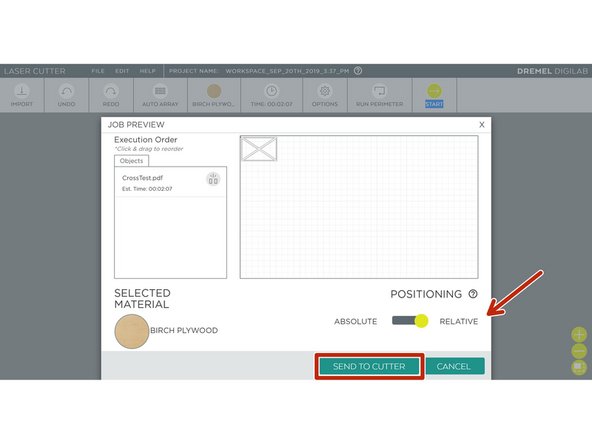
Check that Positioning is set to Relative, and review the rest of your settings are correct.
-
Click Send to Cutter.
-
Click Okay.
-
-
-
Turn on the exhaust.
-
Wait for the exhaust to come up to full power before continuing.
-
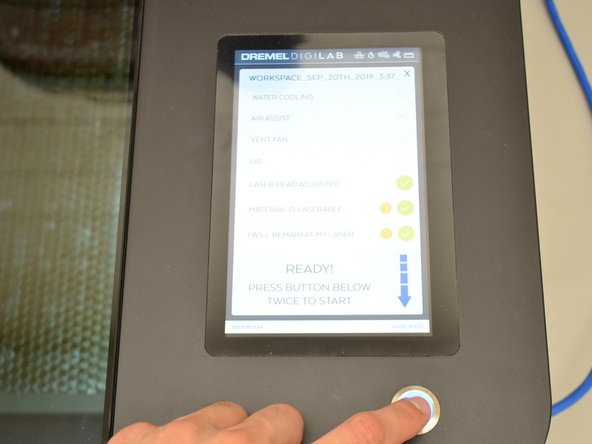
Close the lid, make sure the icon shows it as closed.
-
Follow the on screen prompts and select the check boxes.
-
Double click the button to start the cut.
-
-
-
Once the cut is finished turn off the exhaust.
-
Open the lid and remove the material.
-


You have successfully cut your file on the Dremel Laser Cutter!
You have successfully cut your file on the Dremel Laser Cutter!