-
-
OP MODE 1 - This mode allows the user to lock and unlock the door, run programs and change tools. The door can only be locked/unlocked in OP MODE 1.
-
OP MODE 2 and 3 - These modes allow the user to manually jog the machine, edit programs, and calibrate tools and probes.
-
The SmartKeys are only programmed up to OP MODE 3. OP MODE 4 is for service technicians. You can change between modes by using the hard keys on the right side of the control under the smart key insert.
-
Correct OP MODE can be verified by the column with the check mark in the upper left hand corner of the screen.
-
-
-
Use keyboard and number pad for manual entry. The blue arrow keys can be used to tabe through lines or fields on the screen. The Input key is used to "enter" lines and start new paragraphs in MDI.
-
The key pad in the bottom right controls the spindle movement. In order to move the spindle when in OP MODE 1, the door needs to be closed and locked. The spindle can be jogged in OP MODE 2and 3, but the power button on the lower left side needs to be held.
-
The lower middle keypad controls the jog increments, coolant, and tool change.
-
The bottom left keypad controls the mode that the machine will operate in. The reset button is indicated with two angled parallel lines.
-
The two gray/teal knobs control the feeds and rapids. The black knob releases the dovetail spindle clamp used to attach/detach tools.
-
-
-
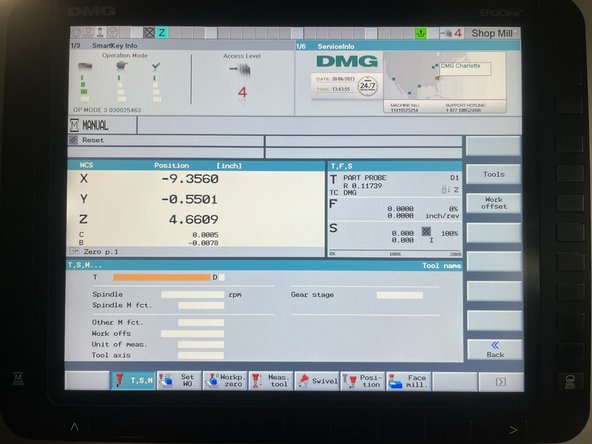
T,S,M is primarily used to change tools, work offsets, and units. Once the desired settings/paramters are entered intot he fields, press Cycle Start. For example, to input a tool (T), select Tools, tabe down to the desired tool, then press "In manual." The tool name will be populated in the T field.
-
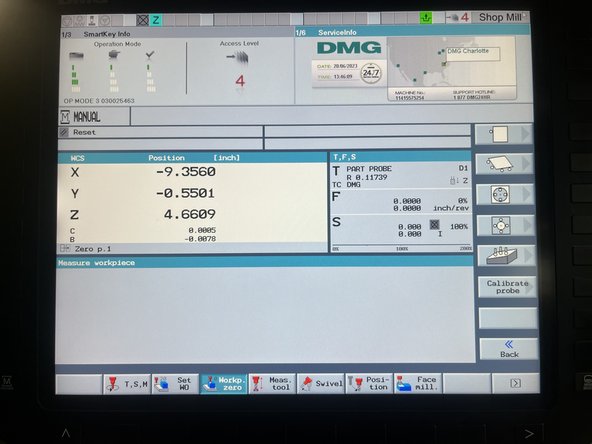
Wokp. zero is used to probe the parts to be machined and to calibrate the probe.
-
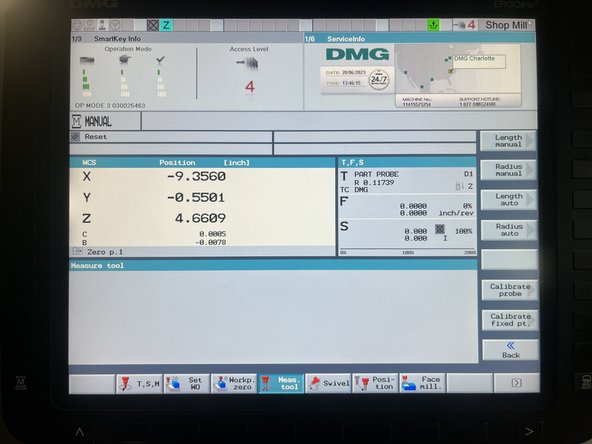
Meas. tool is used to measure tool length and radius. The machine has a built in tool probe which is used by selecting the "auto" length and radius keys. The tool probe is also calibrated in this window using the calibration tool.
-
Almost done!
Finish Line


