Introduction
Removing a print from the printer is the first part of print post-processing required before the parts are ready. This step is critical to do carefully, as any mistakes could be disastrously messy.
Some images shown are out of context of the machine, due to photography challenges. When unsure, follow prompts on the machine and the appropriate steps according to the hardware operations guide.
Images by: Terrapin Works
Parts
No parts specified.
-
-
On the Home screen, select Remove Build Cake
-
When prompted by the touchscreen, open the chamber door
-
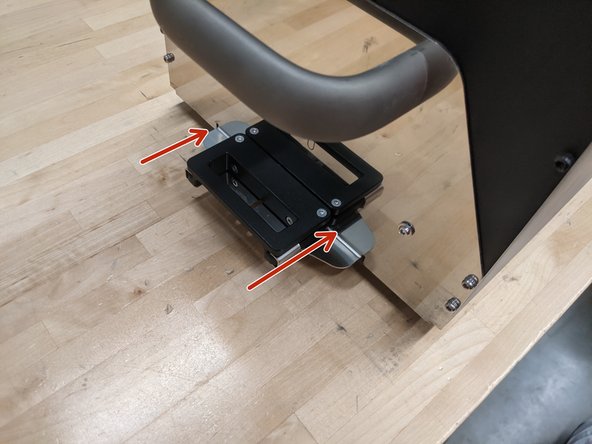
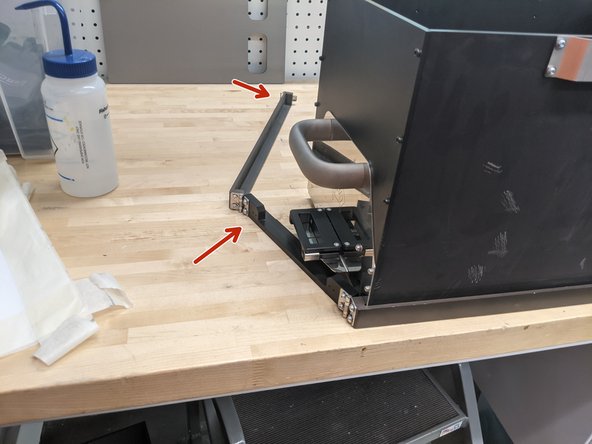
Pull out the engagement handles of the build box completely
-
Place a build box over the build area
-
Verify that the build box has been aligned properly by looking at the indents locking into the build area
-
The build box will not seat correctly if the handles are not completely pulled out
-
Select Done when the box is installed, close the printer door, and click the blue reset button
-
-
-
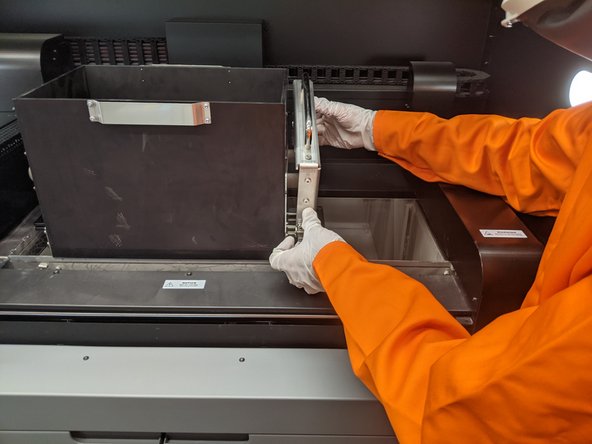
Orient a clamp such that the side with the three screws under the handle is facing the build box
-
Hook both latches on the hooks along the build area (back, then front)
-
This may be difficult, but stay patient and make sure the clamp is fully seated, otherwise they will not reach
-
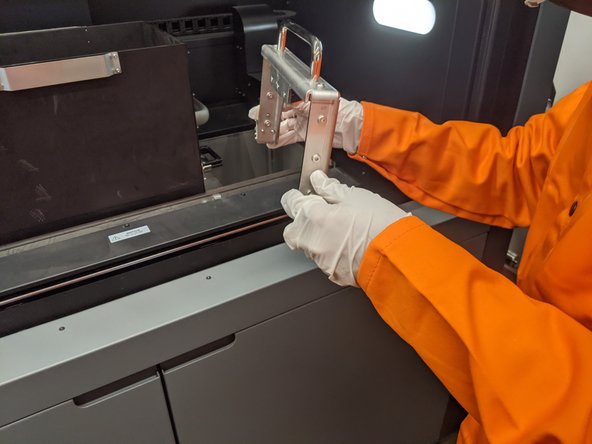
Draw both latches
-
Repeat this process on the other side of the build box with the other clamp
-
Close the printer door, press the blue reset button, and select Continue
-
-
-
After pressing continue on the printer interface, the printer will push the build cake into the build box
-
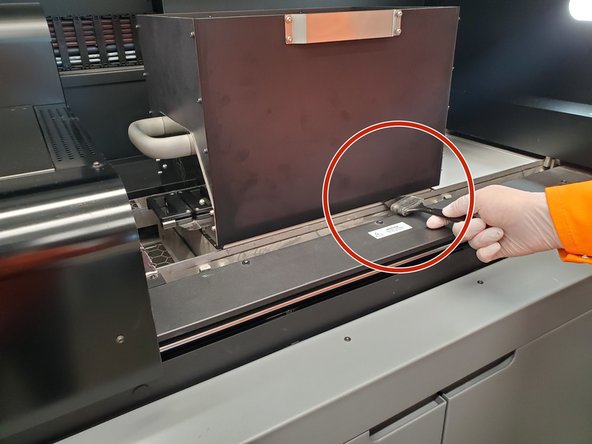
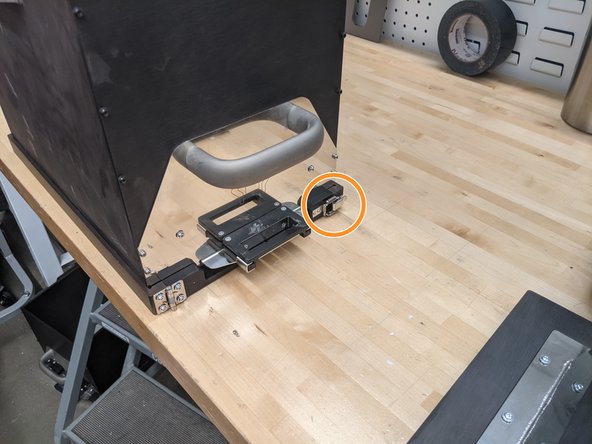
Once the build cake is fully pushed up, the printer will prompt the operator to push in the engagement pins
-
This locks the build plate into the bottom of the build box
-
The hold-down clamps can be removed as prompted
-
Close the door and press the blue reset button
-
Press Continue, the printer will push the build up enough to install the build box gasket
-
-
-
Raising the build area can release some loose powder, so this step is critical to avoiding extra powder contamination
-
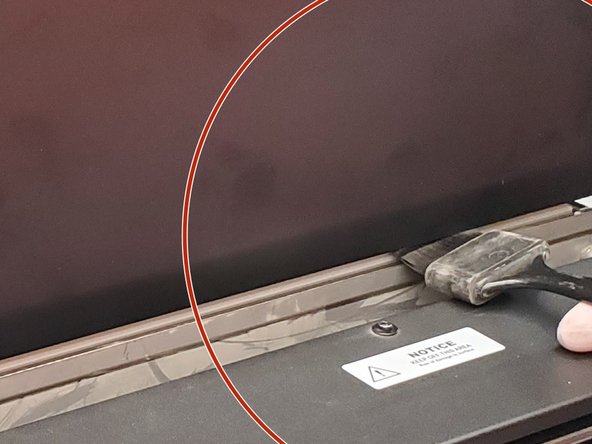
Use the brush from the right utility cabinet for this process, careful not to get powder everywhere
-
Gently brush around the edges of the build area, near the edges of the build plate which are visible
-
Careful not to bump or jostle the build area
-
Make sure to also brush on the far side
-
-
-
The build is now inside the box, so be VERY gentle, otherwise prints can be jostled and break
-
When prompted, open the printer door and install the build box gasket around the build plate
-
Start with the front left corner, and work around the box
-
Seat the gasket around the build plate securely and latch it closed
-
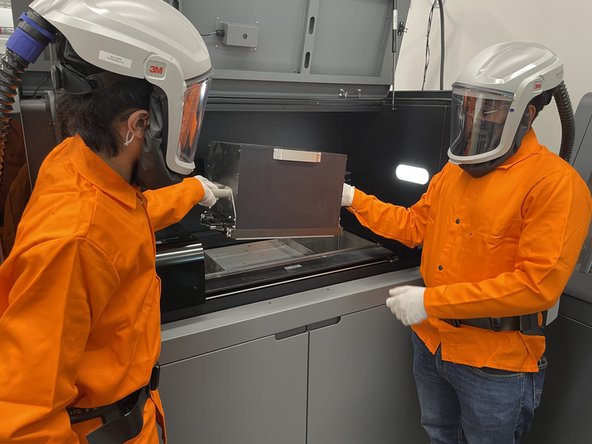
Once the gasket and clamps are installed securely, two operators carefully lift the build out of the printer
-
Place the build box assembly into the drying oven and begin the crosslinking procedure, see this guide
-
-
-
On the touchscreen click the side menu (top right corner) and go to Build Logs
-
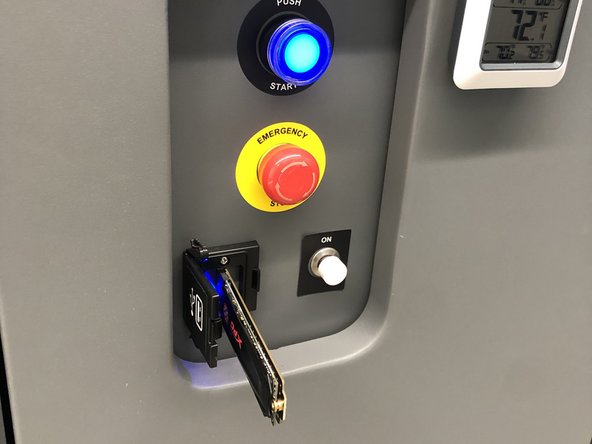
Retrieve a fast USB drive (it is recommended to keep a dedicated drive for all DMS processes)
-
Plug in the USB to the USB port and check the box of the build log that you want to export
-
Select the button with a box and an arrow coming out of it and then select Export
-
After export confirmation is displayed, unplug the USB and put it back where it was found
-