Introduction
The Drying Oven for the Desktop Metal Shop system “crosslinks” the green parts from the printer. This procedure essentially activates and cures the binding agent, and holds the parts together for subsequent post-processing steps.
Images by: Terrapin Works
Parts
No parts specified.
-
-
Turn the red e-stop to ON
-
Toggle the power switch to the up position
-
Verify the exhaust lever is set to nearly closed/slightly open
-
Make sure the front exhaust lever is also closed
-
-
-
Open the oven by turning the door handle
-
Verify the inside is clean, otherwise follow this guide
-
Carefully load the build and keg into the oven and avoid powder spills
-
The rack should be a few levels off the bottom of the drying oven to avoid poking the fragile back foil
-
Handle heavy build boxes and kegs gently and with caution
-
Close the oven door and turn the handle
-
-
-
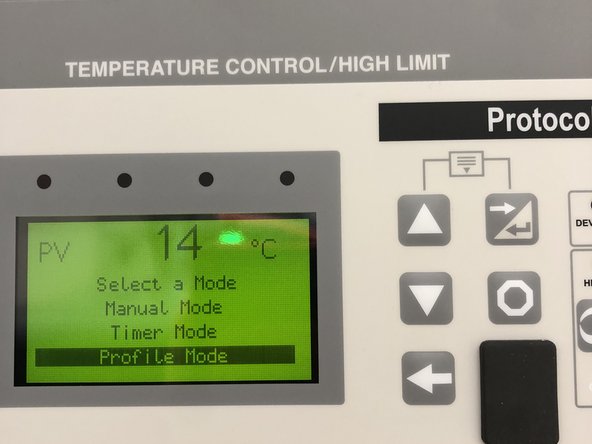
Select Profile Mode on the drying oven interface
-
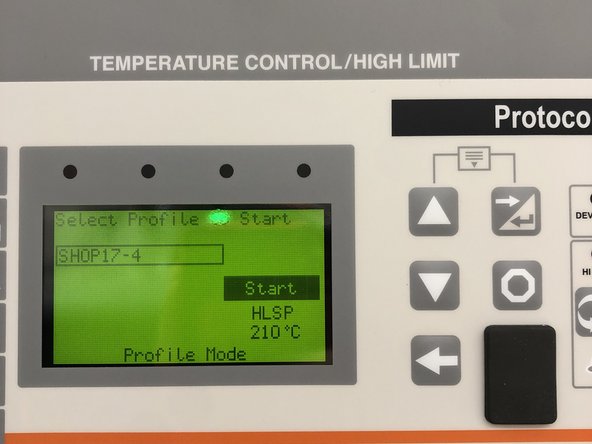
Use the arrow buttons to navigate to the appropriate shop profile and select it
-
17-4 PH SS or 316L SS
-
The oven will start when selected
-