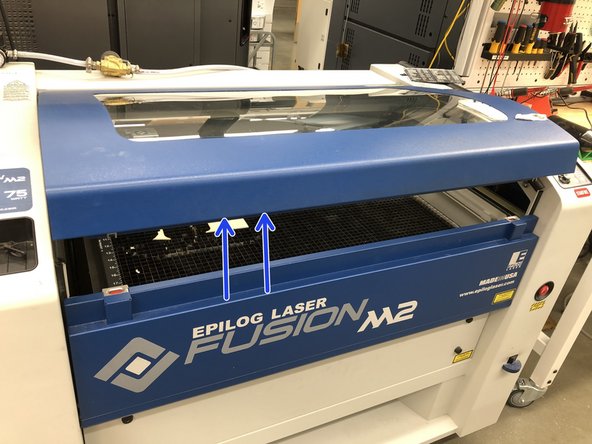
Introduction
This guide will explain how to send files from Adobe Illustrator to the Epilog Fusion M2.
Images by: TW
-
-
Connect the Epilog USB to your device or connect to the AFL Wifi
-
Flip the power switch on
-
Select "Epilog Engraver WinX64 Fusion" from the printer dropdown
-
Double check your settings in this guide
-
Click print when ready.
-
-
-
Your job will show up on the Epilog screen with the job name, run time, and DPI resolution. The light next to the word "JOB" will be lit
-
You can select different jobs by pushing the joystick up and down. Always check that your current job is selected before you press GO
-
Flip up the air filter switch and press the GO button when you are ready to run your job
-
The air filter prevents fires, please turn it on
-
-
-
Press the "stop" button on the control pad to pause the job
-
Press the "go" button to continue the job
-
In an emergency, push the emergency stop
-
The Epilog will not be able to recover if the e-stop is pushed
-
Opening the door will stop the laser from firing but the gantry will continue to proceed with the job
-
You will not be able to recover where the laser stopped.
-
Wait about 30 seconds after the job has finished to let smoke and fumes dissipate
-
Remove all scraps and clean up when finished
-


