Introduction
Several Stratasys FDM materials, such as PC, PPSF, and Ultem, use breakaway supports (BASS) that must be removed by hand. This guide includes tools, techniques, and tips that will make the support removal process as simple as possible.
Parts
No parts specified.
-
-
Prepare a large workstation and lay out all the tools you plan to use
-
Tools used in the support removal process include heat-resistant gloves, a BuildTak spatula (or similar), needle nose pliers, a pick set, and a small flathead screwdriver
-
As you gain more experience with support removal, you will likely develop your own set of tools that work best for you
-
-
-
While wearing gloves, remove the build sheet from the printer and lay it on your workstation
-
The build sheet and all parts will be hot. Gloves are required
-
Use your hands and/or the BuildTak spatula to separate each part from the build sheet
-
Each part will have a raft made of model material with a thin layer of support material separating raft from part. This support layer is the weak point that you should try to separate
-
The parts are easiest to remove while they are hot, so do not allow them to cool down too much
-
If there are multiple parts that require support removal, return all but one to the printer. This will keep them warm as you work through each part
-
It's best to not place the parts on or near the platen vacuum port, as they can shed debris into the port
-
-
-
Even if the part is cool enough to touch, keep a glove on the hand you plan to hold the part with. This will protect you from the sharp, brittle support material and from the tools you use
-
Use the tools at your disposal to remove the support material from the part. If aesthetics of the part are a concern, take care to avoid marring the surface. Otherwise, remember that the materials are typically quite strong, so don't be timid
-
A good strategy is to start with the part surfaces that are parallel to the build sheet (or overhanging at an angle). At these points, the support material prints in solid layers that can often be peeled away while the part is hot
-
Use a small tool, such as a pick or flathead screwdriver, to carefully get in between the support material and the part. Work your way around the area until it is completely separated
-
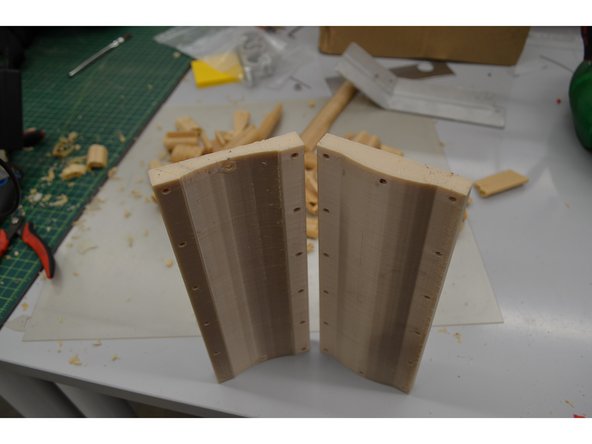
A similar method works for cleaning out horizontal holes: use a small tool to carefully peel away the layers of support that contact the part, and the rest of the supports can be easily removed from the hole
-
With complex parts, this process can be quite time consuming and tedious. Be patient. If the supports get too brittle, put the part back in the printer and let it warm up before continuing
-