
-
-
Unscrew the two hose clamps from the arrestor
-
Unclip the top and pull out the screens
-
Dump the debris in the trash, then vacuum the screens and bottom of the arrestor
-
Replace the screens, reclip the top on, and reattach the hose clamps
-
Be sure to vacuum around the area the cleaned the screens as the floor will be dusty
-
-
-
Pretty self-explanatory: vacuum debris from under the bed
-
-
-
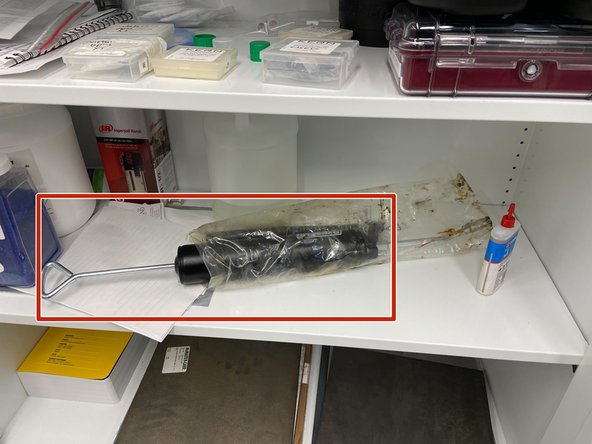
Grab the grease gun from the cabinet
-
Attach the tip to the nipple on the side of the gantry. Push until it clips in
-
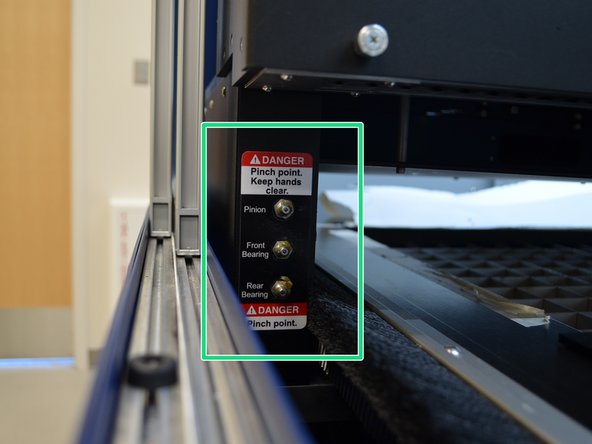
Pump one full squeeze of grease into all ports
-
There are 6 total, 3 on each side
-
-
-
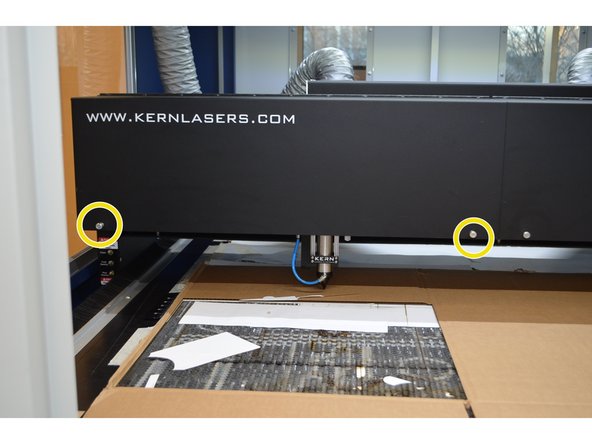
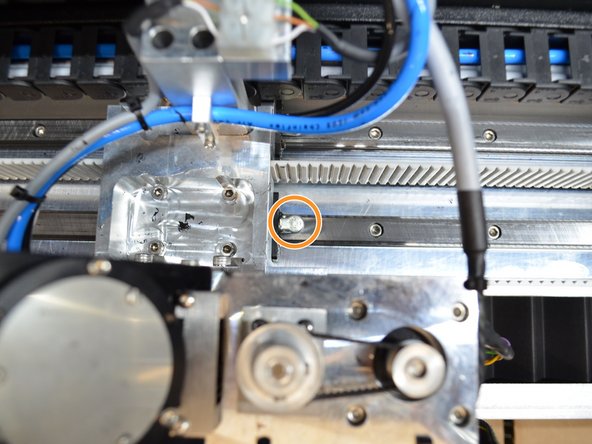
Open the shroud on the X-axis gantry by unscrewing the thumbscrews
-
Check the linear rails to see if they are dry
-
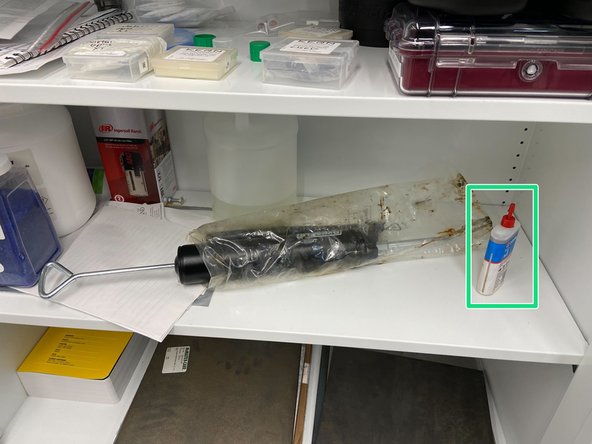
If dry, put one drop?? of oil in the marked circle
-
-
-
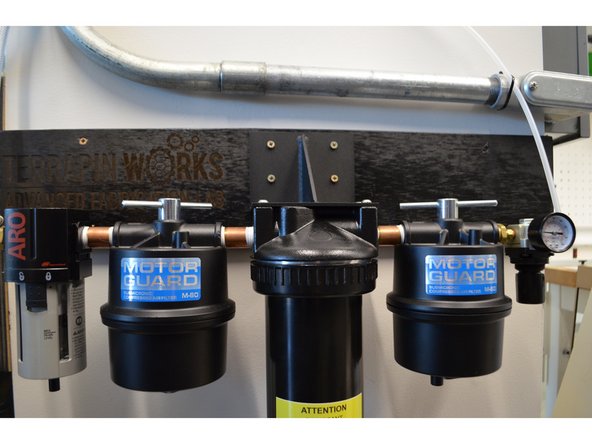
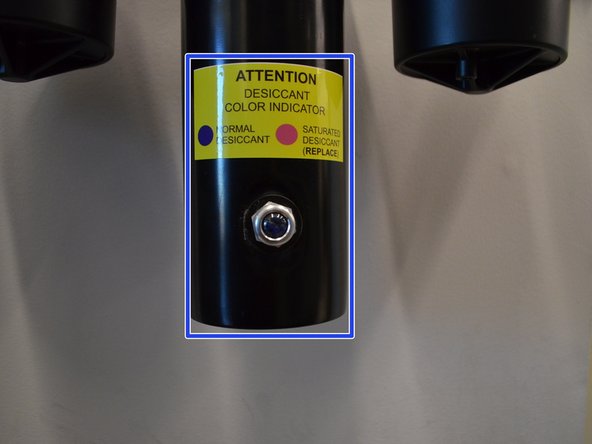
Check the color of the desiccant in the air filtration system
-
If it needs to be replaced, inform an LC
-
-
-
When changing lens assemblies or if the laser isn't cutting as it should, check the lens for scratches, smudges or other imperfections
-
If present, follow the Kern guide for the v-focus lens removal and cleaning on their website: http://kernlasers.com/customer-login/
-
Username: laser
-
Password: system
-
-
-
Unscrew the bottom of the metal lens assembly
-
Check the sacrificial lens for cracks, burns, or other imperfections
-
If any are present, replace the lens with a spare
-
Check this if metal is not cutting as it should using normal settings
-
-
-
If the cuts are looking too wide or the normal settings are not cutting through, check the focus of the lens
-
Look on the Kern website for a video guide that explains how to check and change the height of the lens in the assembly (found in the customer login page like before)
-


Cancel: I did not complete this guide.
One other person completed this guide.