
-
-
Make sure to complete the LM Daily Responsibilities upon entering/using/leaving the space.
-
-
-
-
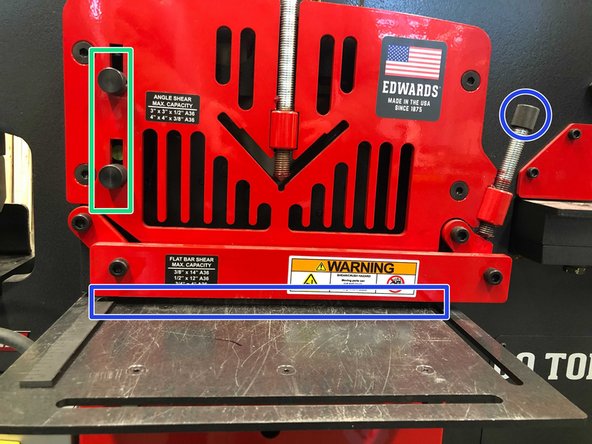
Turn on the machine with the switch highlighted.
-
Begin by engaging the e-stop and ensuring that the bottom-most switch is turned to "ironworker."
-
-
-
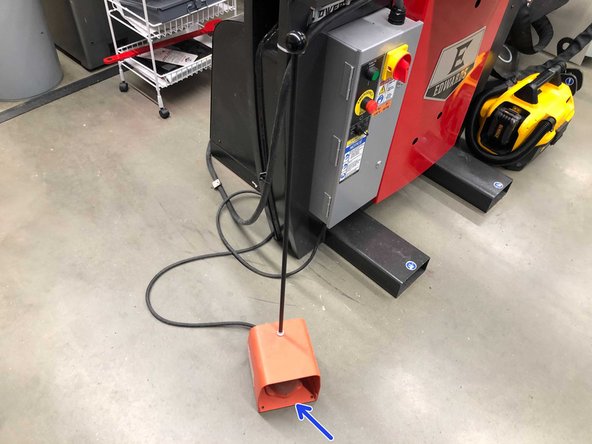
Take the pedal out and place it in front of the machine for use while you are able to see what you are doing.
-
There are three stages to the pedal: no pressure (highest point), full compression (lowest point), middle step (useful for holding a position for checking).
-
Your foot should enter the pedal on the side that does not have a cord.
-
Make sure that you practice using the pedal before actually using it for your operation.
-
-
-
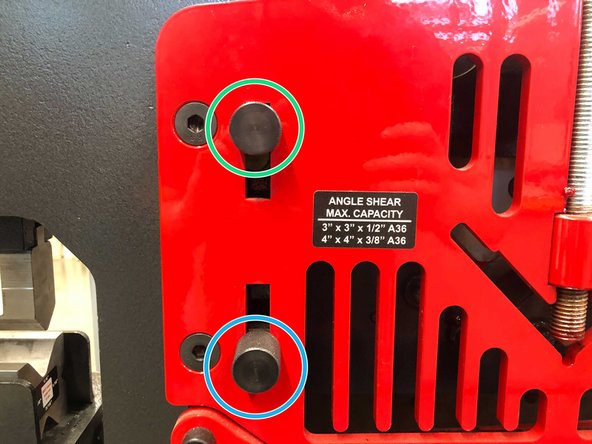
Upper limit allows you to control how far it is able to reset after completely letting go of the pedal.
-
Lower limit allows you to control how far the punch is allowed to go down while pressing the pedal.
-
These limit switches are particularly useful for bending pieces!
-
-
-
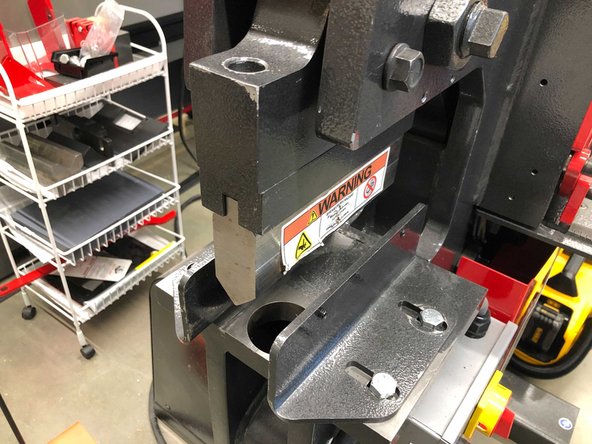
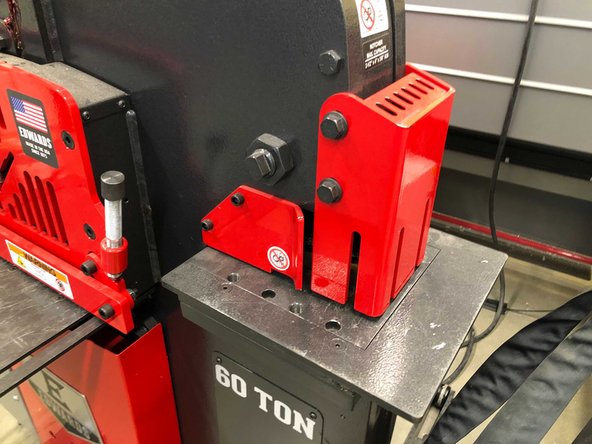
Ensure that the bending block is removed if you do not plan on using the machine for bending.
-
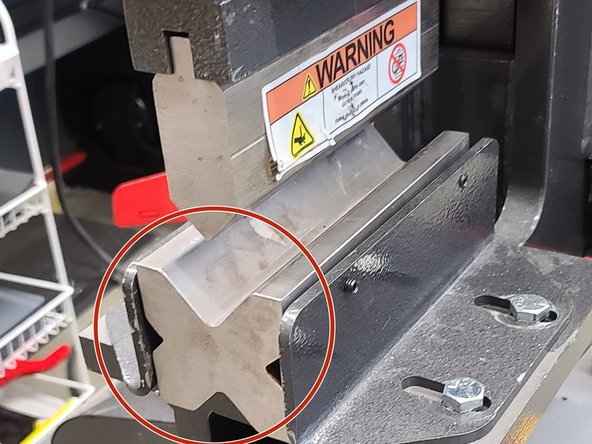
Shown is the break configuration of the puncher. It is used primarily to bend 2D sheet metal. This can be used alongside the waterjet to create 3D shapes with 2D pieces.
-
On top of this, you can insert the punch to create holes of a certain size diameter depending on your need.
-
-
-
Align your part with the jaws seen through the slits. Your part will be cut along that line.
-
Once you have aligned your part, clamp it down using the knobs to ensure it cannot move.
-
Make sure that the limiters on the left are positioned such that the other two stations are not affected.
-
-
-
Useful for a notch in whatever material you are using.
-
Insert the material into the notcher and compress until you are finished.
-

Team
