Introduction
The components of the tip cleaning assembly must be inspected regularly for wear and replaced when necessary.
This guide details how to access each component and when to replace each part.
-
-
Remove debris chute hood by lifting straight up
-
Remove purge block and flicker/brush assemblies by lifting straight up and off their locating pins
-
Keep track of which assembly was on which side and replace them accordingly
-
If necessary, clean all parts and the surrounding areas using a vacuum, soft brush, and pick
-
-
-
Inspect the Kapton tape that lines the top of the hood
-
If the tape is torn or showing excessive wear, peel it off and replace it
-
Minor creases in the tape are acceptable
-
-
-
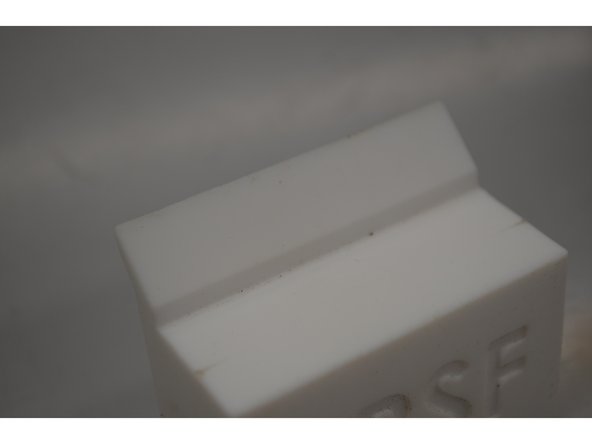
Inspect the purge block for any pock marks or surface irregularities (there should be none), and ensure it can sit flush on its ledge
-
Replace the purge block if necessary and discard the old one
-
-
-
Inspect the flickers for bends or excessive notches
-
If the flicker is worn, replace it by loosening and removing the screw that holds it in place
-
Inspect the brushes for any notches in the bristle pattern
-
Some frayed wires are acceptable, but the top edge of the brush profile should be straight
-
If the brush is worn, replace the entire assembly
-
-
-
This step is only necessary if you replaced one or both of the flicker/brush assemblies
-
Reinstall all components except for the debris chute hood
-
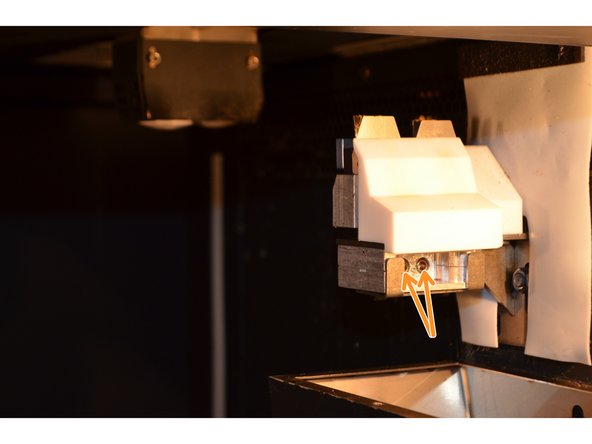
Loosen both adjustment screws by at least half a turn. This ensures that the new flickers will not be damaged if they are too high
-
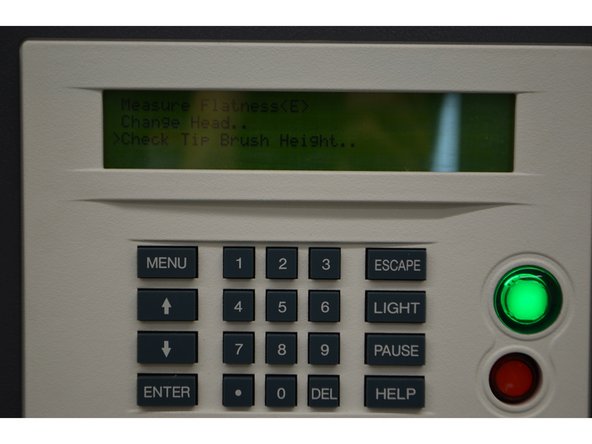
With the oven door closed, navigate to Maintenance > Procedures > CHECK THIS
-
Tighten each adjustment screw incrementally, checking the height between adjustments, until the tips gently contact the flicker and brush with each pass
-
-
-
Reinstall all the components of the tip cleaning assembly, as well as the debris chute hood
-