
Introduction
This guide is intended to be a brief overview of the Kern. It takes users through everything on the Kern, the BOFA, and Chiller. By the end of this guide, people should know how to turn the Kern on and troubleshoot basic issues. This does not cover laser settings and setting up prints. Following guides cover those subjects.
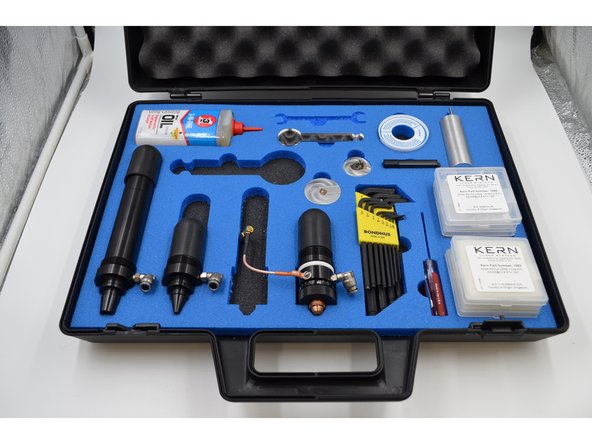
Tools
Parts
No parts specified.
-
-
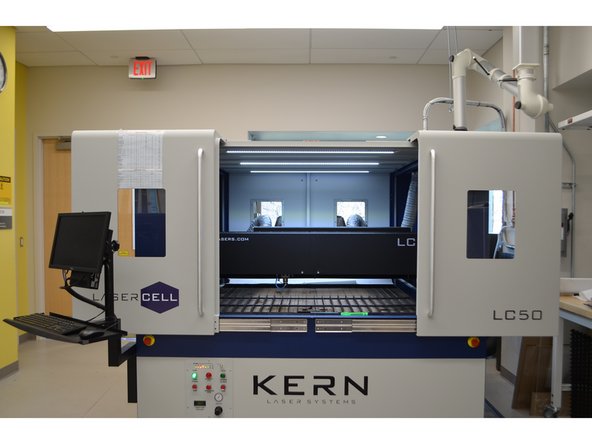
Terrapin Works has 3 laser cutters : the Kern, Epilog, and Glowforge
-
The Kern is more powerful at 400 watts
-
The Epilog is 75 watts and the glowforge is 35 watts
-
The Kern features a much larger cutting area than the other laser cutters at 50" x 52"
-
The Kern can cut thicker materials and can cut more quickly than the other laser cutters
-
The epilog is quicker at engraving than the Kern
-
Some jobs that require more engraving will be better on the epilog than the Kern
-
-
-
All controls are on the front panel
-
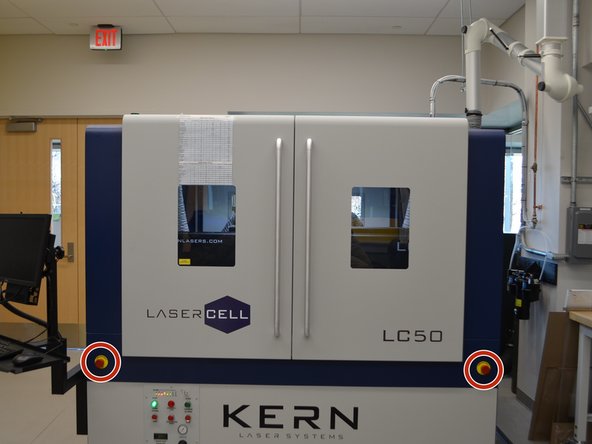
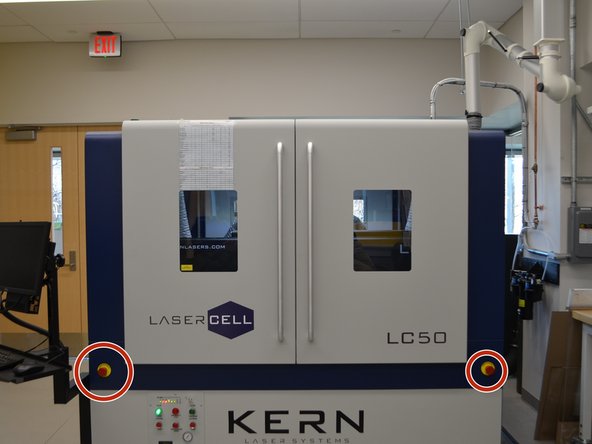
Emergency stops are located around the machine
-
The computer contains all software required to run the machine
-
The Chiller is used to cool the system
-
The BOFA is the fume extractor
-
Gas bottles are used for different cutting situations
-
All of the above will have more detailed steps later
-
-
-
Proper PPE is always required while using this machine
-
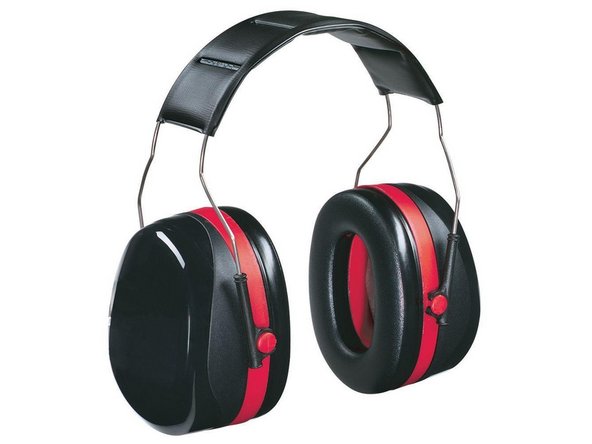
Hearing protection is required when running the chiller and the BOFA
-
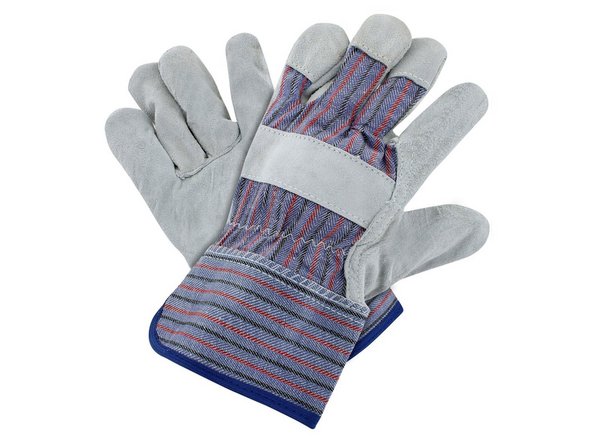
Gloves are occasionally required while handling some materials and while doing some maintenance on the machine (explained in later guides)
-
Eye protection is not required because the machine is completely enclosed meaning there is no debris or laser beams to worry about
-
-
-
Lasers can be dangerous so take care around this machine to prevent injury or damage
-
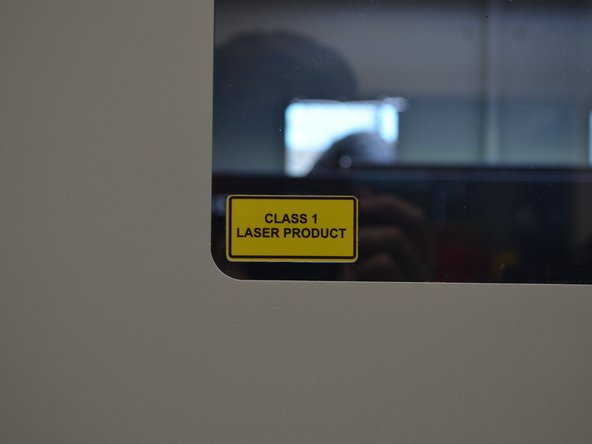
This is a class one laser product meaning it's extremely difficult to injure yourself while using it
-
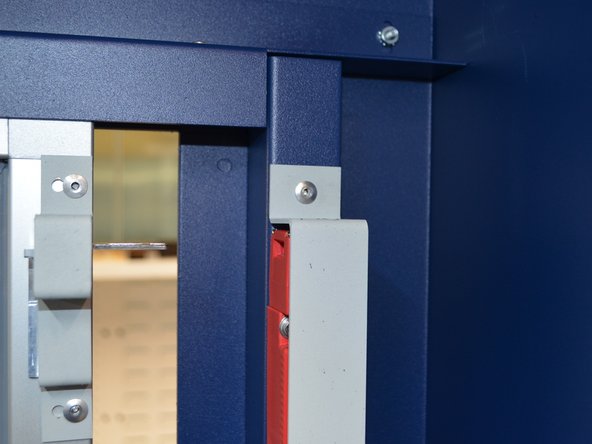
All doors have interlocks to turn off the laser if they are open
-
Never try defeating the safety interlocks
-
Emergency stops are located on each corner
-
An operator must be supervising the Kern during any operation
-
-
-
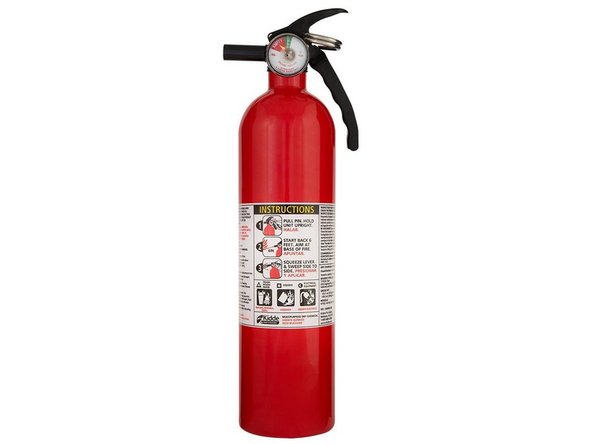
Materials such as wood and acrylic are flammable, so a fire extinguisher is located next to the machine
-
The Kern cannot cut anything with Chlorine such as PVC because it created Chlorine gas
-
The metal lens must be installed to cut metal
-
The metal lens cannot cut nonmetals
-
Do not cut aluminum thicker than .060" because it can break the mirrors
-
If you have any questions about what can or cannot be cut ask an experienced user or send a message in the #equip-kern slack channel
-
-
-
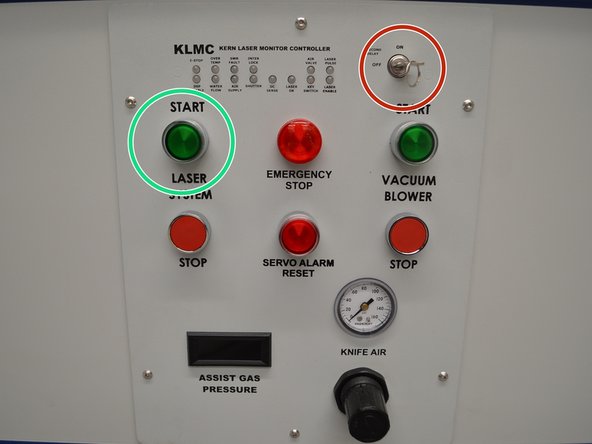
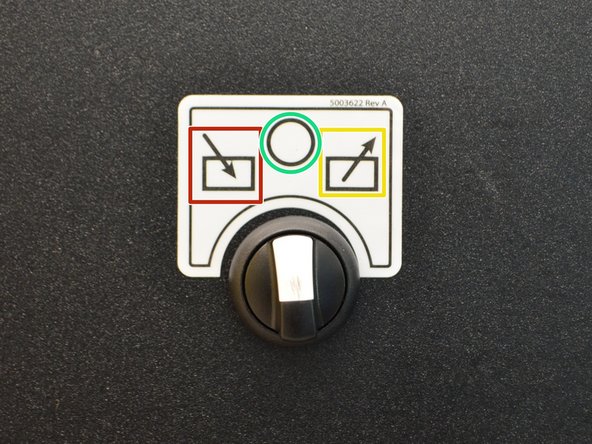
Press the Green start button
-
Turn on the chiller (detailed later)
-
Switch the Laser key from off to on
-
Turn BOFA on
-
All lights should be green when ready to cut
-
-
-
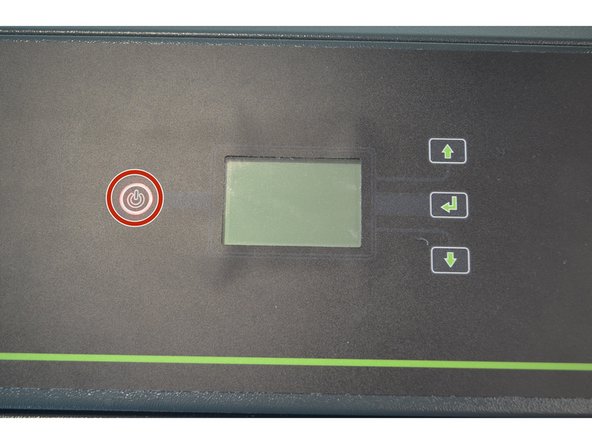
The BOFA is the fume extractor. Simply press the power button to turn it on
-
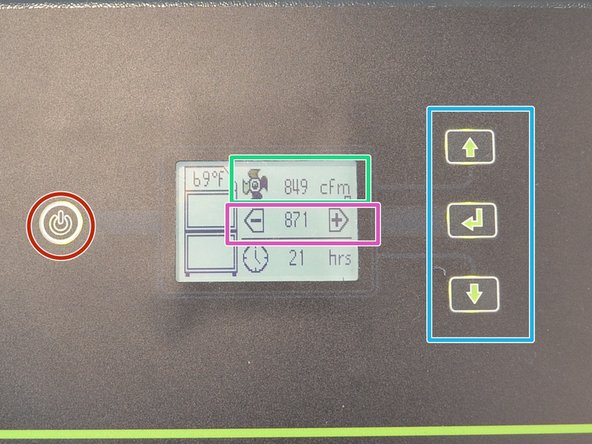
Its default setting is 1000 CFM and it will run as high as possible
-
Occasionally it will limit itself well below 1000 CFM and needs to be reset
-
Simply press and hold the enter button then press the up button to adjust the CFM
-
Press the power button to turn it off
-
The BOFA needs to be turned on before using the Kern, it will not automatically turn on
-
-
-
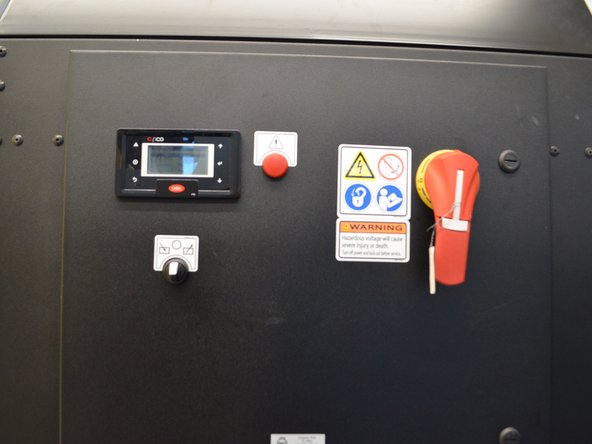
The chiller helps cool the laser and is required to run the Kern
-
The Kern will not work if the chiller is off
-
It has 3 settings
-
Always on
-
Always off
-
Automatically turn on and off with the Kern
-
-
-
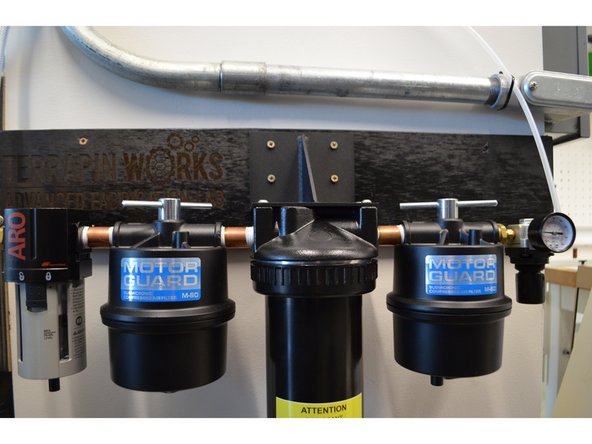
There are three types of air
-
Shop Air
-
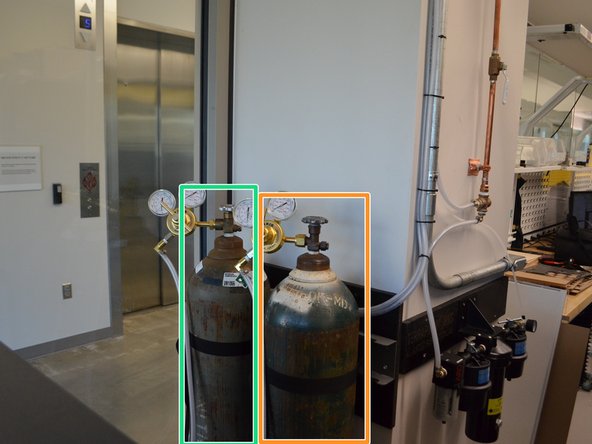
Oxygen
-
Nitrogen
-
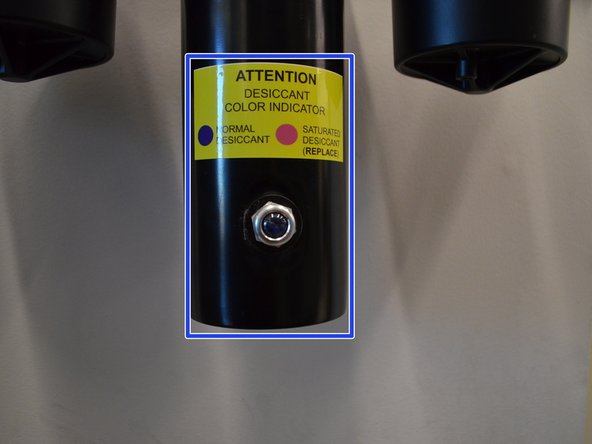
Air is used on all nonmetals and the dessicant needs to be checked periodically
-
Check the desiccant and make sure it is blue periodically
-
Oxygen and Nitrogen are used on metals
-
Make sure to turn the tanks on or off and purge the air lines when changing gas (explained further in the metal changing guide)
-
-
-
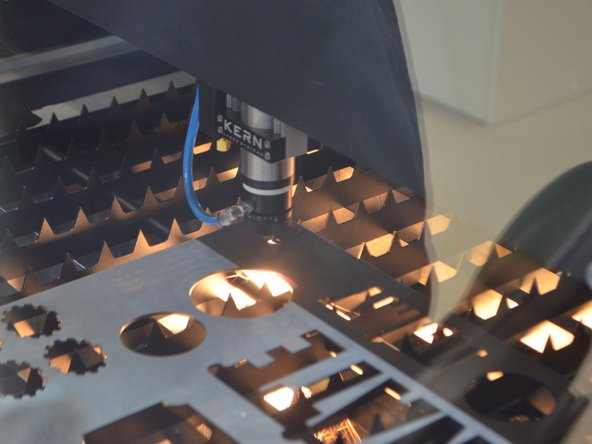
There are 5 lenses and 2 different tips for the Kern
-
3 of the lenses are for nonmetals and feature different focal distances
-
Longer focal distances makes cutting through thicker material easier
-
There are three focal distances: 2.5" which is good for thin materials, 5" which is good for most materials, and 7.5" which is mostly good for foam
-
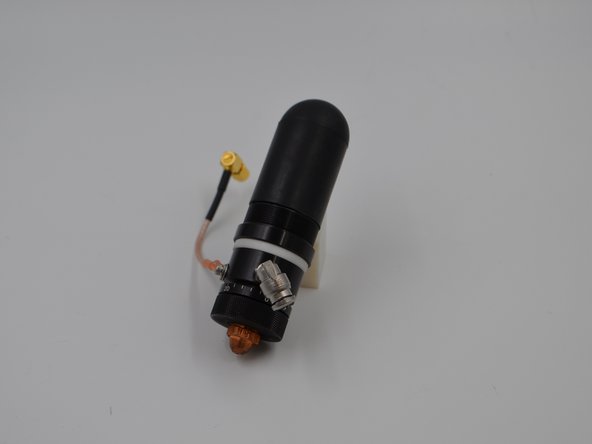
The metal lenses have an even shorter focal length, a brass tip, and an extra wire
-
We generally use the 5" non-metal lens and the same length metal lens
-
There are 2 skinny tips and 1 fat tip that can be switched between the non-metal lenses
-
Fat tip is used on acrylic to get a flame polished edge and the skinny tips are used for all other materials
-
-
-
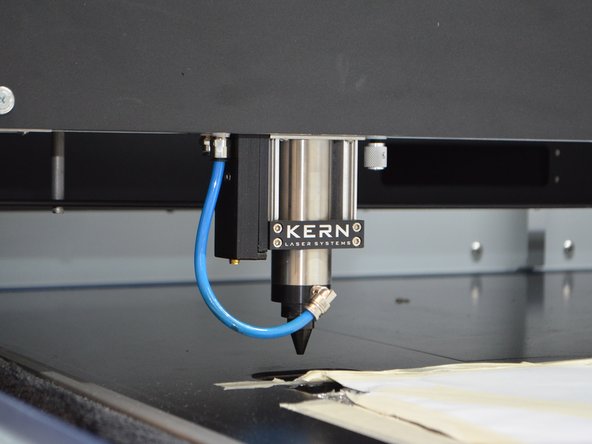
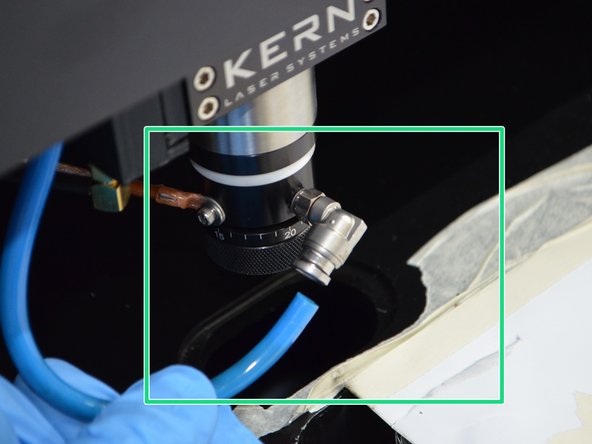
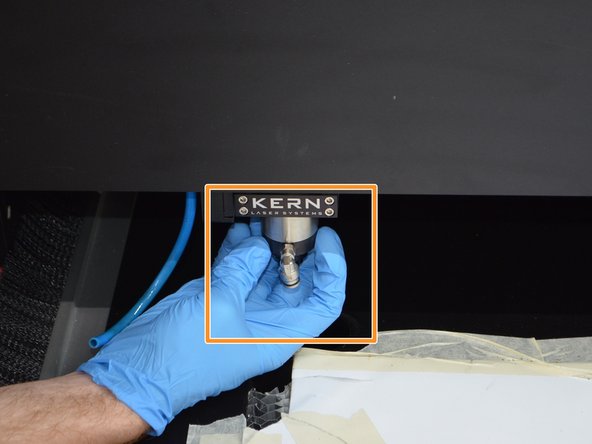
Chaning lenses is as simply as screwing one off and then screwing the new one on
-
Unplug the air hose before unscrewing and replug it back in when done
-
Tips just screw on the end of the lense
-
The Basic Operation guide covers what to do in the software when changing lenses
-
-
-
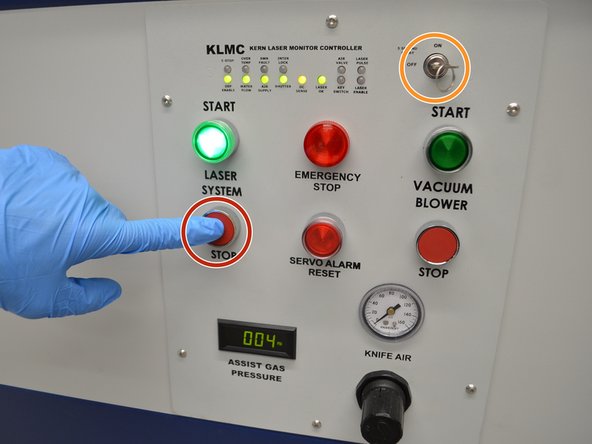
Press stop on the left side to turn the machine off
-
Switch the laser key to the off position
-
Turn the computer monitor off
-
-
-
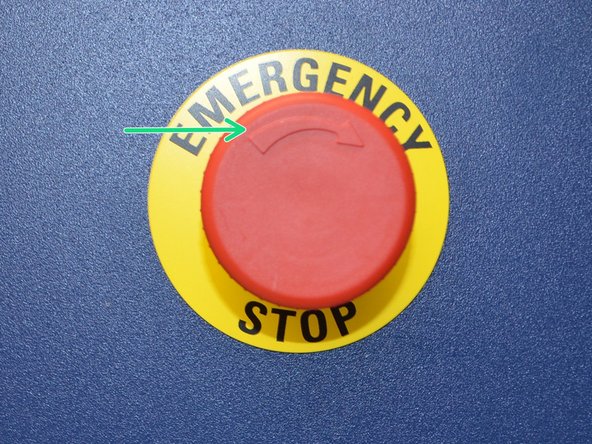
Press one of the Emergency stops in case of a fire or other emergency
-
The Kern will stop and the chiller will eventually turn off
-
The BOFA will not turn off
-
The reset the emergency stop, twist the stop button to reset the button
-
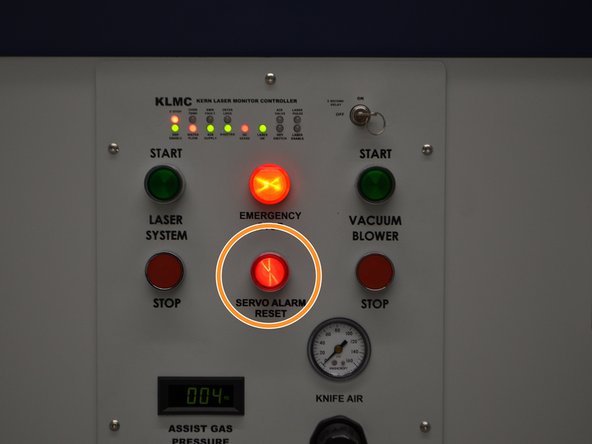
Turn off the Kern then turn it back on and press the servo alarm reset button to reset the system from an emergency stop
-
Normal operation should resume after that
-
-
-
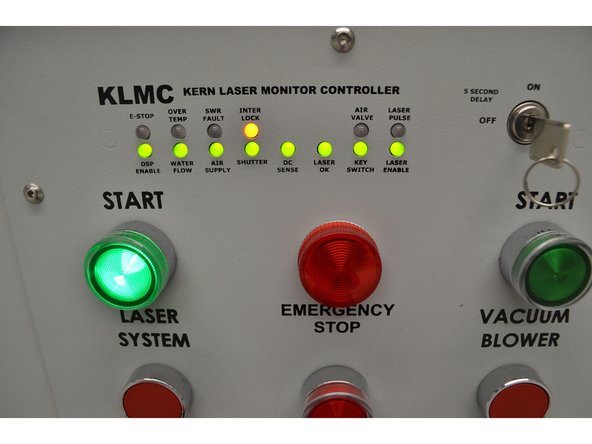
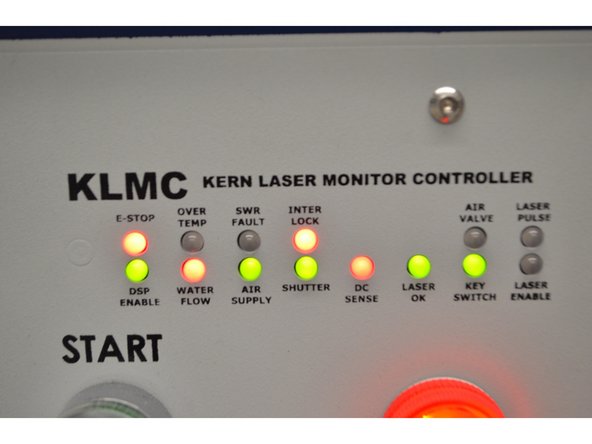
First place to check is the control panel
-
All lights should be green and if any are red, the Kern will not work and will not move
-
Each LED has 3 states Red, Orange, and Green
-
Red means not good to go and there is a problem
-
Orange means theres been a status change
-
Green means go
-
To update all the LEDs, switch the laser key from on to off then turn back on
-
In this picture the red indicates the emergency stop has been activated, an interlock is open, there's no water flow, and there's no DC power going to the laser
-
-
-
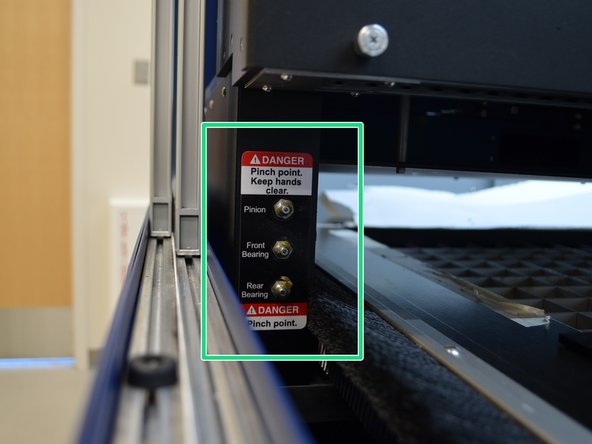
Grease all 6 grease ports with a pump and a half of grease from the grease gun once a month
-
Check the protective lens in the metal cutting head occasionally (explained in the metal cutting guide)
-
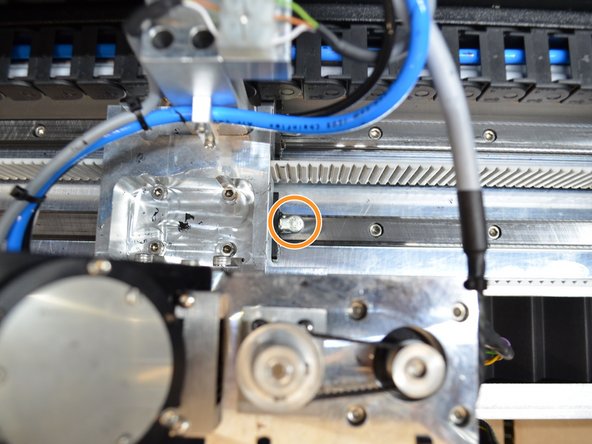
The gantry needs to be oiled once a month, simply put some oil in the ring
-
Everything else has some maintenance videos online and is completed on an as needed basis
-
Maintenance videos and other resources can be found on the Kern website: http://kernlasers.com/customer-login/
-
Username: laser
-
Password: system
-
-
-
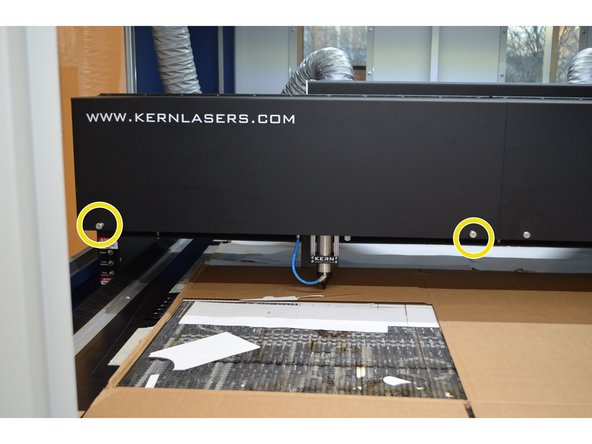
Start by unscrewing these thumb screws
-
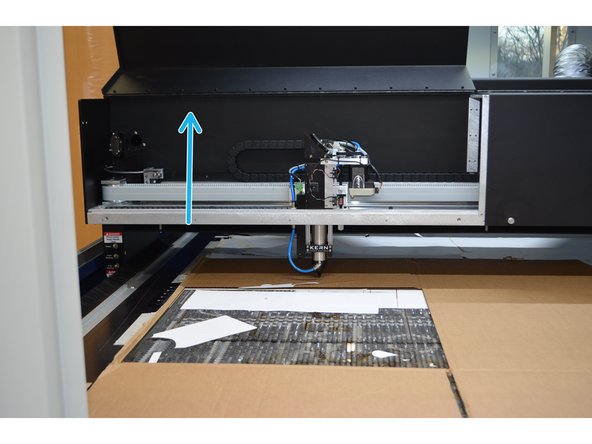
Lift the panel up to show the head
-
Put oil in the marked spot
-
-
-
This guide serves as a basic intro to safety and the some basic maintenance and troubleshooting
-
The next guide to check out is Corel Draw guide
-


This Guide serves as a basic intro to the Kern and will provide a walk around the machine, how to complete basic troubleshooting, and do basic maintenance.
This Guide serves as a basic intro to the Kern and will provide a walk around the machine, how to complete basic troubleshooting, and do basic maintenance.