
-
-
Tap the settings button on the left side of the Fuse touch screen.
-
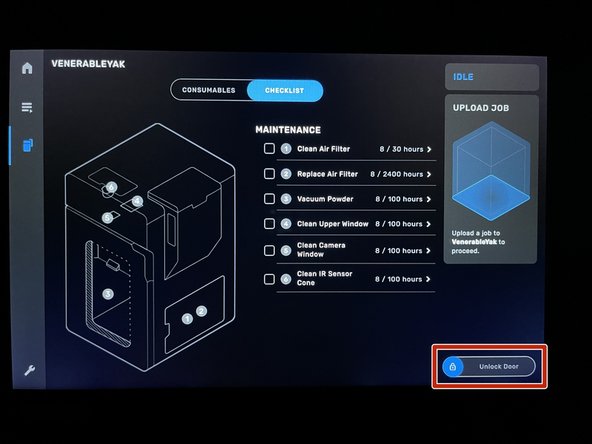
Tap checklist.
-
The Maintenance Tasks will appear.
-
Selecting a task to complete will give you step-by-step instructions on how to complete the task.
-
The service interval for each task is displayed to the right of it.
-
Ensure you are wearing a pair of nitrile gloves before completing any tasks.
-
-
-
There are 6 maintenance tasks to be completed.
-
Clean Air Filter.
-
Replace Air Filter.
-
Vacuum Powder.
-
Clean Upper Window.
-
Clean Camera Window.
-
Clean IR Sensor Cone.
-
If any task is highlighted red, then it has exceeded its service interval and must be completed.
-
-
-
Select Clean Air Filter. Select begin.
-
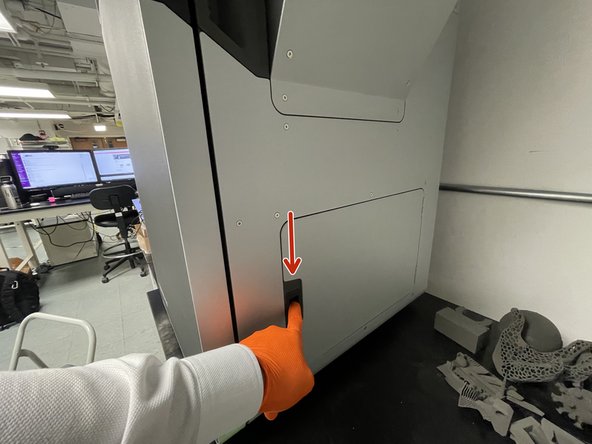
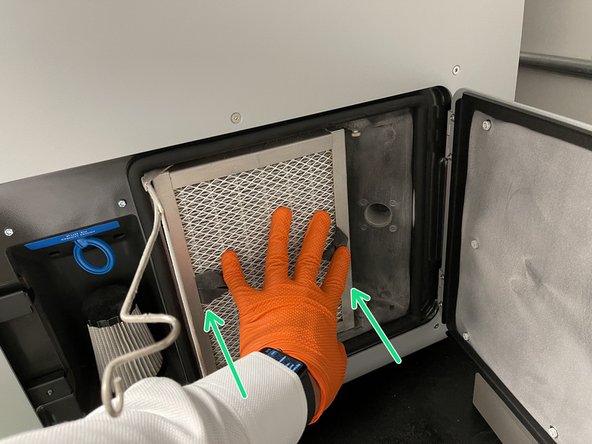
Open the air filter access door on the right side of the Fuse.
-
Press down on the button to open the door.
-
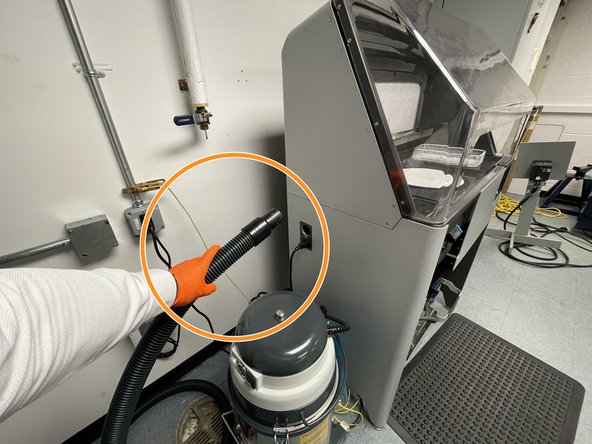
Grab the vacuum hose from the post-processing station and attach the brush-head.
-
Turn on the vacuum by pressing the "VAC" button on the Fuse post-processing station.
-
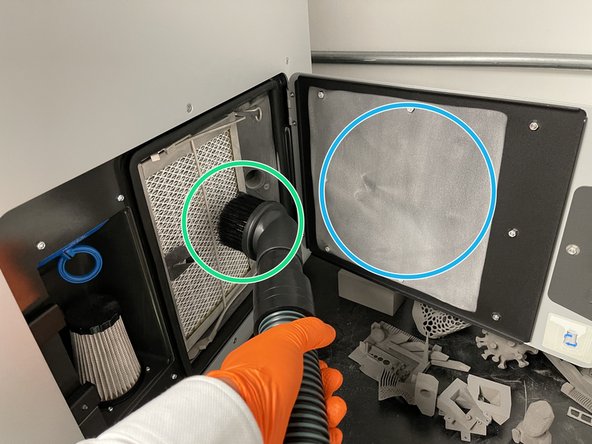
Very carefully vacuum the air filter and surrounding debris from the chamber.
-
Be sure not to forget to vacuum down the access door as well.
-
Select done to complete the task.
-
-
-
Select replace air filter. Select begin.
-
Open the air filter access door on the right side of the Fuse.
-
Clean the air filter. *reference step 3.
-
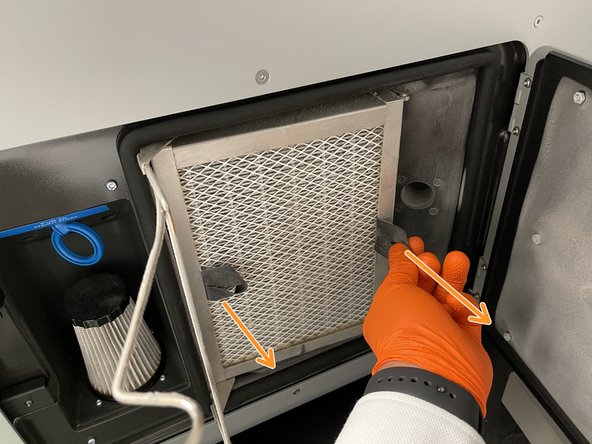
Depress the spring clamp to release the air filter.
-
Pulling on the grey tabs, pull the air filter out.
-
Grabbing a new air filter, replace in the same position as the old one.
-
Replace the spring clamp to lock the new air filter into place.
-
Close air filter door. Select done.
-
-
-
Using the "Unlock Door" button on the Fuse touch screen, open the door.
-
If the build chamber is inserted, remove it and place it in the Fuse post-processing station.
-
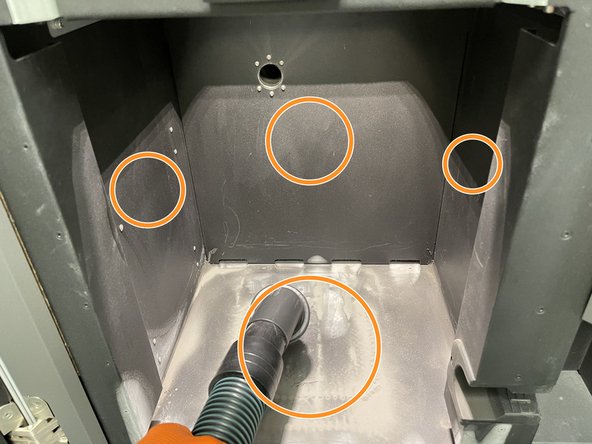
Grab the vacuum hose from the post-processing station and attach the brush-head.
-
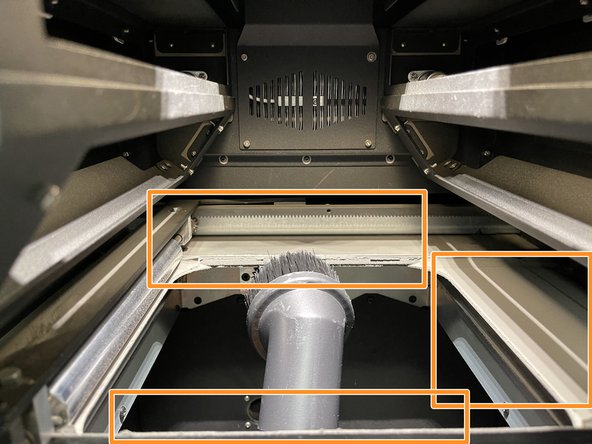
Vacuum out any accumulated powder from the bottom, side, and top of the printer.
-
Close door. Select done.
-
-
-
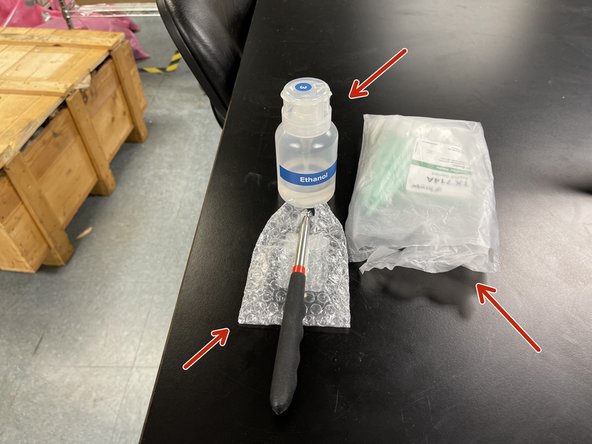
Grab a swab, the mirror, and ethanol from the cabinet below the Fuse.
-
The LEDs inside the Fuse chamber are very bright. Following the guide on the Fuse will automatically dim them for you.
-
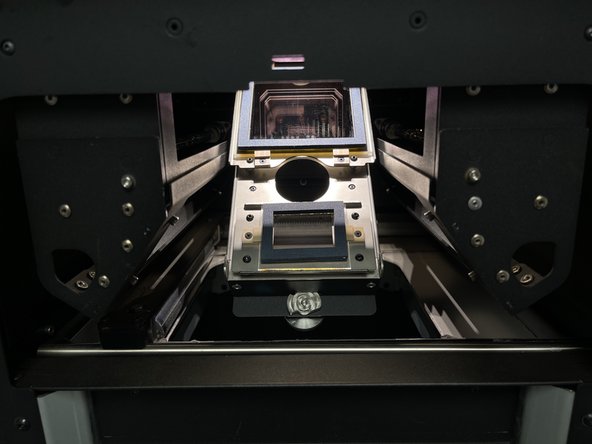
Loosen the screw to drop the optical cassette tray and remove the optical cassette. *reference Fuse printing Dozuki.
-
Once the optical cassette is removed, return the tray to the UP position.
-
Using the mirror wand, located the upper window. It will be towards the rear.
-
The mirror wand will have a switch on the back of it to turn on its LEDs.
-
Once you have located the upper window, wet the foam swab with ethanol.
-
-
-
Wipe around the silver side walls of the upper window in a single direction.
-
Repeat with a new swab if necessary to remove any streaks.
-
Replace the optical cassette.
-
Close door. Select done.
-
-
-
Grab a swab, the mirror, and ethanol from the cabinet below the Fuse.
-
Using the "Unlock Door" button on the Fuse touch screen, open the Fuse door.
-
Remove the optical cassette and return tray to the UP position.
-
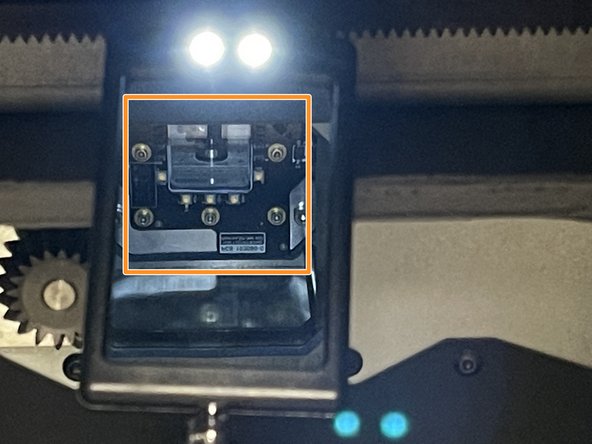
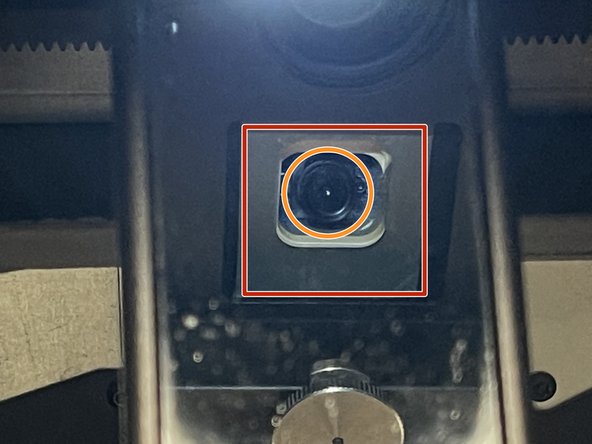
Using the mirror wand, locate the camera window.
-
Wet a foam swab with a small amount of ethanol.
-
Wipe across the lens of the camera in a single direction multiple times.
-
Once the ethanol has evaporated, complete a visual inspection to ensure the lens is clean. Repeat cleaning if necessary.
-
Replace optical cassette. Close door. Select done.
-
-
-
Grab a foam swab and ethanol from the cabinet below the Fuse.
-
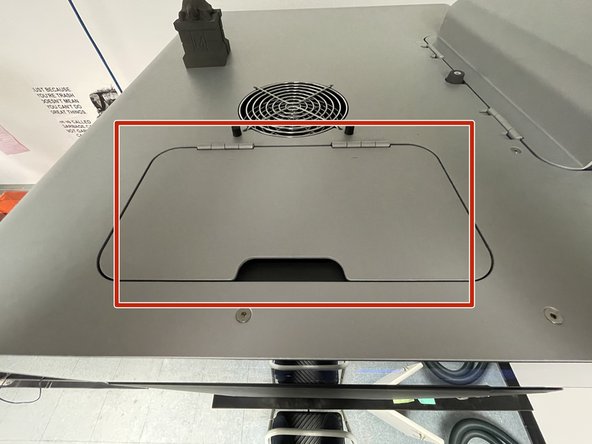
Using a step stool, locate the IR sensor access door on top of the Fuse.
-
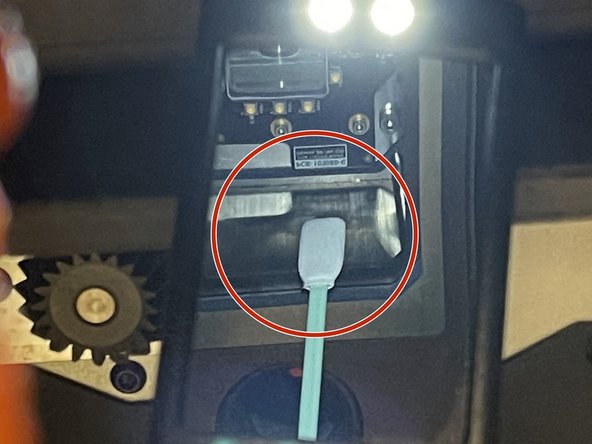
Pulling on the IR sensor, remove it from its mount and unplug the yellow ethernet cable.
-
Set the IR sensor off the side on a flat surface.
-
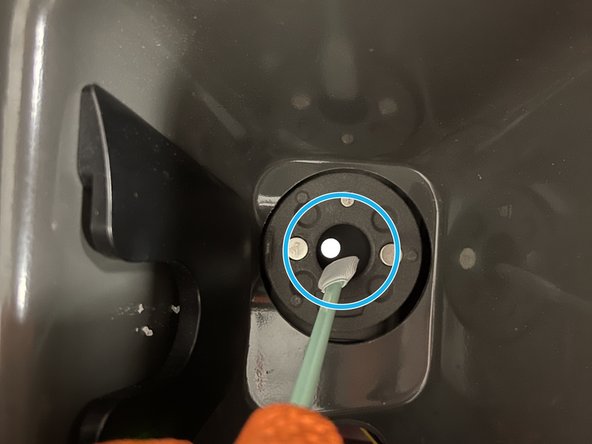
Wet a foam swab with a small amount of ethanol.
-
Begin wiping the inside of the IR sensor cone.
-
Visually inspect the cone of any excess debris. Repeat cleaning if necessary.
-
Reattach the ethernet cable and replace the IR sensor. It will illuminate green if seated properly.
-


Cancel: I did not complete this guide.
One other person completed this guide.
2 Comments
We should add either another guide or a few extra steps of maintenance that the machine doesn’t tell you about (laurolactum buildup mainly, im sure there are other things we should look out for)
Brandon Charles Hill - Resolved on Release Reply