
-
-
Gloves must be worn at all times when handling uncured resin or cleaning the tank or other tools.
-
-
-
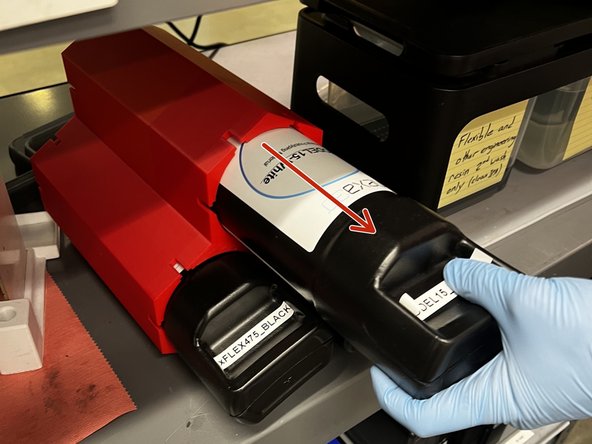
If there is a cartridge in the XiP, lift it up about 1 inch above the top of the machine.
-
Wait for the excess resin to stop dripping from the nozzle.
-
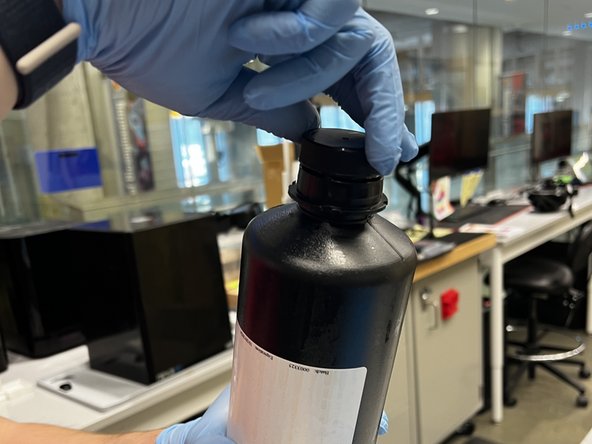
Fully remove the cartridge from the machine and wipe the nozzle with a paper towel.
-
-
-
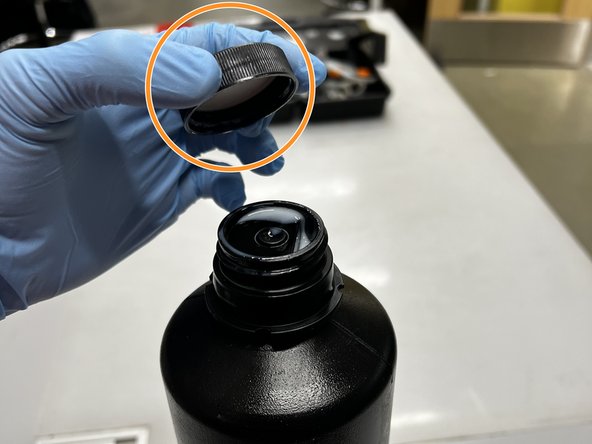
Screw on the cap to prevent any resin from leaking out.
-
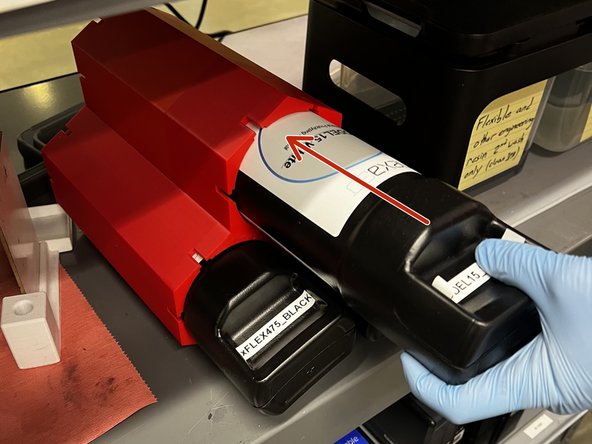
Store the cartridge in the cartridge honeycomb.
-
-
-
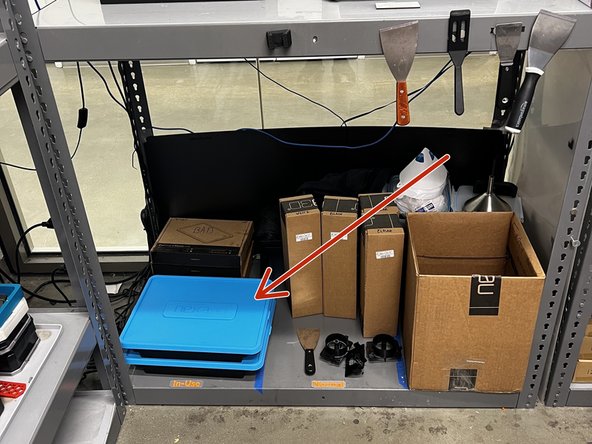
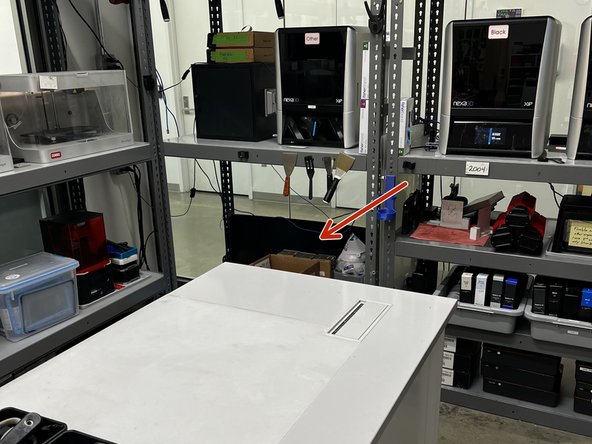
Retrieve one of the tank storage boxes from the Nexa storage area.
-
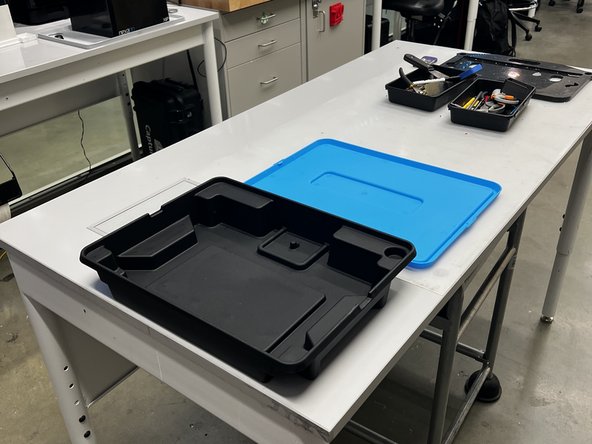
Place the opened box on the table with plenty of space to work.
-
-
-
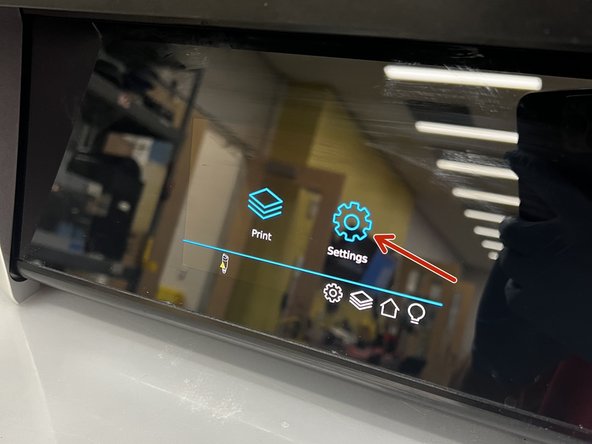
Tap the "Settings" button on the touch screen.
-
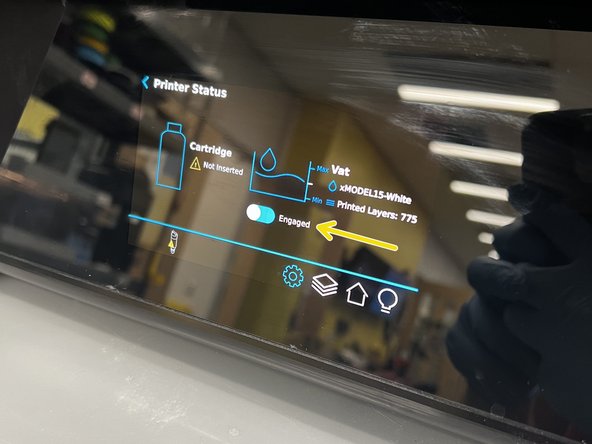
Tap "Printer Status" to bring up information about the cartridge and the tank.
-
When you are ready to remove the tank, tap the "Engage" slider to disengage the tank from the electromagnets.
-
-
-
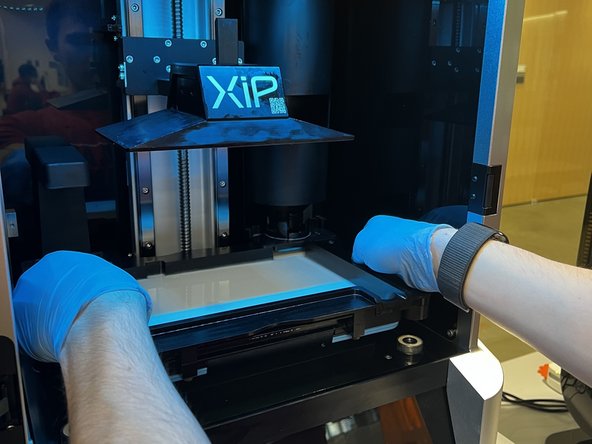
Grabbing both sides of the tank, gently lift it up and out of the machine.
-
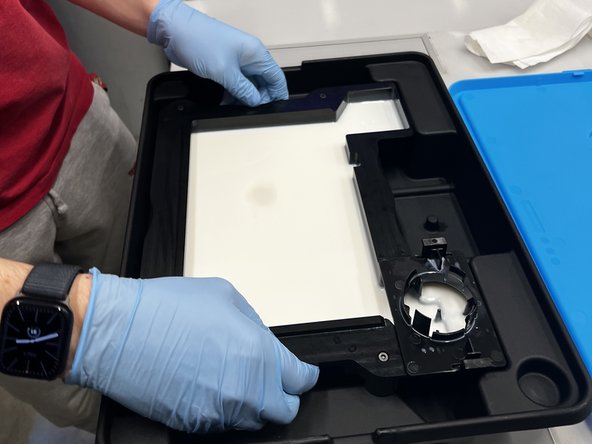
Place the tank in the storage box.
-
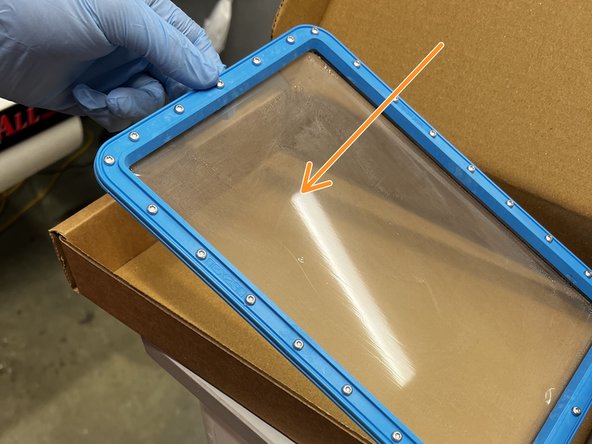
Inspect the LCD screen for any resin or scratches. If the screen is damaged, refer to the LCD cleaning instructions.
-
Refrain from touching the resin or the delicate membrane underneath the tank!
-
-
-
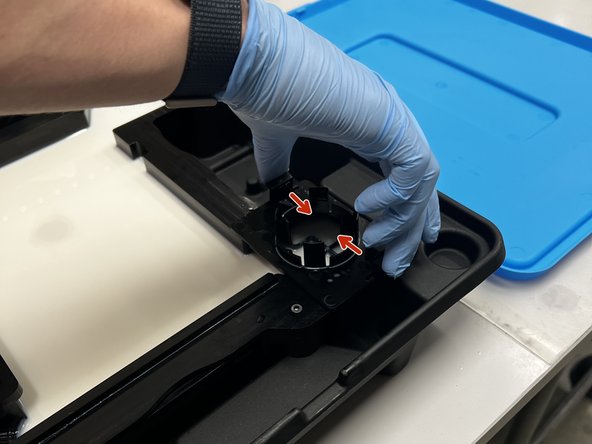
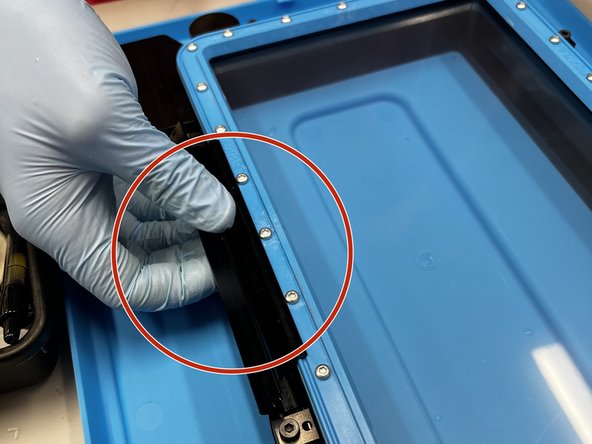
Locate the spout on the top right of the tank. Pinch both clips inwards to remove
-
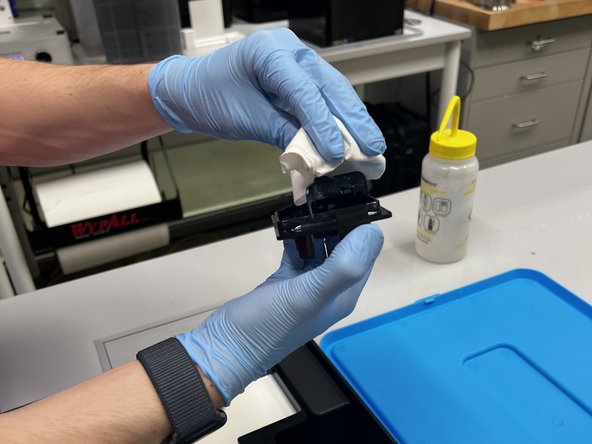
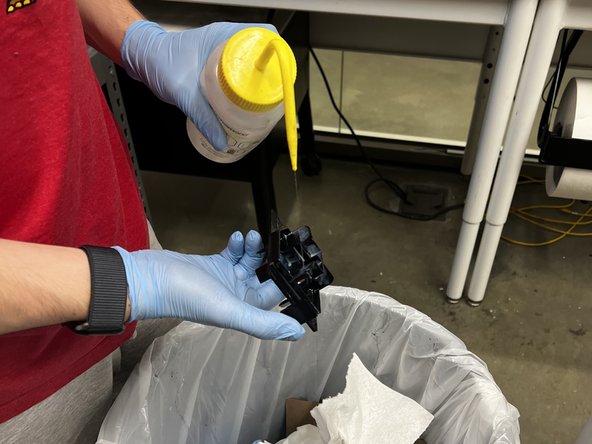
Wipe down the spout with paper towels and clean with IPA over a trash can.
-
Set the spout aside on a paper towel. We will store it in a bag later on.
-
-
-
Locate the resin cartridge for the corresponding type of resin left in the tank. For example, If there is xMODEL15-White in the tank, use the xMODEL15-White cartridge.
-
Unscrew the entire cap assembly and place it on a paper towel.
-
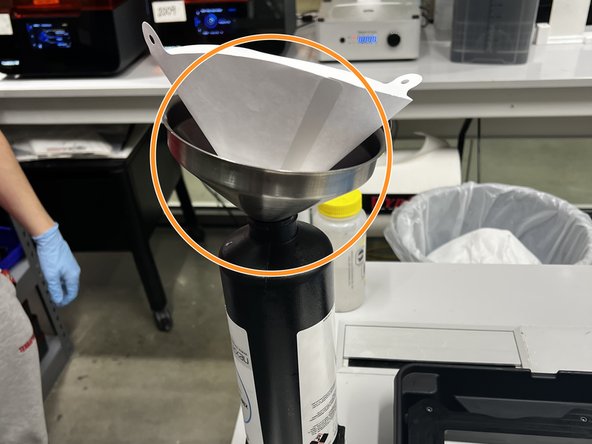
Set up a paper filter and funnel on top of the open cartridge as shown in the picture. The filter and funnel can be found in the Nexa storage area.
-
-
-
Gently pick up the tank and pour the resin into the paper filter using the pouring spout on the bottom right of the tank.
-
Once most of the resin is poured out, use a rubber spatula to scrape the rest down towards the spout.
-
Only use a rubber spatula! metal or plastic ones will destroy the clear plastic membrane!
-
-
-
Place the emptied tank back in the storage box.
-
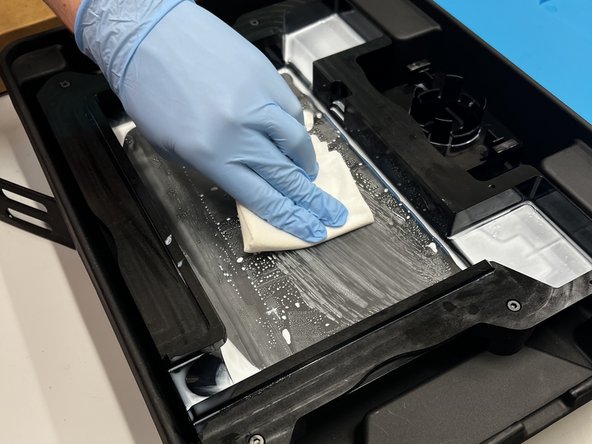
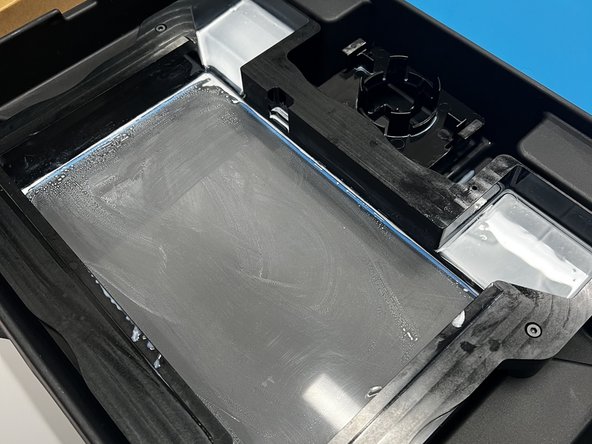
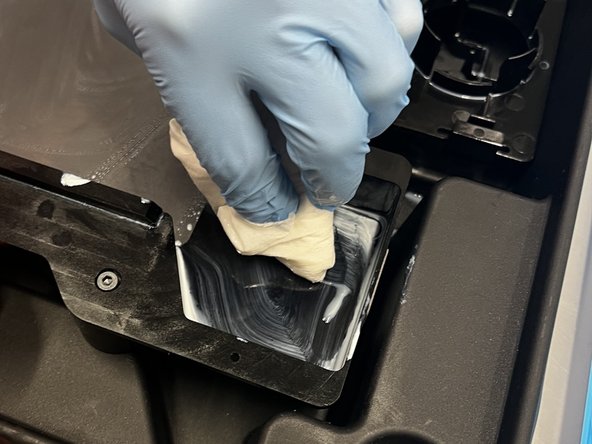
Use a paper towel to gently wipe away the remaining resin on the fragile membrane.
-
Clean the top corners of the tank as well as the pouring spout.
-
Do not apply downward pressure when wiping the membrane! This will damage it.
-
-
-
Membranes can only be used for one resin. When changing the resin, the membrane must be changed as well.
-
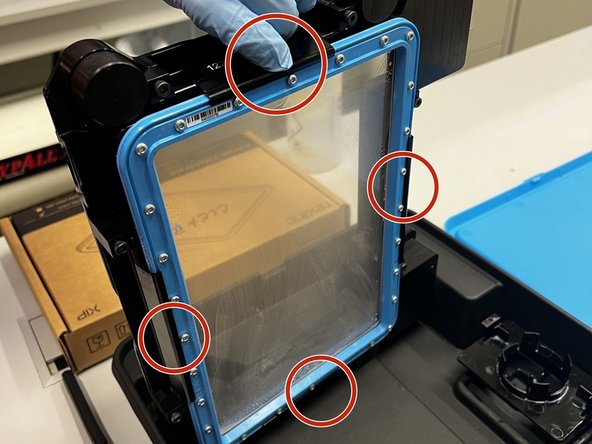
Turn the tank upside-down. Undo each of the four latches on each side of the membrane.
-
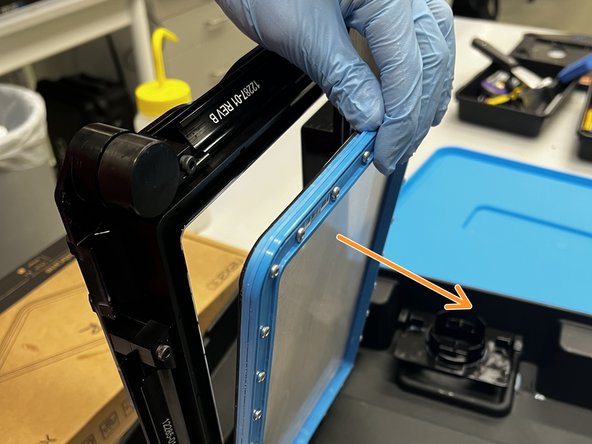
Remove the membrane from the tank and place it in a membrane box.
-
A video describing this process can be found here.
-
Remember to store the membrane in the correctly labeled box. For example, this is a white resin membrane, so it is stored in the box labeled, "White."
-
-
-
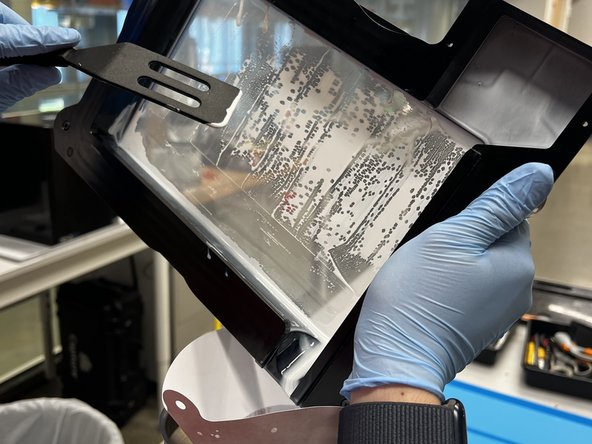
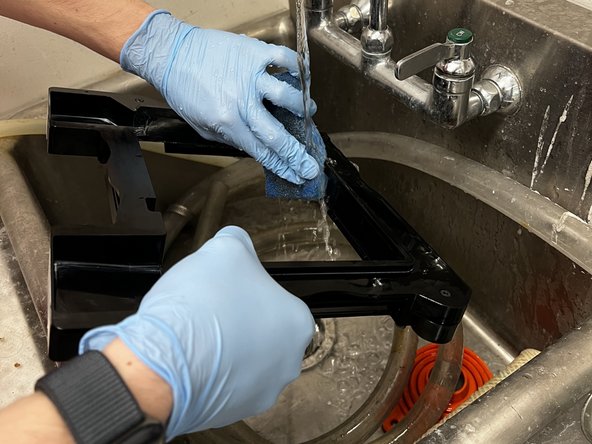
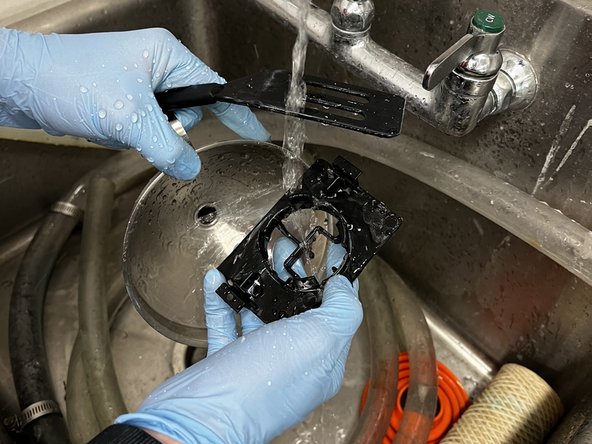
Use soap and water to thoroughly clean all the resin off the tank frame.
-
No resin should be left on the tank, and it should be rinsed with water several times to remove any soap.
-
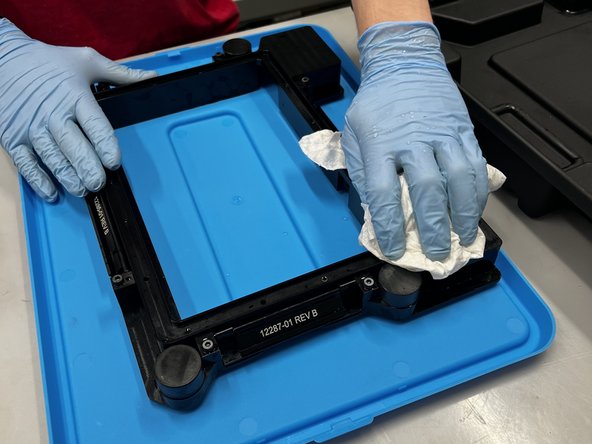
Place the tank frame on the lid of the storage box and dry with a paper towel.
-
-
-
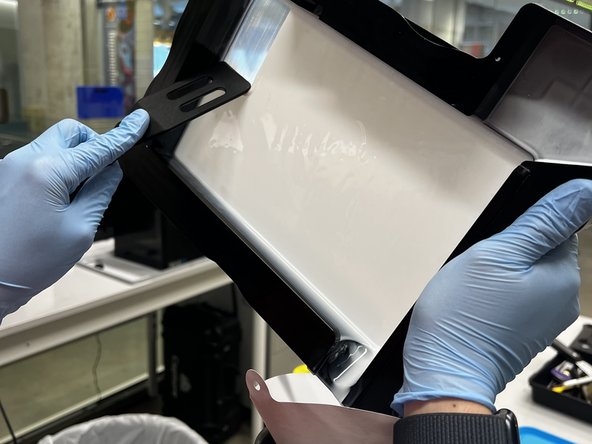
Retrieve the membrane for the resin you are switching to.
-
Use extreme care when handling the membrane! Only touch the blue frame and never the clear film!
-
With the tank frame upside-down, place the membrane in the rectangular groove with the foam ring facing down.
-
Engage all four latches located on the sides of the tank
-
-
-
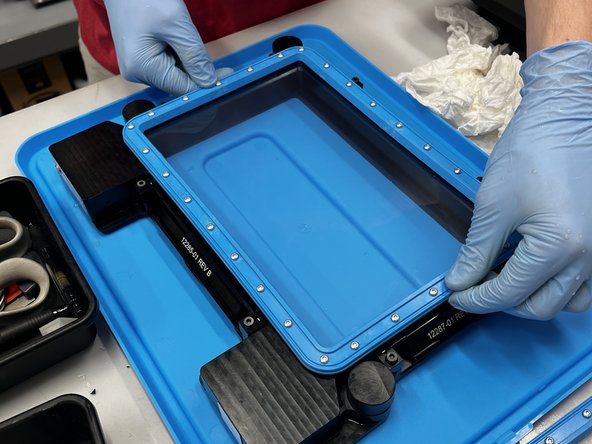
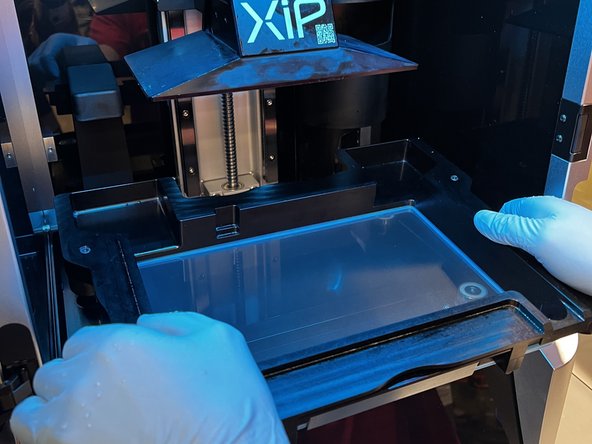
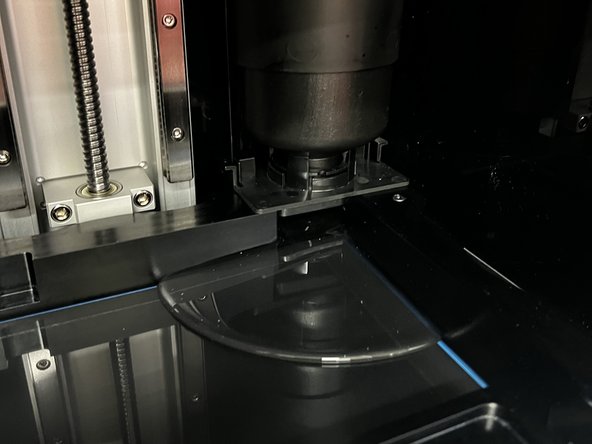
Gently place the tank back in the XiP. Align the four black cylinders on the bottom of the tank with the cylinders in the machine.
-
These cylinders are the electromagnets that hold the tank in place. You should hear a click when they automatically engage.
-
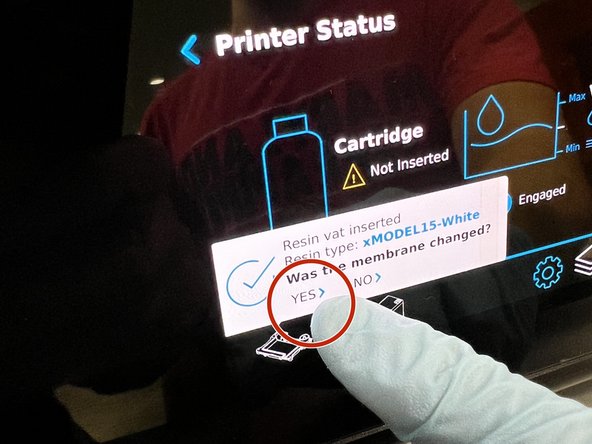
A message will appear on the touch screen asking if the membrane was replaced. Select "YES."
-
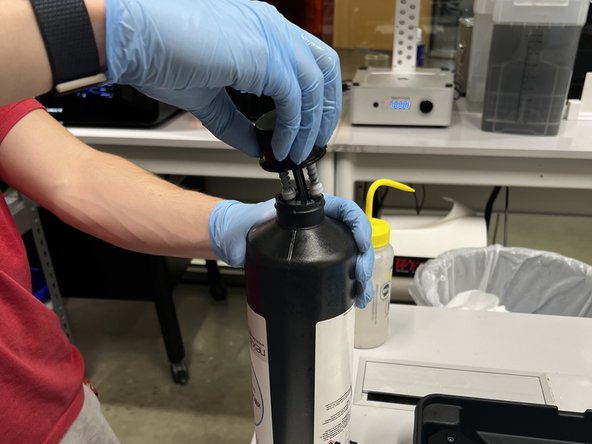
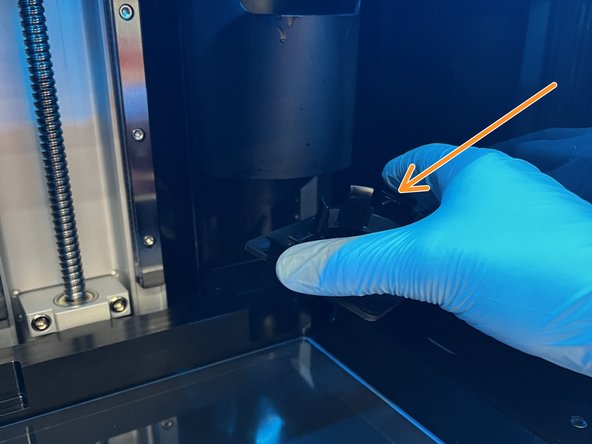
Install a clean spout that matches the resin you are using on the top right of the tank. It should clip in place. The spouts should be labeled in bags in the Nexa storage area.
-
-
-
Retrieve the correct resin from the cartridge honeycomb.
-
Unscrew the cap. Do not unscrew the entire cap assembly! Just the cap.
-
Insert the cartridge into the machine.
-
-
-
The resin should begin flowing out of the cartridge into the tank.
-
The resin level is automatically regulated. The tank will fill properly on its own.
-
-
-
Clean all tools in the sink with soap and water. Make sure there is no resin left on the tools.
-
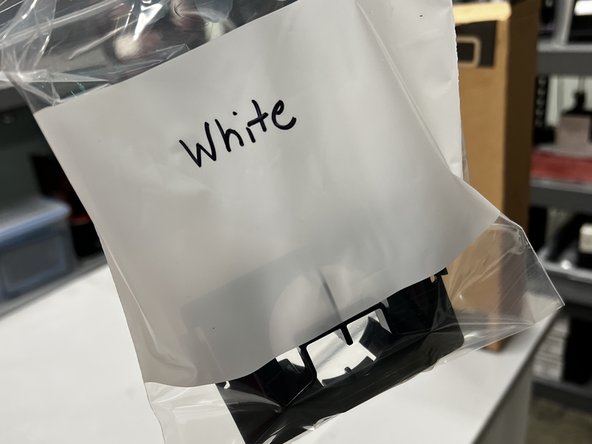
Place the spout that was set aside in a bag labeled with the type of resin it was used for. For example, we were replacing white with clear, so the bag is labeled "White."
-
The bag can be stored in the Nexa storage area.
-
The procedure is now complete. Be sure to clean the table and wipe down all surfaces.
-


Cancel: I did not complete this guide.
4 other people completed this guide.