
Introduction
This guide will teach you how to use the ProtoPrint to accurately apply solder paste to a PCB.
-
-
The ProtoPrint stencil rig is used to secure a milled solder paste stencil above your PCB.
-
Solder paste is spread over the stencil and deposited nicely on the pads of your PCB so that you can easily solder components.
-
-
-
Create a new file with the Stencil QR 266x38 template.
-
Import your top/bottom solder paste layers and position them side by side in the center.
-
-
-
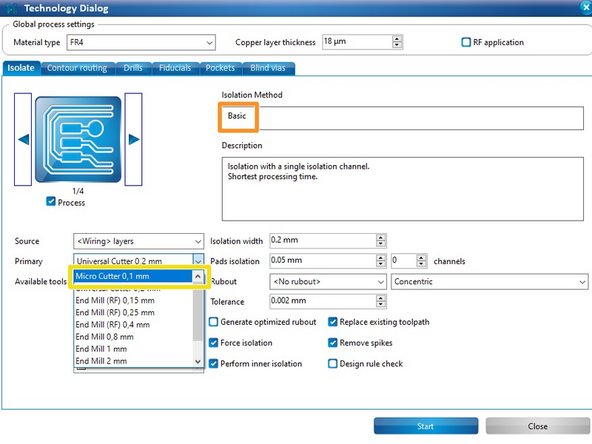
Open the technology dialogue box.
-
Select basic insulation.
-
Set the primary tool as the 0.1mm micro cutter.
-
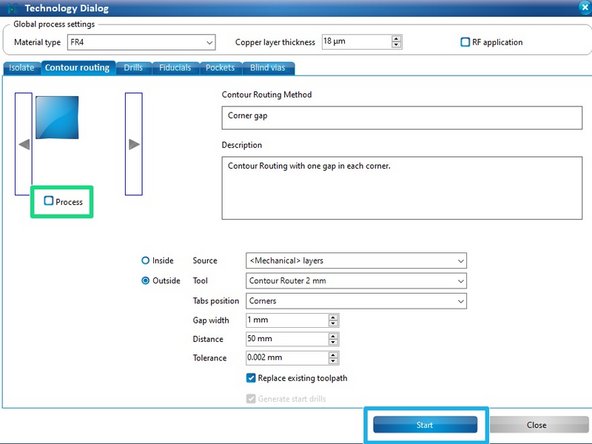
Uncheck Process in the Contour Routing tab.
-
Click Start.
-
-
-
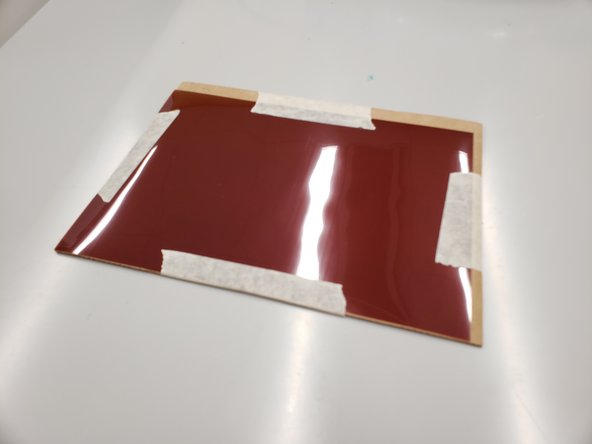
Tape the polyimide foil to a piece of cardboard.
-
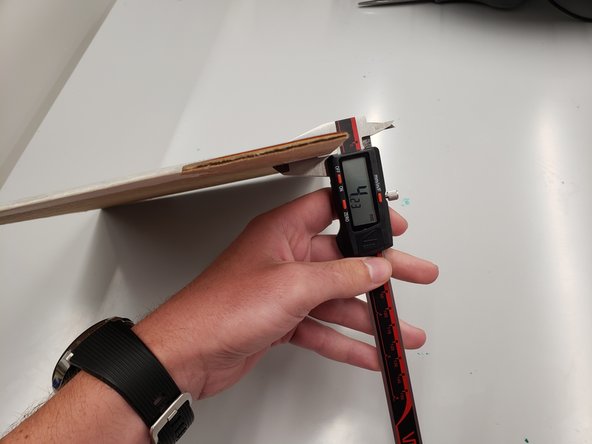
Measure the thickness of the foil + cardboard combination.
-
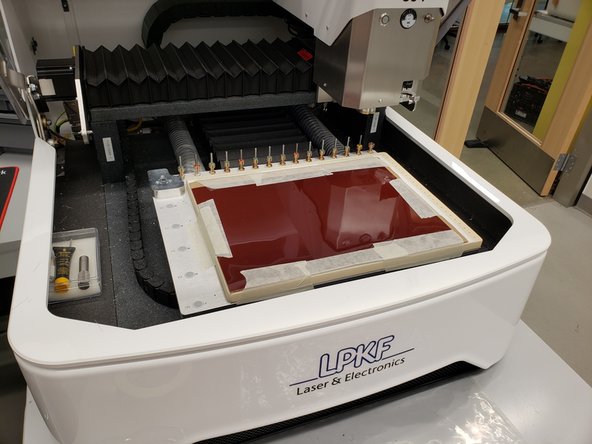
Secure it to the bed of the ProtoMat.
-
-
-
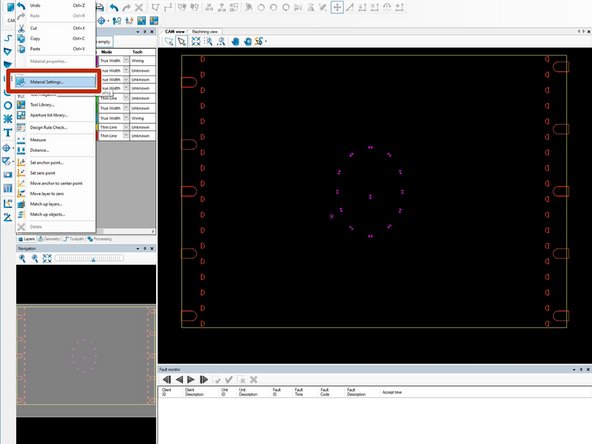
Open Edit->Material Settings.
-
Enter the total thickness you measured in the previous step.
-
Enter 100um into the copper thickness field.
-
-
-
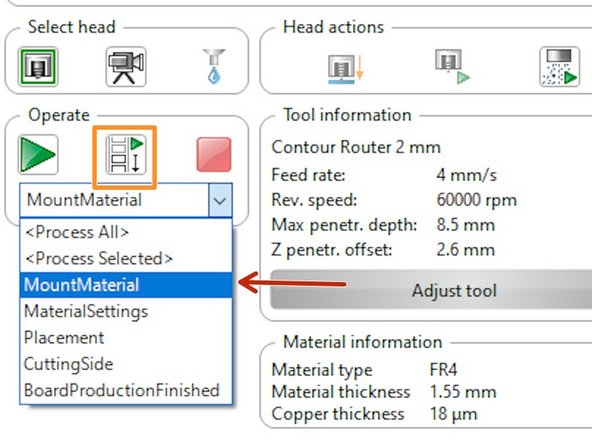
In Machine view, choose the MountMaterial phase.
-
Press the play button to start the routing process and follow the on-screen instructions.
-
The process is similar to the trace milling process.
-
-
-
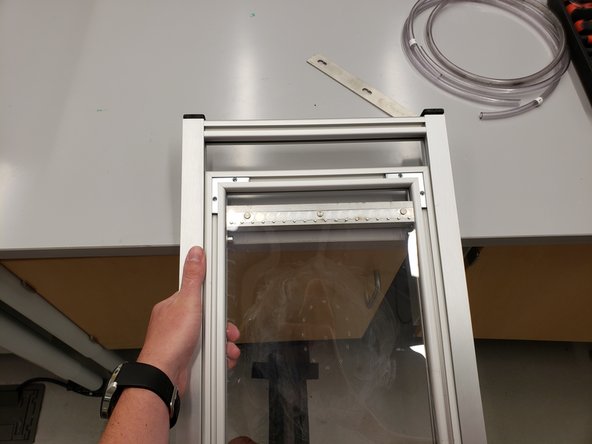
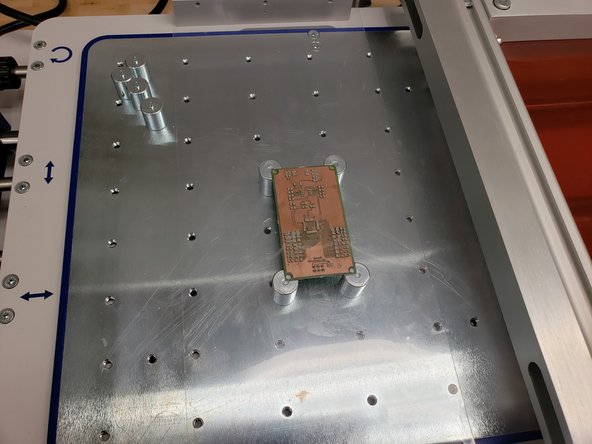
Once finished, remove the stencil from the ProtoMat and place it in the ProtoPrint.
-
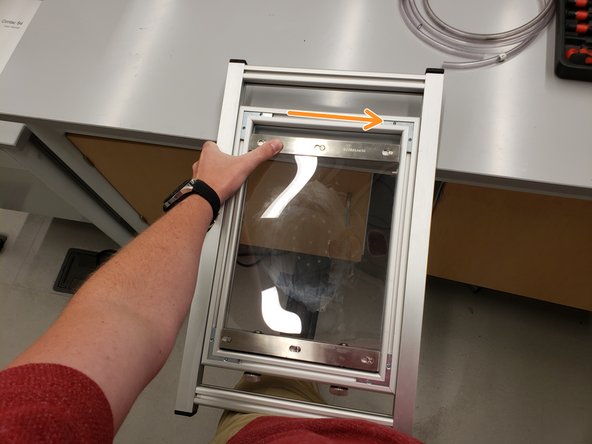
To release the plates, push the pins on the opposite side against a table and slide the plate to the side.
-
Due to the alignment of the holes, there is only one way the stencil can be placed into the frame.
-
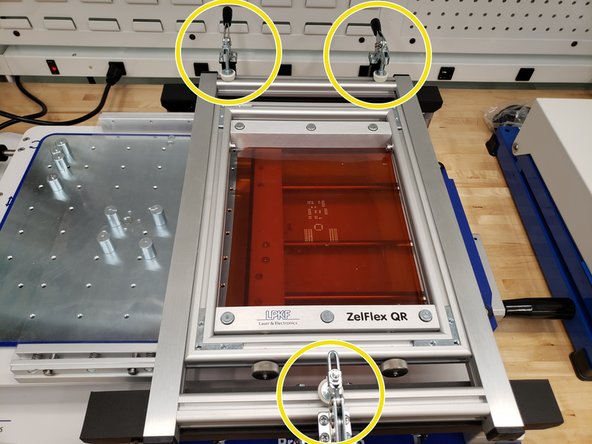
Place the frame in the ProtoPrint and secure it with the three levers.
-
-
-
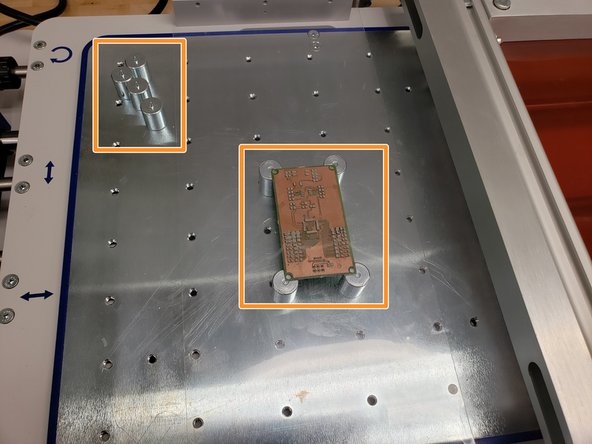
Remove the clear plastic protective shield by squeezing and pulling up.
-
Align the magnetic holders to the four corners of the board.
-
Alternatively, there are spikes you can use on through holes.
-
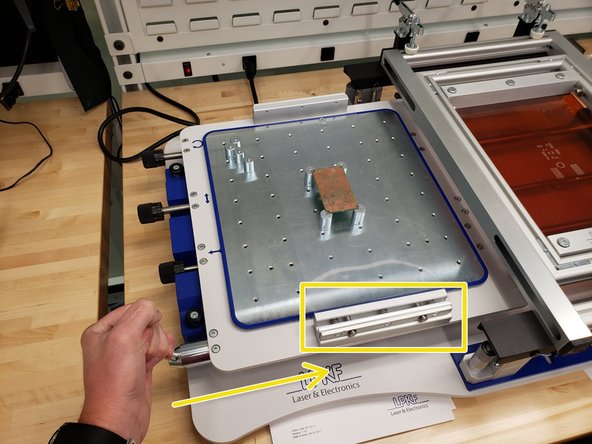
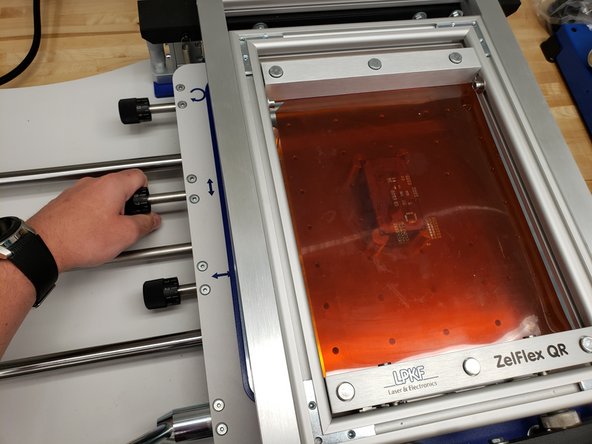
Replace the clear plastic shield and use the handle to push the gantry containing the board underneath the stencil.
-
-
-
Use the knobs on the left side to precisely align the PCB to the stencil.
-
When ready, pull the lever on the right to raise the PCB.
-
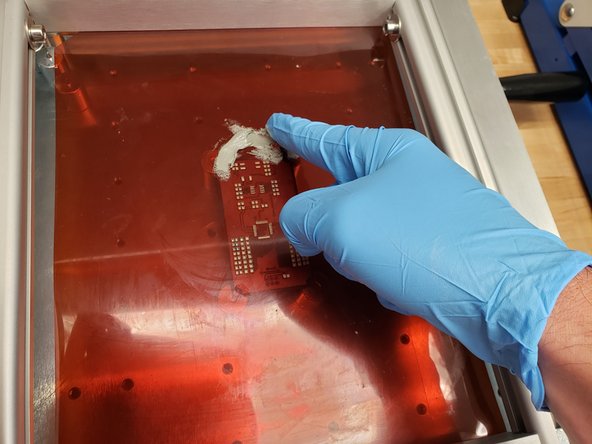
Use a glove to place a small glob of solder paste on the stencil.
-
-
-
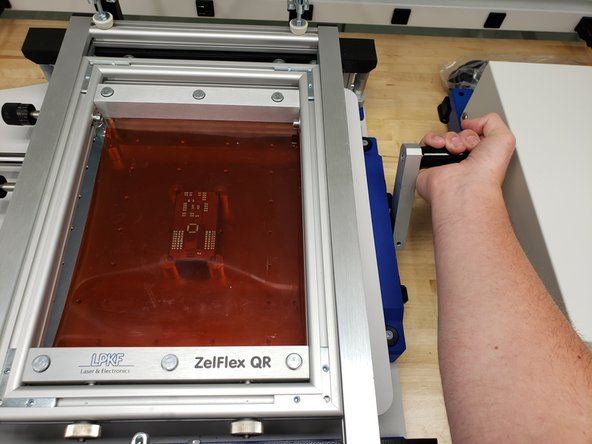
Test the alignment by doing a test run with the clear plastic shield intact.
-
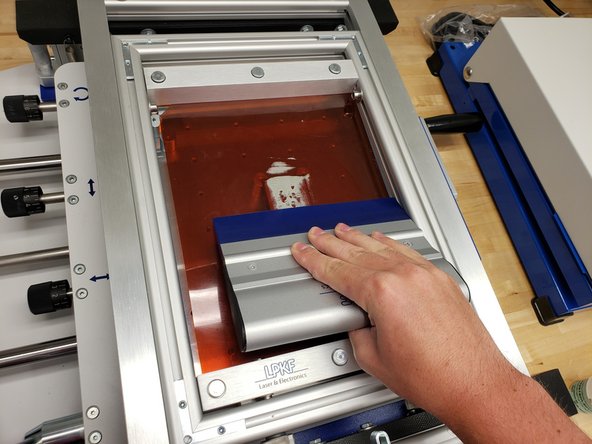
Spread the solder paste over the stencil.
-
Lower the gantry and pull it to the left. Inspect where the solder was laid.
-
If it looks good, remove the clear plastic shield and push the gantry back under the stencil for another run.
-
-
-
Remove the PCB from the ProtoPrint S
-
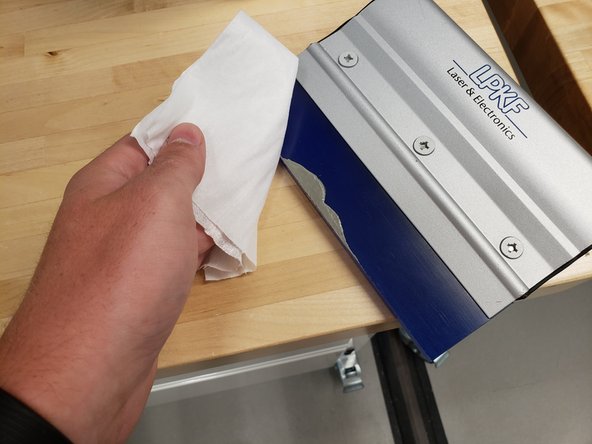
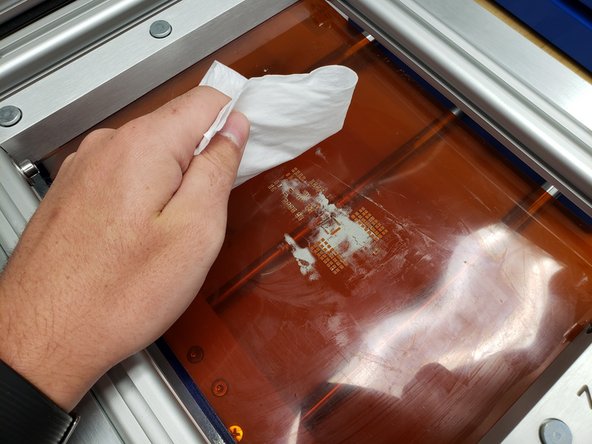
Clean the spreader, plastic shield, and stencil using an IPA wipe.
-
Now that you have a PCB with nicely laid solder paste, the next step is to place components using the ProtoPlace S.
-


Cancel: I did not complete this guide.
6 other people completed this guide.