
Introduction
The ProtoPlace S, referred to as the Pick and Place machine, is used to precisely place surface mount components on a PCB.
-
-
The ProtoPlace S (commonly referred to as the "Pick and Place Machine") is used to place components onto a PCB using a pressurized needle.
-
The needle is moved by hand along two rails on the X and Y axis.
-
Before using the machine, your board should already have solder paste applied to its pads.
-
That way you can place your components on top of the solder paste and then melt the solder paste in our reflow oven to create a strong electrical connection.
-
Our preferred method of applying solder paste is with the ProtoPrint S
-
-
-
Manipulator - Moves to pick up and place components with a small vacuum suction nozzle.
-
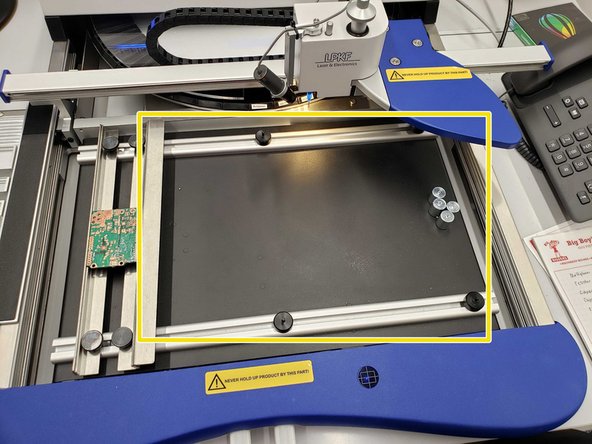
Micro-table - Fixes the board in place between two laths.
-
The empty area to the right can be used for palettes with components
-
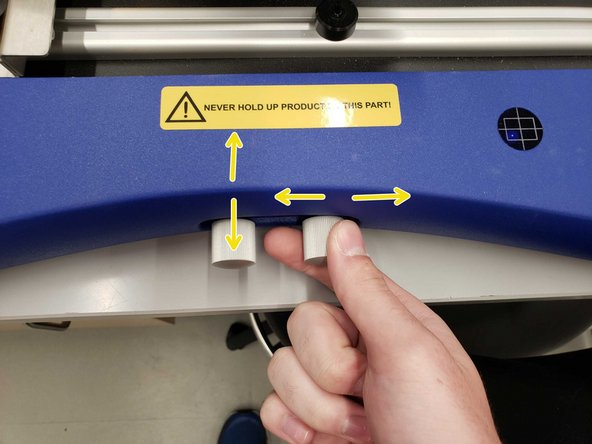
Micro-table knobs - The right one moves the table along the x axis and the left one moves the table along the y axis.
-
Table position indicator - Shows how far the knobs have moved the micro table off the coordinate origin.
-
Air regulation - Turn these knobs to adjust the pressure of the nozzle.
-
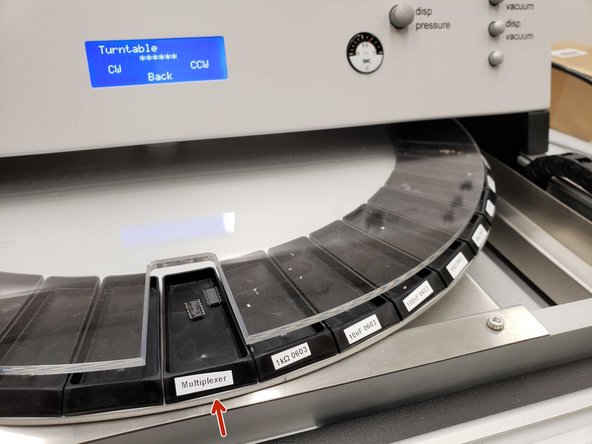
Turntable - Can store up to 90 individual components.
-
LCD display (hidden) - Controlled with the keypad.
-
-
-
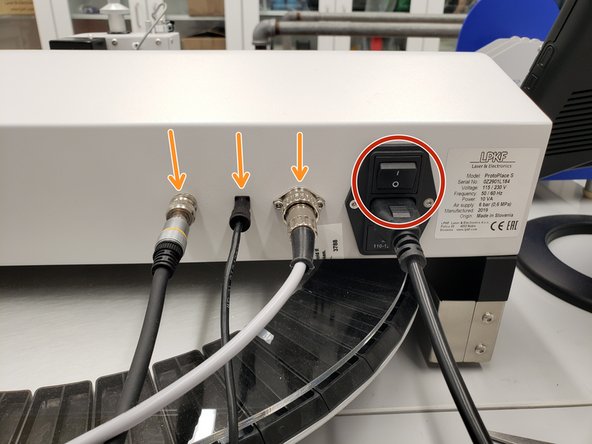
The power switch is located on the backside of the machine.
-
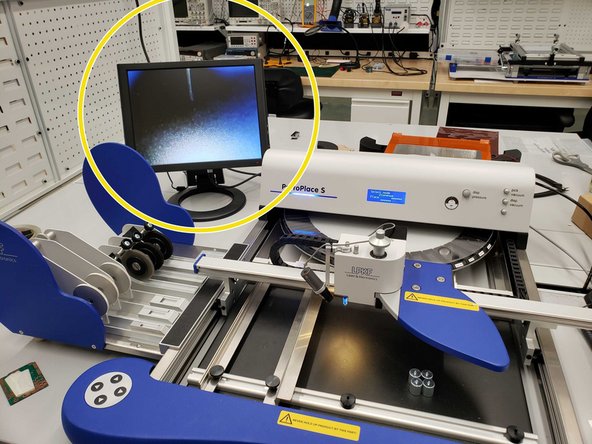
Ensure the monitor, turntable, and foot switch are plugged in.
-
Turn on the machine and the monitor. It should start displaying an image.
-
-
-
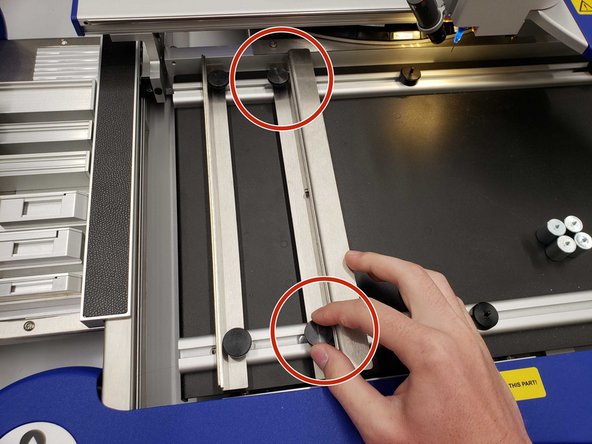
Release the right lath by unscrewing the knobs.
-
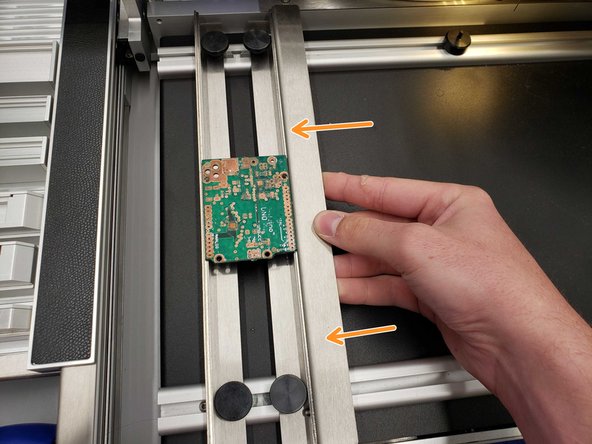
Adjust it until the board lays firmly between the two laths.
-
Tighten the laths.
-
-
-
Individual components can be loaded into the turntable.
-
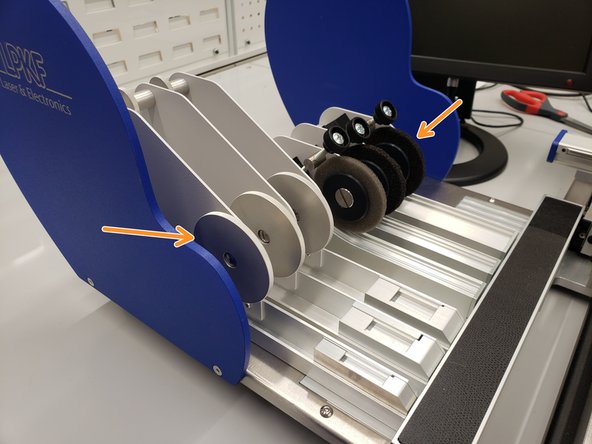
Component tapes can be loading into the tape feeders.
-
Palettes can be placed in the empty area on the micro-table.
-
-
-
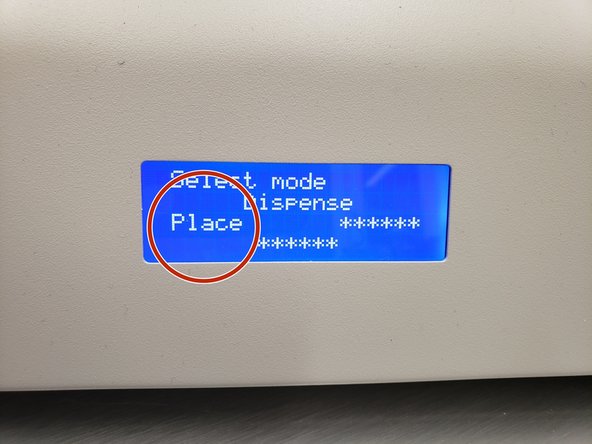
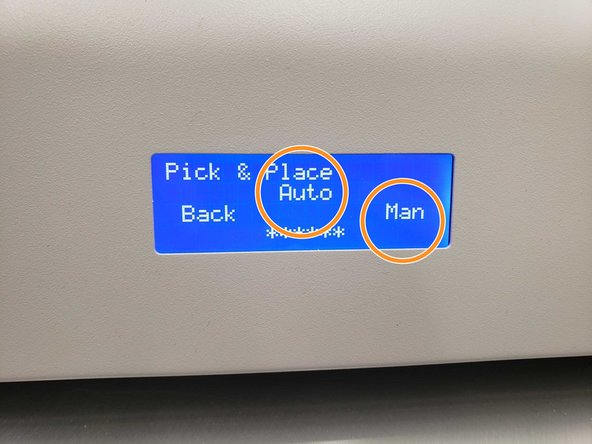
Push the left arrow button to enter place mode
-
Dispense mode is used for dispensing solder paste, which we do not use
-
Select auto to let the machine activate/deactivate the suction for you or man if you would rather control it with the foot pedal
-
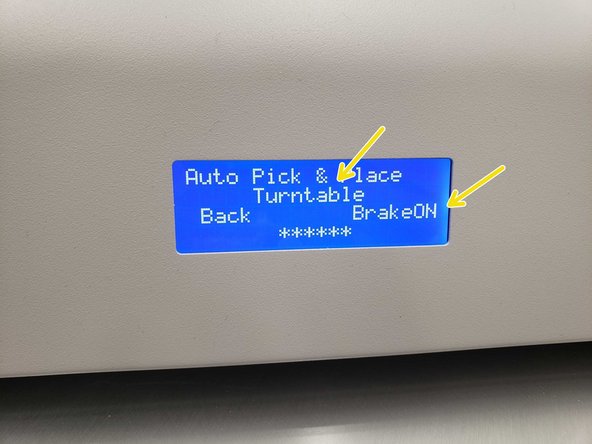
In auto mode, you can use the right arrow button to turn the brake on and the top arrow to move the turntable
-
-
-
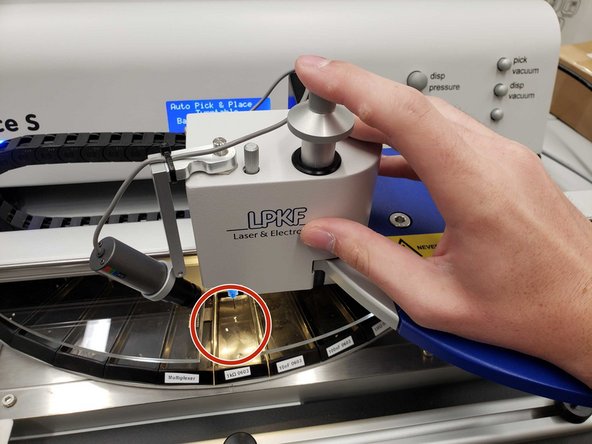
Move the manipulator over the desired component and push down the picking needle to pick it up.
-
The vacuum suction will start automatically as you push down. Adjust the vacuum pressure with the "pick vacuum" knob
-
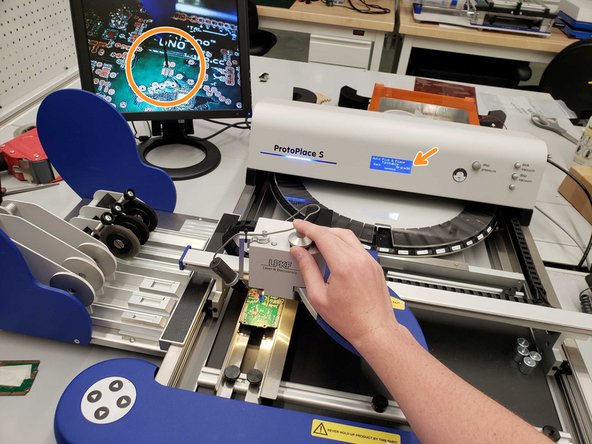
Move the component over to its location on the PCB and lower it as close as you can without touching the board. Turn the brake on.
-
Use the knobs on the bottom of the machine to precisely line up the board with the picking needle.
-
Rotate the component until it is in the correct orientation and select "Place" to automatically place it.
-
-
-
Move the manipulator out of the way and unscrew the right lath to release the board.
-
Now that you have a board with components placed on it the next step is to melt the solder paste using the ProtoFlow S N2.
-


Now that the parts are laid on the PCB, the next step is to melt the solder paste in the ProtoFlow S N2.
Now that the parts are laid on the PCB, the next step is to melt the solder paste in the ProtoFlow S N2.
Cancel: I did not complete this guide.
5 other people completed this guide.
