Introduction
Images by Brandon Young
-
-
Go to Prusa3D
-
Click on PrusaSlicer
-
Click on "Download Latest Version"
-
Select appropriate version for your OS
-
-
-
Click on "Prusa FFF"
-
Select the appropriate machine
-
In this guide we will use the Prusa i3 MK3S
-
Agree to updates then click "Finish"
-
-
-
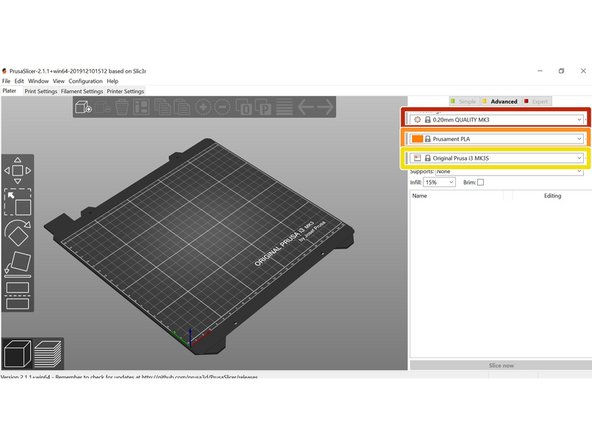
Select different layer height options in this dropdown
-
Select different filament options in the top right corner
-
Select different machine options in the top right corner
-
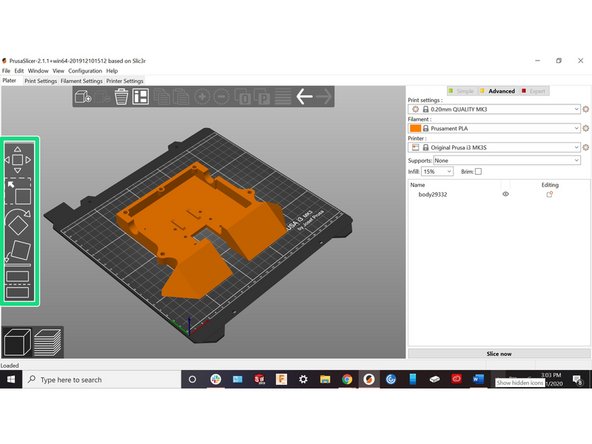
Drag and drop files onto the build plate
-
PrusaSlicer will work with either STL or 3MF format.
-
Select a model to use a button on the left
-
Top to bottom: Move, Scale, Rotate, Lay on Surface, Cut Model
-
-
-
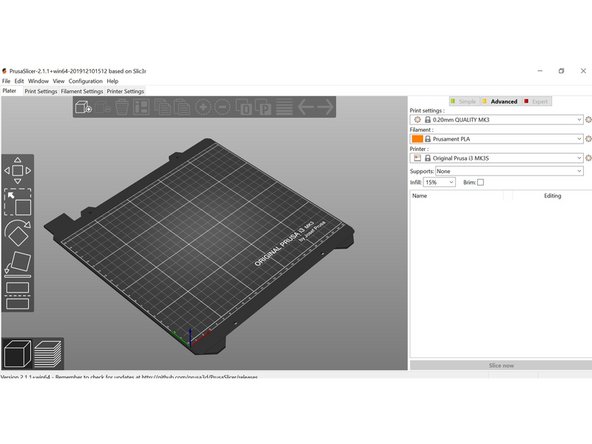
Check settings one more time to make sure everything is good to go
-
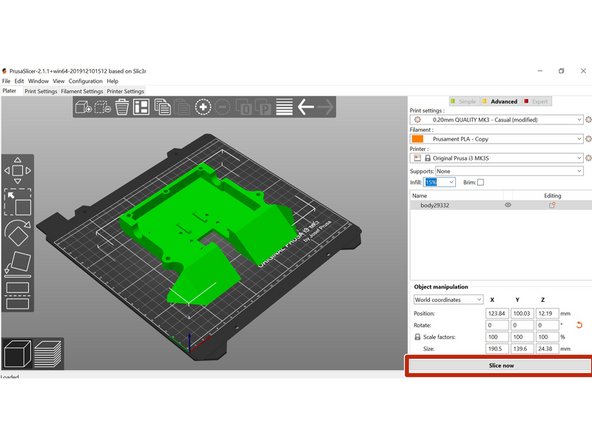
Click "Slice Now" at the bottom of the screen
-
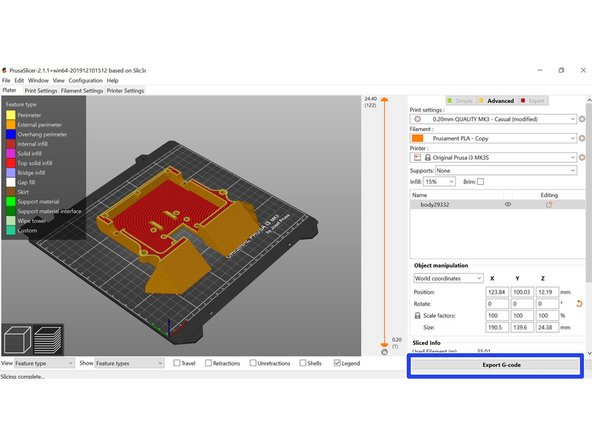
View time and filament estimates at bottom of right menu
-
Click "Export Code"
-
Save code to desired location
-