Introduction
This guide provides a brief tour of Fusion 360 to help new CAD users get oriented before they start learning the software.
-
-
This image displays the view when opening a new design, called a part, in Fusion 360
-
The menu in the top left controls the Workspace. For these guides, we will focus on the Design Workspace.
-
The Toolbar enables quick access to some of the most useful commands and tools
-
The center space is where you make your design. We will cover the basics of creating a 3D model in the guides Introduction to Sketches in Fusion 360 and Introduction to Solid Features in Autodesk Fusion .
-
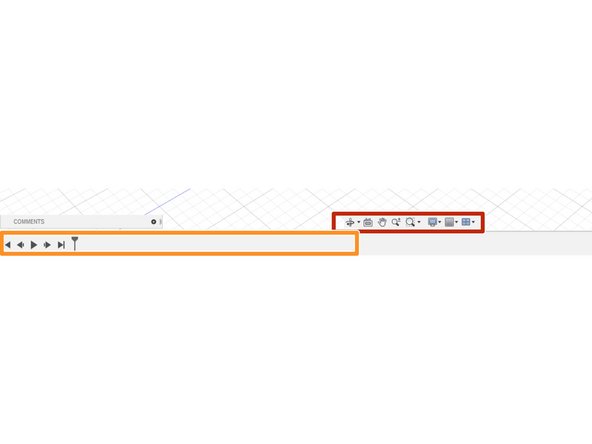
The bottom toolbar controls the display settings for the 3D model design space
-
The cube at the top right enables quick changes of the view, or perspective, on the 3D model
-
Use the menu on the very top left to access your saved files. Fusion 360 saves all files to the cloud, sorted into projects.
-
-
-
The toolbar consists of several sections, each with a few pinned tools and a dropdown menu
-
The icons on the toolbar lead to some of the most useful commands or tools. Hover the cursor over a tool to identify the command.
-
The drop down menu reveals a greater collection of commands under each category of tools
-
The smaller labels above the command icons allow switching toolbars
-
-
-
The display settings toolbar at the bottom of the window contains tools for zooming, rotating, and paning as well as a settings menu
-
The design history is located at the bottom of the window. This display lists the tools and commands used in order and enables the user to scroll backwards or forwards chronologically.
-
Now that you are familiar with the basic layout of Fusion 360, lets learn Introduction to Sketches in Fusion 360
-
Cancel: I did not complete this guide.
One other person completed this guide.


