-
-
Turn on the switch on right side of the box that is on top of the blaster
-
This will turn on the light inside the blaster and the vacuum
-
Let the vacuum cleaner run for 10 seconds
-
-
-
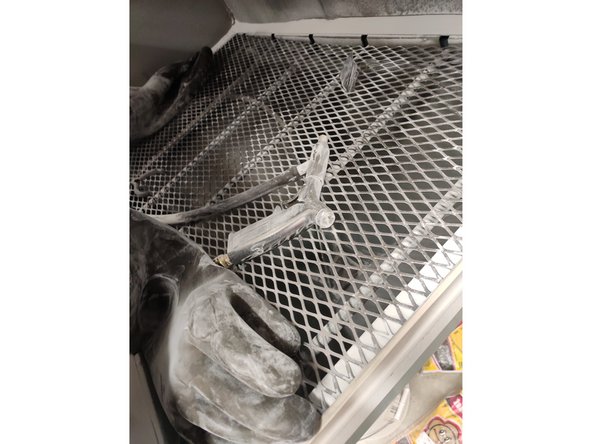
Open the door and put your parts into the sand blaster
-
Turn on the air pressure for the air gun
-
For HP parts it should be around 40 psi for metal, rust, etc... should be around 100 psi
-
To change the pressure pull down on the black knob below the gauge. Turn clockwise to lessen the pressure turn counter-clockwise to raise it
-
-
-
Make sure both latches are holding the lid down
-
Point the gun at the part and pull the trigger
-
For HP parts hold the gun about 4-6 inches away from the part and do not focus on one spot for too long
-
Make sure the sand is Clean for HP parts and Dirty for any IFl or manufactured parts
-
-
-
After done blasting parts unplug the sand tube from the gun (rubber black tube) and quickly blast the finished parts with air to remove any sand from the parts
-
Let everything settle for a minute, open the door, and take out the parts
-
If any parts fall through the grate bend it up and retrieve them from the sand pit
-
After taking everything out, unhook the vacuum from the blaster and vacuum up the area
-


