
Introduction
The Bambu Lab X1-Carbon has a few extra features compared to other Bambu Lab printers. This guide will introduce the user to the touch screen, build plates, and the AMS stack.
-
-
The touch screen allows you to modify settings before or during a print job.
-
Temperature/axis settings, print library, and additional settings can be found by tapping the tabs on the left.
-
-
-
In the Temperature/Axis header, various temperatures can be changed and motors can be jogged.
-
Use the circle to jog the X and Y motors.
-
The bed can be raised/lowered, and the extruder can move filament using the buttons on the right.
-
Tapping on any temperature on the left will bring up a keypad to enter in a new number.
-
Tapping the speed button allows the user to choose between Silent, Standard, Sport, and Ludicrous speed modes.
-
Fan speed settings can be changed at the bottom, but these are best left unchanged.
-
-
-
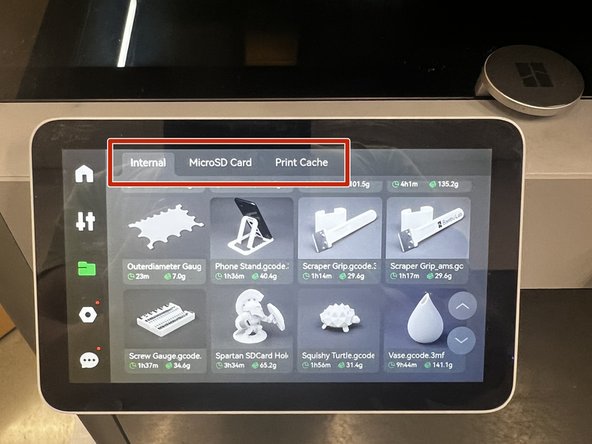
The Files tab allows the user to start prints from the machine.
-
The tabs at the top display printable files from internal, microSD, and cache storage locations.
-
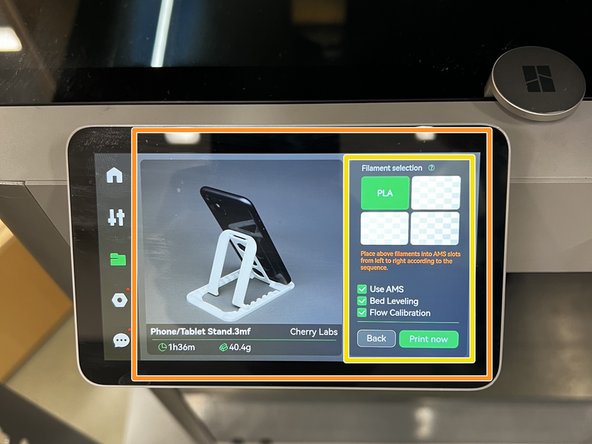
Tapping on a model will bring up a menu with information about the print job.
-
On the right the user can select the desired filament from the AMS systems and start the print. Additional boxes allow the user to select calibration options.
-
This menu will not be used much. Most models will be uploaded from the slicer.
-
-
-
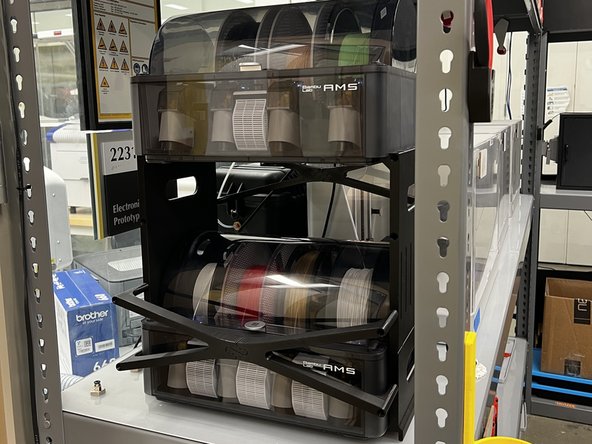
The AMS stack is located above the X1-Carbon.
-
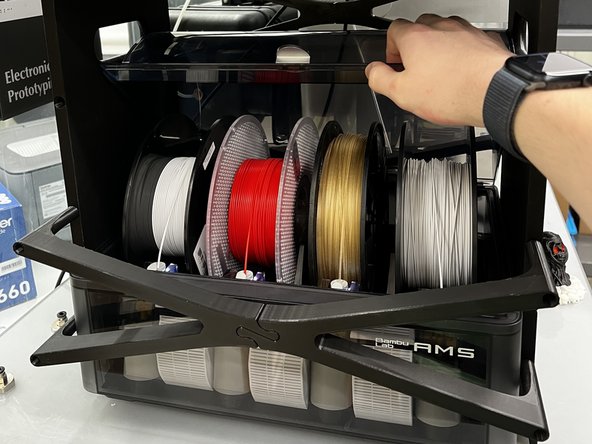
Both AMS modules can be opened to insert/remove filament spools.
-
Consult this guide for more information on using the AMS modules.
-


Cancel: I did not complete this guide.
3 other people completed this guide.