
Introduction
This guide will show you how to clean the ProX focusing lens.
This is a skill you will develop and get better at over time! Don’t get frustrated if it does not “click” your first time through. It will get better, I promise.
-
-
Remove the light over the window
-
Close the glass
-
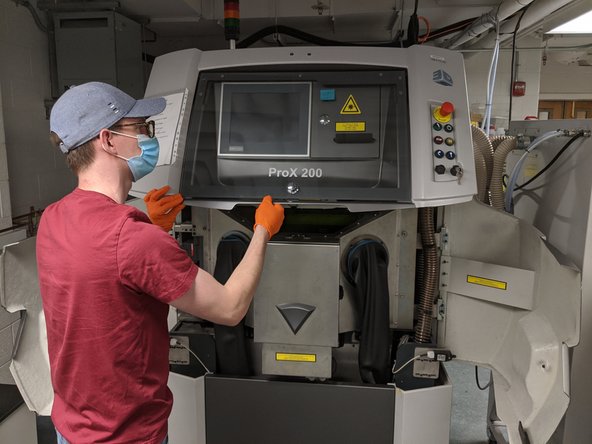
Press the key button and open the doors
-
Carefully lift the hood
-
-
-
Remove the 6mm Hex driver from the right "Tools" drawer
-
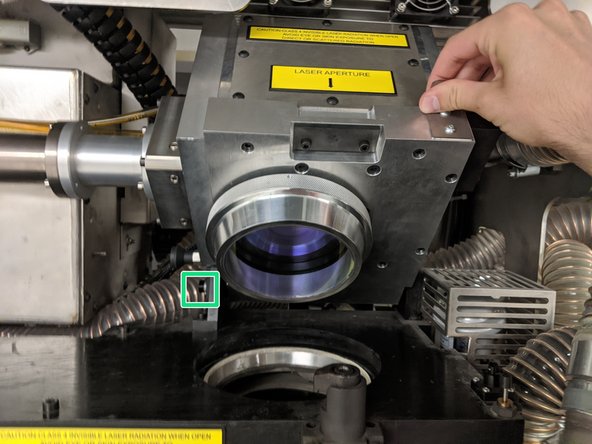
Loosen the screw, do not remove it
-
Rotate the clamp out of the way
-
-
-
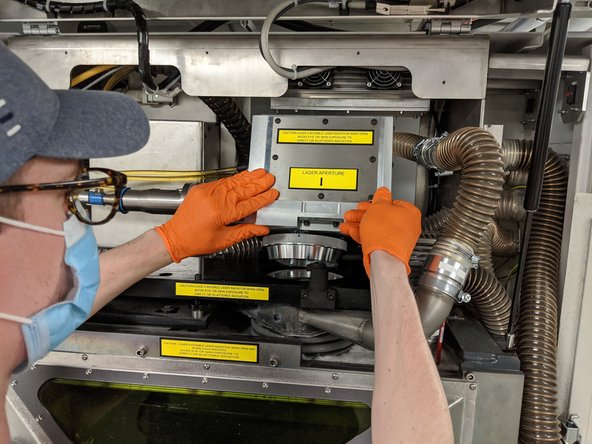
Pull the plunger out from the left side and lift the box by the tab on the right
-
DO NO HOLD BY THE FIBER COUPLER
-
Lift until the plunger clicks back in, it will support itself on the plunger
-
-
-
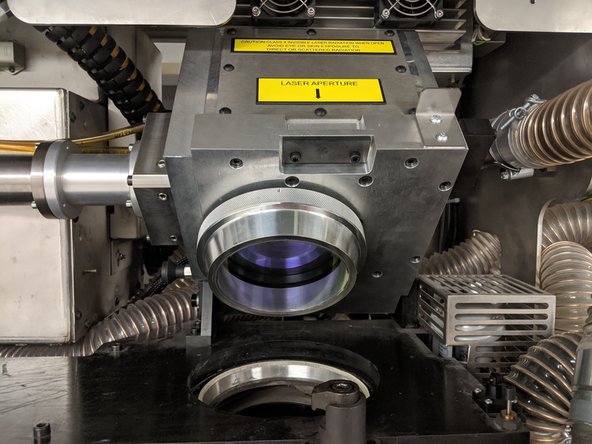
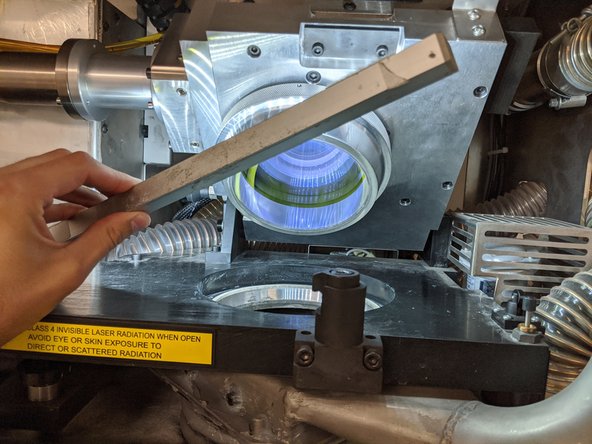
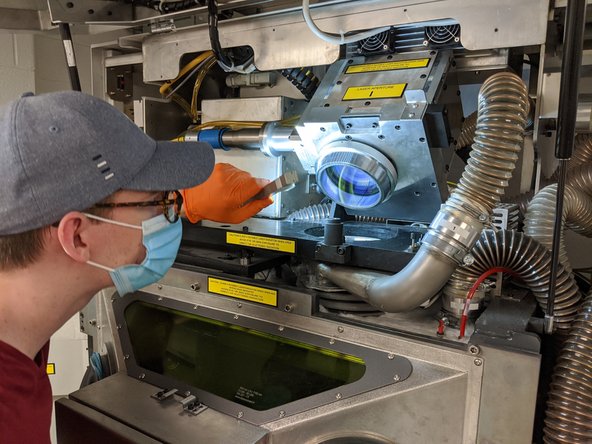
Use the bar light to help inspect the surface of the lens.
-
Large particles can be blown off with compressed air
-
Take care to not shake or turn the can upside down. You do not want the propellant to get on the lens
-
-
-
Put on a fresh pair of gloves
-
Try to not touch the fingers of the gloves with your bare hands. It reduces the possibility of your hand oils from getting on the lens
-
-
-
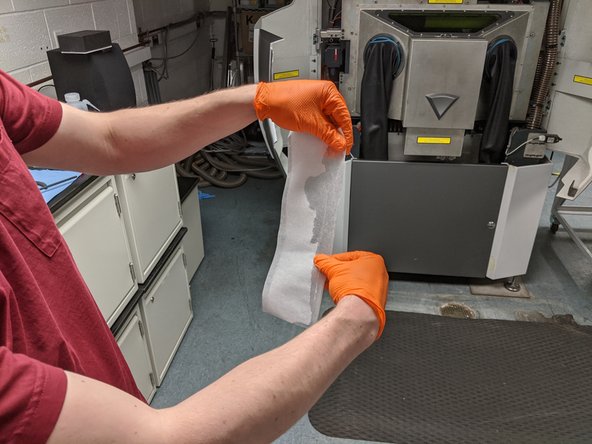
Remove the lens paper from the "PROX" Drawer
-
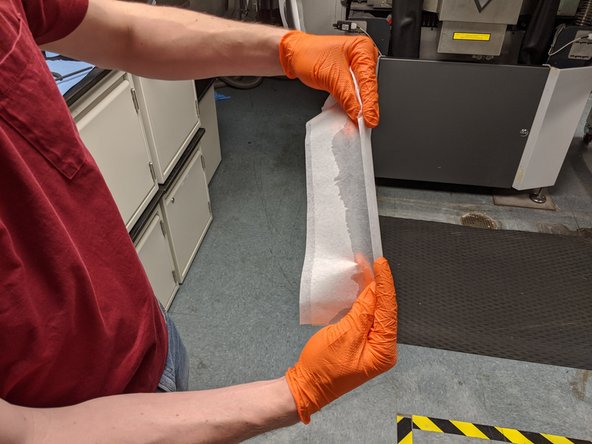
Pull a piece of lens paper out and fold in half longways
-
Spray the top edge with Alcohol
-
Crease the edge again to spread out and wipe off excess Alcohol
-
-
-
Insert wisdom here.
-
-
-
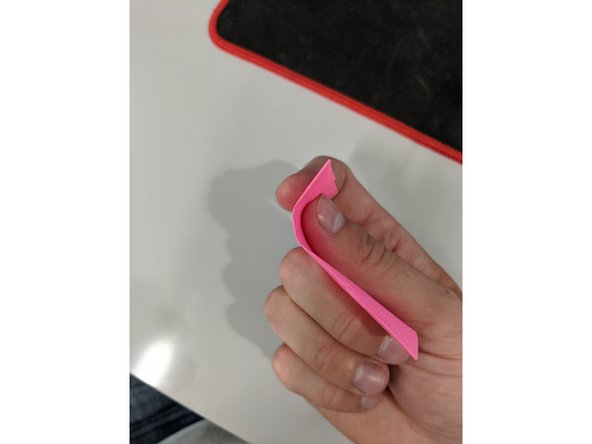
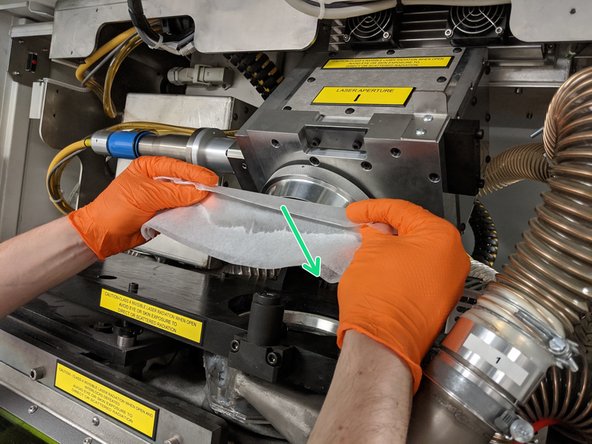
Use the "edge" from the corner to contact and clean the lens
-
Start with a slow wipe from top to bottom to clean off any particles
-
After the lens paper has been used once, it must be discarded
-
Follow up with a faster wipe to clean up streaks from the slow wipe
-
When the paper engages the lens properly it will darken in color (see picture 2). You should see this across the whole width during the wipe.
-
-
-
Use the light at an angle to inspect the lens and check for any remaining particles and streaks
-
It can be hard to see streaks, moving both the light and your head are needed to see all blemishes left
-
-
-
You probably have some streaks left over, and that's okay! Keep repeating the cleaning and inspecting steps until the lens is spotless
-
Once the lens is 100% clean you can move on
-
-
-
The box is heavy, use extra care
-
Pull the plunger to the left while holding by the tab
-
Slowly lower the lens into place
-
Turn the lock back into place
-
Lightly screw back into place. Just snug, it does not need to be tight
-
-
-
Carefully lower the hood, support the weight all the way down
-
The gas springs give out very close to the end, do not let it slam down
-
Close the doors
-


Cancel: I did not complete this guide.
One other person completed this guide.